
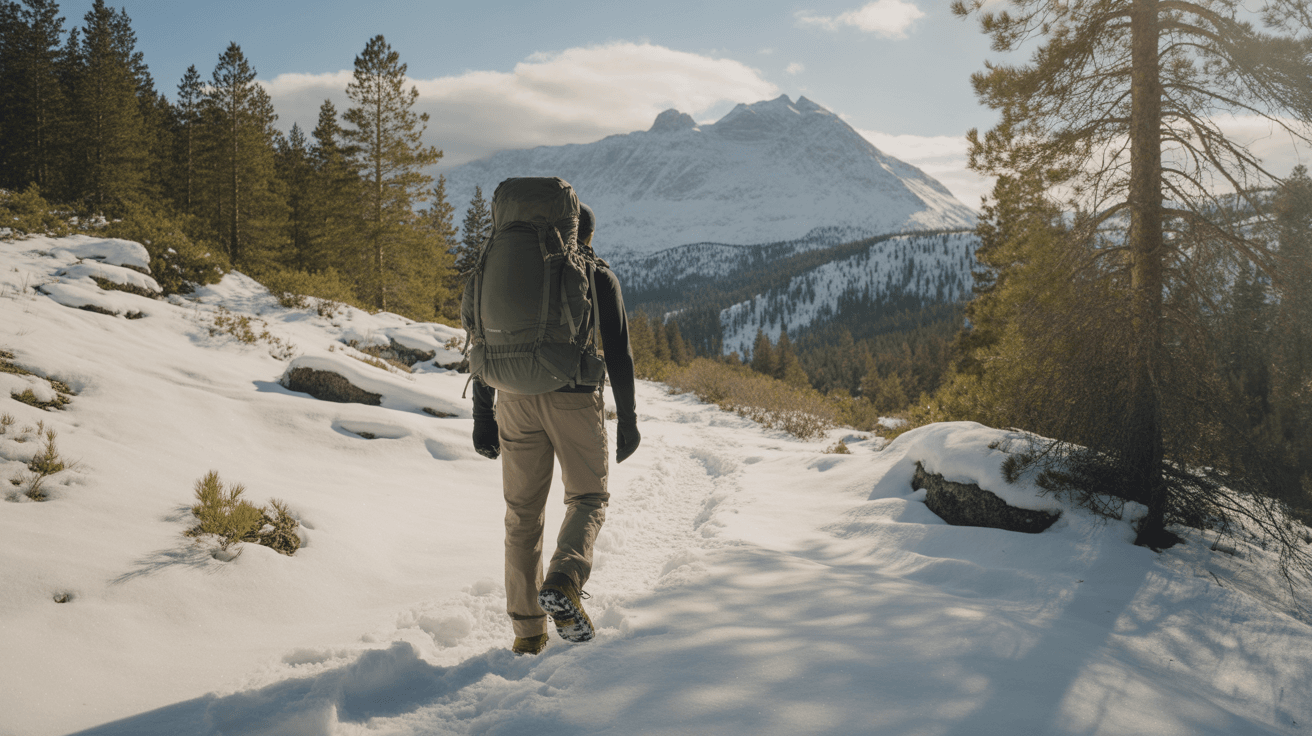
Planning your first cold weather hike can feel overwhelming. You know you need to dress warmer than usual, but how many layers is too many? What if you overheat halfway up the trail? What if you get too cold? These questions are normal, and the good news is that hiking in cold weather does not require expert-level skills or expensive specialized gear. With some practical knowledge about layering, a few key pieces of equipment, and awareness of cold weather safety basics, you can enjoy winter trails just as much as summer ones.
This guide walks you through everything you need to know for your first cold weather hike. We will cover how to dress in layers that actually work, what gear to pack, how to stay safe when temperatures drop, and how to keep your energy up in the cold. By the end, you will have a clear plan for your next winter adventure without the guesswork or anxiety.
What to Look For
Understanding Layering Systems
The foundation of cold weather hiking is a three-layer clothing system: base layer, insulation layer, and outer layer. Each layer serves a specific purpose. Your base layer sits against your skin and wicks moisture away. This is critical because sweat makes you cold fast in winter conditions. Look for synthetic materials or merino wool, and avoid cotton entirely. Cotton absorbs moisture and stays wet, which pulls heat away from your body. Your base layer should fit snugly but not tight. For most beginner cold weather hikes in temperatures above 20°F, a medium-weight base layer works well. Below 20°F, consider heavyweight options.
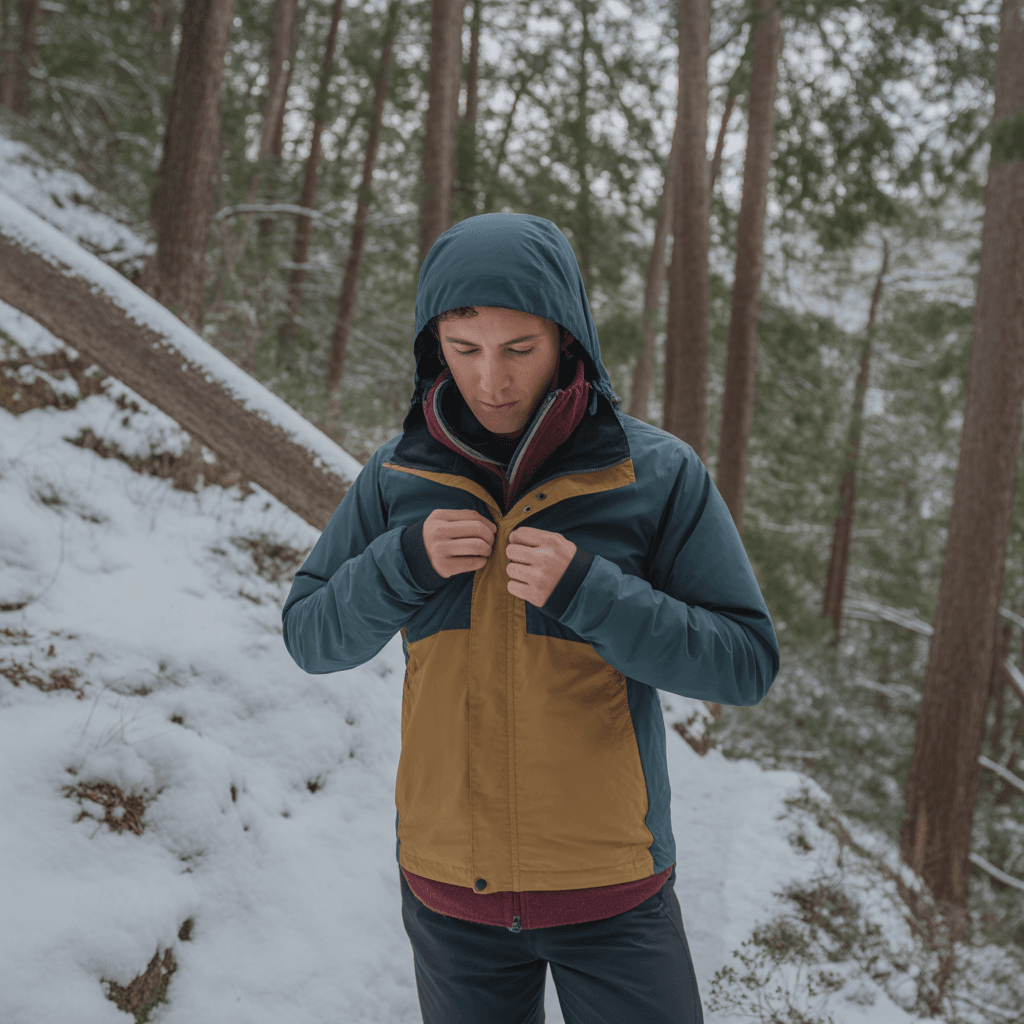
Your insulation layer traps warm air close to your body. Fleece jackets, synthetic puffer jackets, or down jackets all work for this purpose. The key is choosing insulation that matches the temperature and your activity level. If you are hiking uphill steadily, you generate a lot of body heat and may only need a light fleece. If you are moving slowly or taking long breaks, you need more insulation. Many beginners make the mistake of wearing too much insulation while hiking, then getting sweaty and cold. Start your hike feeling slightly cool. Within 10 minutes of walking, your body will warm up. The outer layer protects you from wind, rain, and snow. A waterproof, breathable shell jacket is ideal. This layer should be roomy enough to fit over your insulation layer without restricting movement. Pay attention to whether your jacket has a hood, and make sure it fits over a warm hat if needed.
Protecting Your Extremities
Your hands, feet, and head need special attention in cold weather, so protecting these areas is essential. For your hands, bring two pairs of gloves designed for hiking: a lighter pair for active hiking and a heavier insulated pair for breaks. Mittens are warmer than gloves because your fingers share heat, but gloves offer better dexterity for adjusting gear or using trekking poles. Many hikers use a thin liner glove under a heavier outer glove for maximum warmth and flexibility.
For your feet, the sock-boot combination matters more than either item alone. Wear one pair of thick wool or synthetic hiking socks. Doubling up on socks often causes blisters because it creates friction. Your boots should have enough room for thick socks without feeling tight. Boots that are too snug can feel uncomfortable and make it harder for your feet to stay warm during long hikes. If you are hiking in snow or on icy trails, consider gaiters to keep snow out of your boots. Wet feet become cold feet very quickly, and cold feet can ruin a hike faster than almost anything else.
A warm hat is non-negotiable in cold weather. A good hat makes a noticeable difference in overall warmth and comfort. Look for hats made from wool or synthetic materials that cover your ears completely. Bring a lightweight buff or neck gaiter to protect your neck and lower face from wind. On very cold or windy days, this simple piece of fabric prevents heat loss and protects exposed skin from windburn.
Managing Your Body Temperature on the Trail
One of the biggest mistakes beginners make in cold weather hiking is starting the hike overdressed. You should feel slightly chilly when you begin. As you hike, your body generates heat, and within minutes you will feel comfortable. If you start warm, you will overheat quickly, sweat heavily, and then feel dangerously cold when you stop moving. This principle is often called “be bold, start cold.” It feels counterintuitive, but it works.
Adjust your layers frequently as you hike. When you start climbing uphill, remove a layer before you start sweating. When you stop for a break, add a layer immediately, before you feel cold. Waiting until you are already cold means you are already losing body heat. Keep your insulation layer easily accessible in your daypack so you can grab it quickly during breaks. Ventilation zippers on jackets and pants help regulate temperature without requiring you to remove entire layers. Open these vents when you are working hard, and close them when you slow down or stop.
Pay attention to your hands and feet specifically. If your fingers or toes start feeling numb or painful, stop and address it immediately. Take a break, add layers, eat some quick energy food, and do not resume hiking until feeling returns. Ignoring early signs of cold extremities can lead to frostbite, which is a serious medical condition. If your feet are cold, check that your boot laces are not too tight. Loosening them slightly may improve comfort.
Staying Hydrated and Fueled
You need just as much water in cold weather as you do in summer, but you might not feel as thirsty. Cold air is dry and your body works to warm the air you breathe, so staying hydrated is important even when you do not feel thirsty. Bring at least as much water as you would on a summer hike of similar length. The challenge is keeping your water from freezing. Insulated water bottles or hydration bladders help, but they are not foolproof in extreme cold. Store your water bottle upside down in your pack if possible, because water freezes from the top down. Keep the bottle inside your jacket if temperatures are well below freezing, using your body heat to prevent freezing. Some hikers bring warm tea or hot chocolate in an insulated bottle, which serves double duty as hydration and a morale booster during cold breaks.
Your body burns more calories in cold weather to maintain your core temperature. Bring high-calorie snacks that are easy to eat with gloves on and that will not freeze solid. Nuts, energy bars, chocolate, cheese, and dried fruit all work well. Avoid foods with high water content like fresh fruit, which can freeze. Eat small amounts frequently rather than waiting until you are hungry. This keeps your energy levels steady and helps maintain warmth. If you start feeling unusually cold, eat something immediately.
Cold Weather Safety Essentials
Know the signs of hypothermia and frostbite before you hit the trail. Hypothermia symptoms include intense shivering, confusion, slurred speech, drowsiness, and loss of coordination. Frostbite appears as numbness, white or grayish-yellow skin, and unusually firm or waxy-feeling skin. If you or a hiking partner shows any of these signs, stop immediately, get to shelter if possible, add layers, and eat warm food. In serious cases, you need to get off the trail and get professional help.
Always tell someone your hiking plan, including which trail you are taking and when you expect to return. Cell service is unreliable in many hiking areas, so do not count on your phone for emergencies. Bring a paper map and know how to read it. Start your hike earlier in the day than you would in summer. Daylight hours are shorter in winter, temperatures drop quickly after sunset, and you do not want to be caught on the trail in the dark and cold. Plan to be back at the trailhead with at least an hour of daylight to spare.
Check the weather forecast before you leave, but understand that mountain weather can change rapidly. Bring extra layers beyond what you think you will need. Pack an emergency kit with a whistle, fire starter, emergency blanket, headlamp, and extra food. This gear stays in your pack for every cold weather hike, even short ones. Most of the time you will not need it, but when you do need it, you really need it.
Frequently Asked Questions
What temperature is too cold for hiking?
There is no universal temperature that is too cold for hiking, because your experience depends on many factors including wind, precipitation, your fitness level, and your gear. Many experienced hikers enjoy trails in temperatures well below freezing. As a beginner, consider postponing your hike if temperatures drop below 20°F, if windchill brings the effective temperature significantly lower, or if you are facing a combination of cold and wet conditions. Rain or snow combined with cold temperatures creates a much higher risk of hypothermia than dry cold alone. Start your cold weather hiking experience on milder days, perhaps in the 30-40°F range, to build skills and confidence. As you gain experience with layering and temperature management, you can gradually tackle colder conditions. Always check the forecast for the specific elevation you will be hiking, as mountain temperatures can be 10-20 degrees colder than valley temperatures. Wind multiplies the cooling effect of cold air, so pay attention to windchill values, not just temperature. If you are questioning whether it is too cold, trust your instinct and choose a different day or a shorter trail closer to your starting point.
How should I dress for a cold weather hike?
Dress in three distinct layers: a moisture-wicking base layer, an insulating middle layer, and a weatherproof outer layer. Your base layer should be synthetic or merino wool fabric that fits snugly against your skin, never cotton. This layer manages sweat to keep you dry. Your insulation layer should be a fleece, synthetic puffy jacket, or down jacket that traps warm air. Choose thickness based on the temperature and your activity level. Your outer layer should be a waterproof, breathable shell jacket that blocks wind and precipitation. For your lower body, use the same layering principle with base layer bottoms and shell pants over them if conditions warrant. Protect your extremities with warm wool or synthetic socks, insulated gloves, and a hat that covers your ears. Bring extra layers in your pack that you can add during breaks or if the weather changes. Remember to start your hike feeling slightly cool, as your body will generate significant heat within the first 10 minutes of walking. Overdressing at the start leads to sweating, which makes you dangerously cold later. Keep layers accessible so you can adjust them frequently throughout your hike without having to unpack your entire bag.
Should I bring trekking poles for cold weather hiking?
Trekking poles are especially useful in cold weather conditions because winter trails often have ice, packed snow, and slippery surfaces. Poles provide stability and help prevent falls, which are more likely on winter terrain. They also reduce strain on your knees during descents, which matters more when you are carrying the extra weight of winter gear and wearing heavier boots. Trekking poles for beginners do not need to be expensive or highly technical. Look for adjustable poles that you can shorten for uphill sections and lengthen for downhill. The poles give you four points of contact with the ground instead of two, which dramatically improves balance on uneven or slippery surfaces. If your hands tend to get cold easily, the constant motion of using poles actually helps keep blood flowing to your fingers. Some hikers worry that poles are awkward or make them look inexperienced, but in reality, poles are widely used by hikers of all skill levels, especially in winter conditions. You can start without poles on your first couple of cold weather hikes to see how you feel, but if you notice yourself slipping or feeling unstable, poles are worth trying on your next outing.
How do I keep my water from freezing on a winter hike?
Preventing frozen water requires a combination of insulation and smart packing strategies. Use an insulated water bottle sleeve or an insulated bottle designed for cold weather. Store your water bottle upside down in your pack, because water freezes from the top down, and keeping the drinking spout at the bottom keeps it accessible longer. If temperatures are well below freezing, carry your water bottle inside your jacket where your body heat keeps it from freezing. This feels awkward at first but becomes normal quickly, and it ensures you have liquid water available. Some hikers bring a wide-mouth bottle filled with warm or hot water at the start of the hike, which stays liquid longer and provides a warm drink during breaks. Avoid hydration bladders with hoses in very cold weather unless the system has insulation designed specifically for winter use, because the thin hose freezes quickly and becomes unusable. Bring more water than you think you need, because if one bottle freezes, you want a backup. On extremely cold days, some experienced hikers bring water in the form of hot tea or soup in a vacuum-insulated thermos, which serves as both hydration and a warming break during the hike.
The Bottom Line
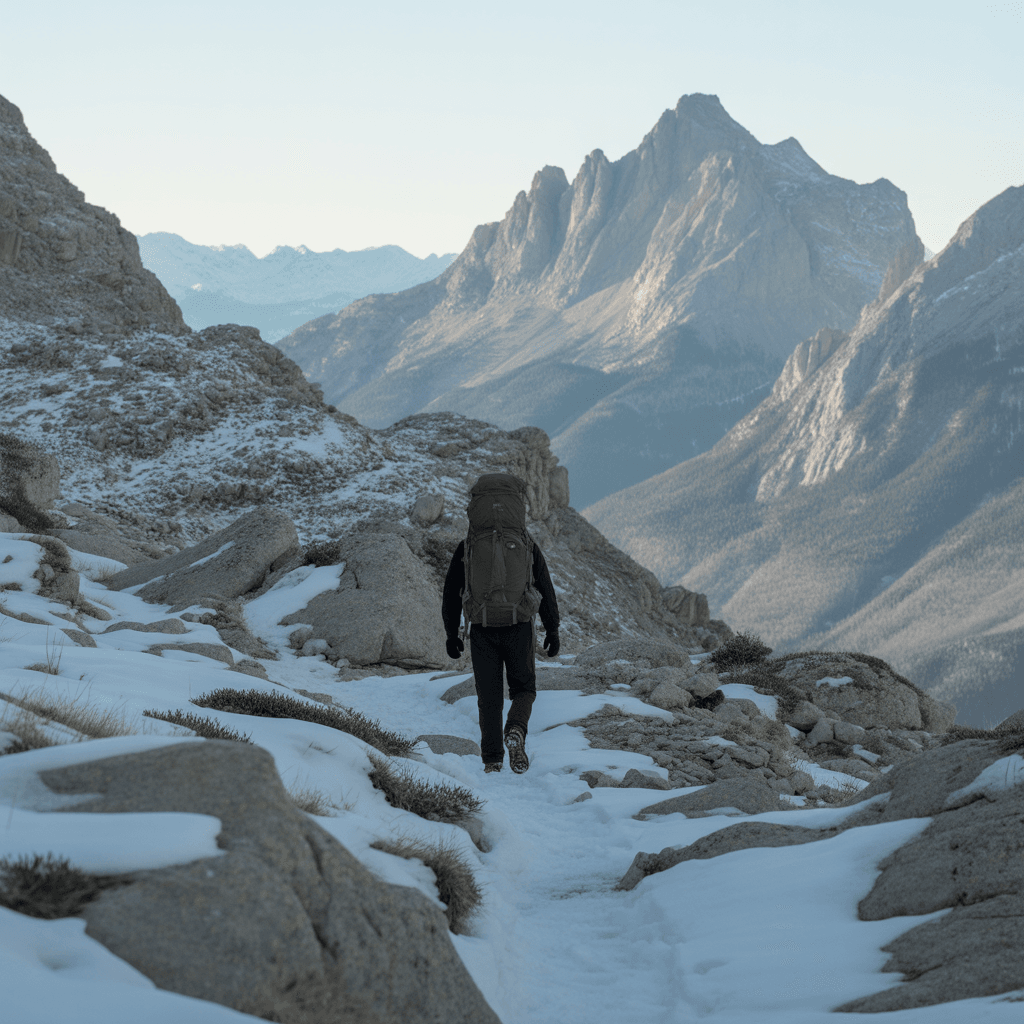
Cold weather hiking opens up a whole new season of outdoor experiences, and with the right preparation, it can be just as enjoyable as summer hiking. The key is understanding how to layer clothing effectively, protecting your extremities, managing your body temperature as you move, staying hydrated and fueled, and recognizing early warning signs of cold-related problems. Start with shorter hikes on milder winter days to build your confidence and refine your layering strategy. Each hike teaches you something about how your body responds to cold, which layers work best for your activity level, and how much food and water you actually need.
If you are planning your first cold weather hike, choose a familiar trail that you have hiked before in warmer months. This removes navigation uncertainty and lets you focus on managing the cold weather aspects. If you tend to run cold or have concerns about staying warm, consider hiking with a more experienced friend on your first few winter outings. If you are hiking solo, stick to popular trails where other hikers are likely to be around, and always tell someone your plans.
Do not let fear of the cold keep you indoors all winter. With proper layering, the right gear like insulated gloves and boots, and attention to safety basics, winter trails offer solitude, beautiful snow-covered landscapes, and a sense of accomplishment that summer hiking cannot match. Start small, learn from each outing, and gradually build your cold weather hiking skills and confidence throughout the season.
Disclosure: As an Amazon Associate, we earn from qualifying purchases. This does not affect our editorial recommendations.