
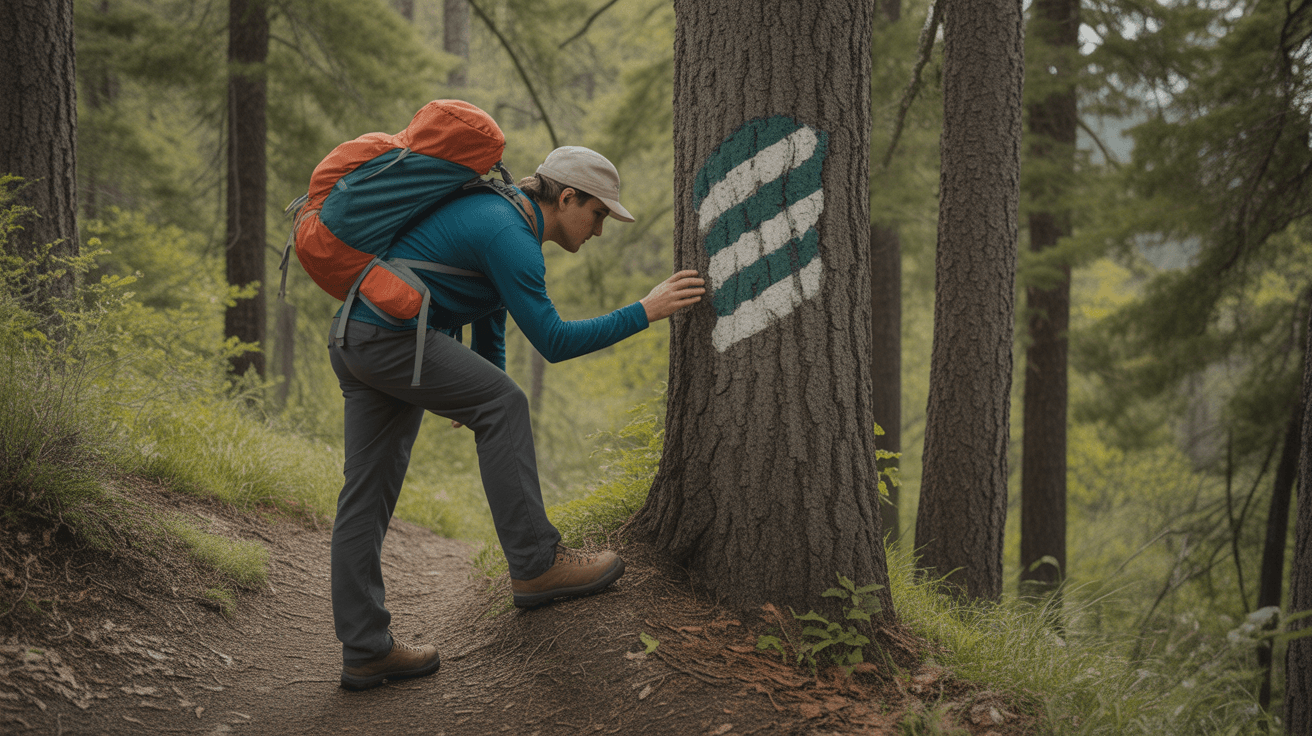
You are halfway up a beautiful trail when suddenly the dirt path becomes less obvious, and you realize you have not seen one of those painted rectangles on a tree in a while. Your heart speeds up a little. Are you still on the trail? Did you miss a turn? If this sounds familiar, you are not alone – understanding trail markers is one of those skills that experienced hikers make look easy but nobody really explains to beginners.
Trail markers, also called blazes, are the visual language of hiking trails. They tell you where to go, when to turn, and whether you are at the start or end of a path. Once you learn what the different colors, shapes, and patterns mean, following a trail becomes much less stressful. This guide will explain the most common types of trail markers you will encounter and exactly what each one is telling you.
What to Look For
Understanding Basic Trail Blazes
A blaze is a painted mark on a tree, rock, or post that shows you are on the correct trail. The most common blaze is a simple vertical rectangle, usually about two inches wide and six inches tall, painted at roughly eye level. When you see these blazes appearing regularly – typically every 50 to 100 feet in forested areas – you know you are on the marked trail.
Colors matter. Different trails use different colors to distinguish themselves from one another. On many East Coast trails, you might see blue blazes for one trail, red for another, and white for major long-distance routes like the Appalachian Trail. There is no universal color system that applies everywhere, so always check your trail map or the trailhead sign to see which color corresponds to your chosen route. Some trail systems post a legend right at the parking area showing which color goes with which trail name.
The key is consistency. Once you start following blue blazes, for example, keep following blue blazes. If you suddenly see only red blazes and no blue ones, you have likely wandered onto a different trail. This is your signal to backtrack until you see your original color again.
What Double Blazes and Offset Blazes Mean
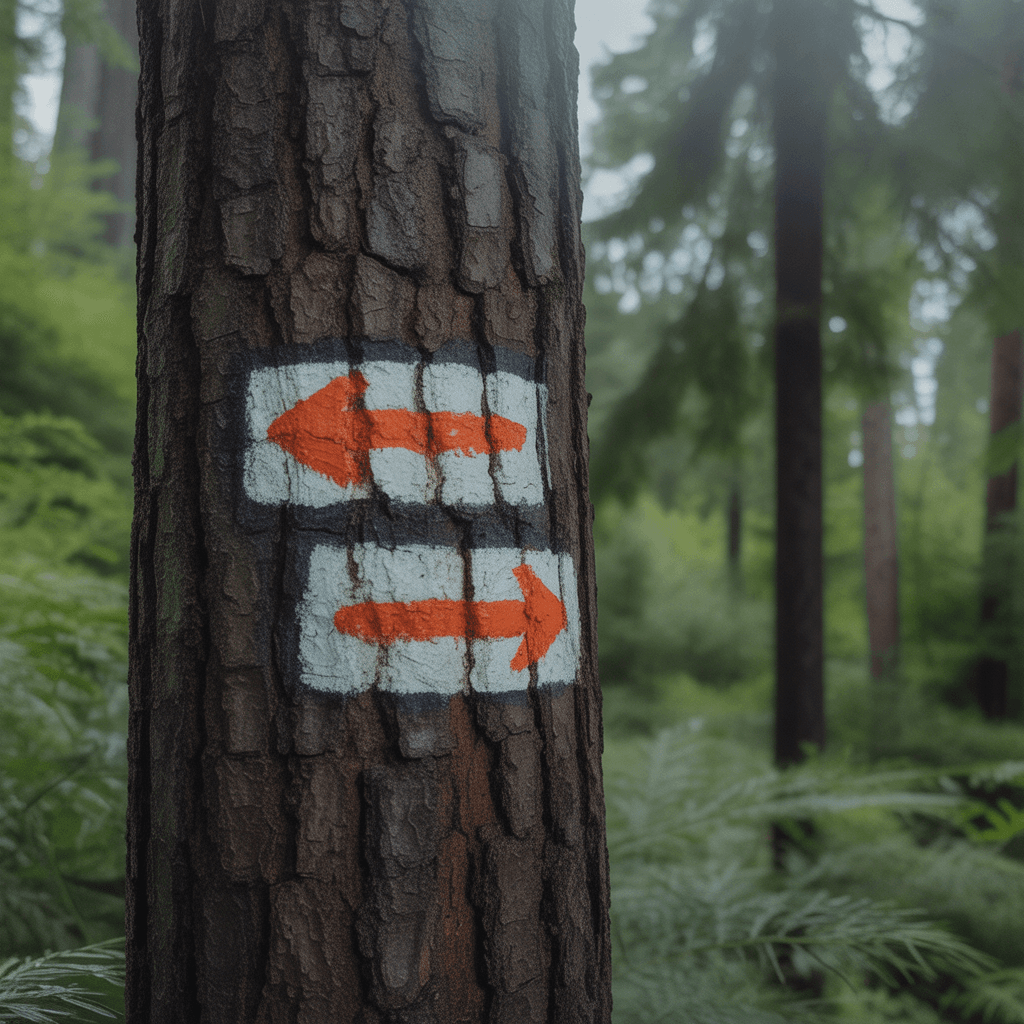
Single blazes tell you that you are on the right path and should keep going straight. But when you see two blazes stacked vertically with one offset higher than the other, that is a turn signal. The direction of the offset tells you which way to turn – if the top blaze is offset to the right, the trail turns right. If the top blaze is offset to the left, expect a left turn ahead.
This offset system exists because trails do not always make obvious 90-degree turns. Sometimes the path curves gradually, or a turn happens in an area where multiple unmarked paths intersect. The double offset blaze gives you advance warning – usually 15 to 30 feet before the actual turn – so you can start looking for where the trail goes next. When you see this marker, slow down and scan the area ahead for the continuation of the path.
Some trails use a slightly different system where two blazes stacked directly on top of each other (no offset) mean “caution” or “pay attention” – perhaps because the trail is about to cross a road, enter a confusing area, or reach a significant landmark. Always check your specific trail system, but offset blazes almost universally mean a turn is coming.
Recognizing Trailhead and Trail End Markers
Three blazes arranged in a specific pattern tell you something important about the trail structure. Three blazes forming an upward-pointing arrow or triangle typically mark the trailhead – the official start of the trail. You will usually see this marker near the parking area or where the trail leaves a road. It is the trail saying “this is where the marked path begins.”
Three blazes forming a downward-pointing arrow or triangle mark the end of the trail. This does not necessarily mean you have reached a destination like a summit or waterfall – it just means the officially maintained and marked trail ends at that point. Beyond that marker, you might find unmarked paths, private property, or wilderness where navigation becomes your own responsibility.
Some trail systems add a fourth variation: three blazes in a horizontal line, which can indicate a junction where your trail meets another trail, or sometimes a significant landmark like a shelter or water source. The exact meaning varies by location, which is why carrying a trail map or downloading a trail app before you start is so valuable.
Understanding Cairns in Open and Rocky Terrain
When trees disappear – above treeline, in deserts, or across rocky terrain – painted blazes become impractical. This is where cairns take over. A cairn is a deliberately stacked pile of rocks, usually three or more stones balanced on top of each other, placed at intervals to mark the route.
Cairns are particularly common in alpine environments, desert hikes, and anywhere the landscape is mostly rock or low vegetation. They serve the same purpose as blazes: confirming you are on the correct route. In areas with good visibility, you should be able to stand at one cairn and see the next one ahead of you. If you cannot see another cairn, stop and carefully scan the area before continuing. Before you start scrambling up that rocky slope, make sure you are heading toward an actual trail marker and not just a random pile of rocks.
One important note: not every stack of rocks is an official trail marker. Hikers sometimes build their own cairns for various reasons, which can create confusion. Official cairns are usually more substantial, regularly spaced, and often have a slightly weathered look from being maintained over time. If you see a cairn but feel uncertain, look for additional confirmation like worn rock surfaces, packed dirt between boulders, or other signs of regular foot traffic. When in doubt, many hikers carry a GPS watch for hiking as backup navigation in areas where markers are sparse.
Reading Trail Signs and Posts
Trail signs provide information that blazes and cairns cannot: names, distances, directions to landmarks, and junction information. You will typically find these at trailheads, trail intersections, and major decision points. A good trail sign tells you where you are, what trails are available, and how far it is to key destinations.
At intersections, signs usually include arrows pointing in different directions with trail names and distances. “Blue Trail: Summit 1.2 miles” with an arrow tells you exactly what you need to know. Some signs also include difficulty ratings, estimated hiking times, or warnings about trail conditions. Take a moment to read these completely – and if you are new to hiking, consider taking a photo of intersection signs with your phone so you can reference them on your way back.
Wooden or metal posts without signs also serve as markers. A simple post with a colored band or metal cap in a specific color marks the trail just like a blaze would. These are common in areas where painting trees is not allowed or where natural features make blazing difficult. The post serves as a placeholder saying “the trail continues from here.” These posts are just as reliable as painted blazes once you check your map or trailhead information beforehand to see what color or marking system your specific trail uses. Speaking of preparation, having the right hiking daypack to carry your map, water, and essentials makes following any trail system much easier.
What to Do When You Lose the Trail Markers
Even on well-marked trails, you will occasionally reach a point where you have not seen a blaze or cairn for longer than expected. This happens to everyone. The first rule: stop walking. Every step you take in the wrong direction makes it harder to get back on track.
Turn around and backtrack to the last marker you clearly remember seeing. This might feel frustrating – you are walking away from your destination – but it is the most reliable way to relocate the trail. Once you reach that last known marker, stop and carefully look for the next one. Sometimes markers are obscured by foliage, placed on the opposite side of a tree from where you are standing, or positioned in an unexpected direction.
If backtracking does not immediately reveal the next marker, scan methodically. Look up (blazes can be placed higher than eye level), look down (especially in rocky areas where the route might be marked on boulders), and look to both sides. In dense forests, markers are sometimes placed every 25 feet; in open areas, they might be 200 feet apart. Give yourself time to find the next one before assuming you are lost. This is also why it is smart to mention your plans to someone before you hike and to carry basics like water, snacks, and a basic first aid kit in case your hike takes longer than expected. If you are concerned about weather, a quality rain jacket can make an unexpected delay much more comfortable.
Frequently Asked Questions
What do different colored trail markers mean?
Trail marker colors identify which specific trail you are on, but there is no nationwide standard system – colors are assigned by individual trail systems, parks, or hiking organizations. In one park, blue might mark a moderate loop trail, while in another park, blue could indicate a difficult summit route. The important thing is to check the trailhead sign or map before you start hiking to see which color corresponds to your chosen trail.
Some general patterns do exist. White blazes mark many major long-distance trails like the Appalachian Trail. Blue is often used for side trails or connectors. Yellow and red are common for shorter loop trails. But these are tendencies, not rules. Always verify your specific trail system. Many trailhead kiosks include a color-coded map showing each trail and its corresponding blaze color. Take a photo of this with your phone before you start hiking so you can reference it if you reach a confusing junction later.
How far apart should trail markers be?
Trail marker spacing varies based on terrain, visibility, and trail management standards, but most well-maintained trails place markers every 50 to 100 feet in forested areas. In open terrain where visibility is good – like alpine meadows or ridgelines – markers might be spaced 200 feet or more apart because you can see farther ahead. In dense forest, confusing junctions, or areas with multiple unofficial paths, markers appear more frequently to keep hikers on track.
The general rule is that you should be able to see the next marker from the current one, or at least be able to find it within a reasonable distance by walking in the obvious direction of the trail. If you have walked more than a couple of minutes without seeing a marker, stop and look around carefully. In rocky terrain where cairns are used instead of blazes, spacing tends to be wider because rock piles are often larger and more visible from a distance than painted rectangles on trees.
Can I follow a trail without markers?
Some trails – particularly in wilderness areas, on less-maintained routes, or on unofficial paths – have few or no markers at all. Following these trails requires stronger navigation skills: reading topographic maps, using a compass or GPS device, and recognizing natural features like ridgelines, streams, and valleys. If you are new to hiking, it is better to start with well-marked trails until you build confidence and experience.
Unmarked trails often show signs of use even without blazes or cairns. Look for a clear tread where vegetation is worn down, rocks are displaced, or the ground is compacted from foot traffic. Fallen logs often have notches cut into them or show wear from hikers climbing over. Tree roots across the path become polished from boots. These subtle clues tell you that people regularly walk this route. However, relying on these signs requires experience to distinguish a real trail from a game path or social trail that might not lead where you want to go. Until you develop that judgment, stick with marked trails and consider carrying a reliable navigation tool. Many beginners find that a GPS watch designed for hiking provides reassuring backup even on marked trails.
What is the difference between a blaze and a cairn?
A blaze is a painted mark – usually a rectangle – on a tree, rock, or post that indicates the route of a trail. Blazes are most common in forested areas where trees provide convenient surfaces for painting. They are inexpensive to maintain, highly visible, and can be easily refreshed when paint fades. Different colored blazes distinguish different trails in the same area.
A cairn is a stack of rocks, typically three or more stones deliberately balanced on top of each other, used to mark trails in areas where blazes are not practical. You will find cairns above treeline, in rocky terrain, in deserts, and anywhere trees are scarce. They serve exactly the same purpose as blazes – confirming the route – but use natural materials instead of paint. Cairns require more effort to build and maintain but are necessary in environments where painted markers would fade quickly, have nothing to be painted on, or would be environmentally inappropriate.

The Bottom Line
Learning to read trail markers transforms hiking from a potentially stressful navigation puzzle into a straightforward outdoor experience. Start with well-marked trails that use clear, consistent blazing systems – most state parks and popular hiking areas maintain excellent marker networks perfect for building your confidence. Pay attention to the patterns: single blazes mean continue forward, offset double blazes signal turns, and three blazes mark beginnings or endings.
For your first few hikes, choose trails with a single, distinct blaze color and good online reviews mentioning clear marking. Bring a trail map or download an offline map on your phone as backup. Take a photo of the trailhead sign showing the blaze color for your specific trail. Hike at a comfortable pace that lets you spot markers without constantly scanning – they should appear naturally as you walk. If you reach a confusing section, remember that stopping and backtracking to the last clear marker is always smarter than pushing forward into uncertainty.
As you gain experience, you will start recognizing markers almost unconsciously, the same way you notice road signs while driving. You will develop an intuition for marker spacing on different trail types and terrain. What felt like detective work on your first hike will become automatic on your tenth. The goal is not to become an expert navigator on day one – it is to build confidence gradually, one well-marked trail at a time, until following markers feels as natural as following a sidewalk.
Disclosure: As an Amazon Associate, we earn from qualifying purchases. This does not affect our editorial recommendations.