
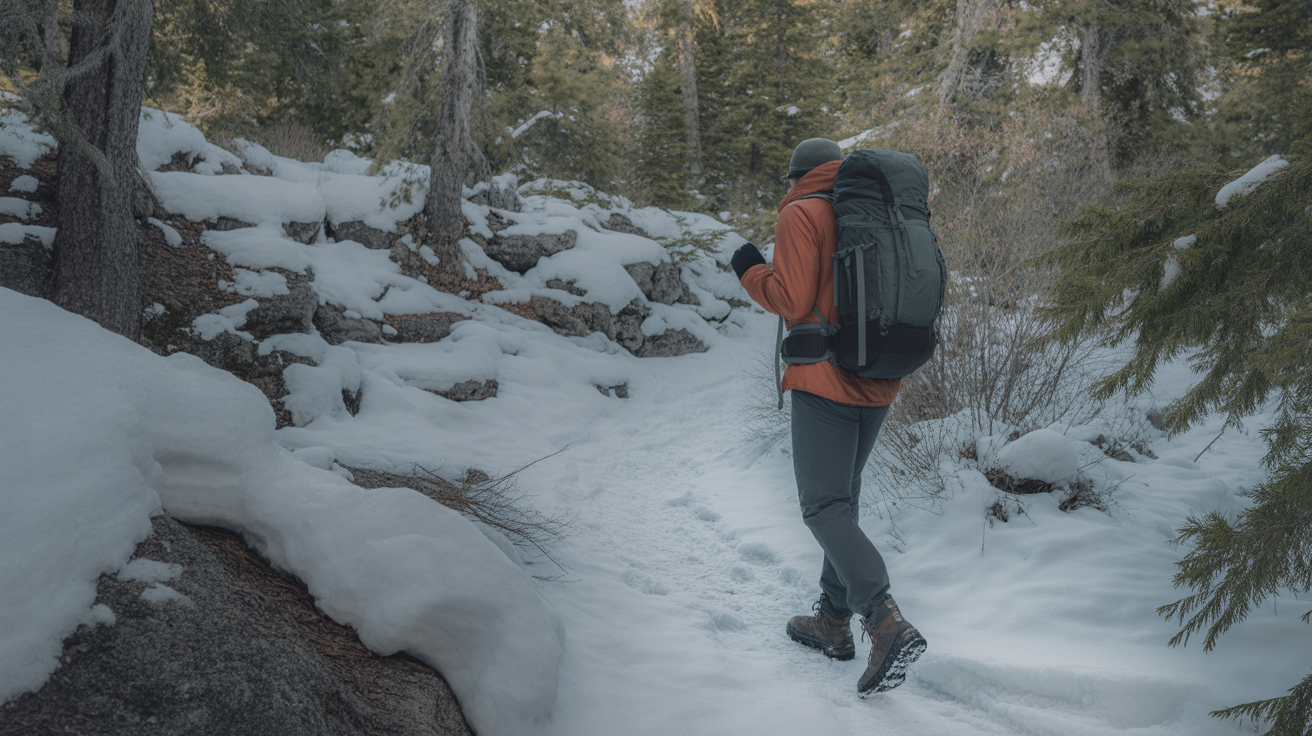
Winter hiking presents a tricky challenge that catches many people off guard: staying warm without turning your jacket into a mobile sauna. You start the trail cold, work up a sweat climbing that first hill, then freeze when you stop for a snack break. It feels impossible to get it right, and the fear of being too cold (or soaked in sweat that turns icy) keeps many hikers indoors until spring.
The good news is that staying warm on winter trails is not about having the most expensive gear or the thickest jacket. It is about understanding how your body generates and loses heat during activity, then using a flexible layering system that adapts as conditions change. This guide walks you through exactly how to dress for winter hiking, when to add or remove layers, and what mistakes to avoid so you can enjoy cold weather trails comfortably and confidently.
What to Look For
Understanding How Your Body Heats and Cools on the Trail
Your body is a furnace when you hike. Even in freezing temperatures, physical activity generates significant heat, which is why you can feel hot while hiking in weather that would leave you shivering if you were standing still. The challenge is that this heat production is not constant. It spikes when you are climbing uphill, drops during flat sections, and plummets when you stop moving.
Moisture is your biggest enemy in winter. When you sweat, that moisture sits against your skin and in your clothing layers. The moment you slow down or stop, evaporative cooling kicks in and that trapped moisture pulls heat away from your body faster than cold air alone ever could. This is why experienced winter hikers obsess over ventilation and removing layers before they start sweating rather than after.
Wind and precipitation accelerate heat loss dramatically. A 30-degree day with no wind feels manageable. Add 15 mph winds and the effective temperature on your exposed skin drops significantly. Light snow or freezing rain adds another layer of complexity because moisture compromises insulation. Understanding these three factors (activity level, moisture, and weather exposure) is the foundation of staying warm without overheating.
The Three Layer System Explained for Winter Hiking
Winter hiking clothing works as a system, not individual pieces. The three-layer approach gives you maximum flexibility to adjust as your body temperature and conditions change throughout the hike.
The base layer sits against your skin and has one job: move moisture away from your body. This layer should be made from merino wool or synthetic materials designed for moisture wicking. Never wear cotton as a base layer in winter. Cotton absorbs moisture, holds it against your skin, and stops insulating when wet. Your base layer should fit snugly but not restrict movement. For most winter day hikes, a midweight base layer top and bottom provides the right balance of warmth and breathability.
The mid layer provides insulation by trapping warm air close to your body. Fleece jackets, insulated synthetic jackets, and down pullovers all work as mid layers. The key is that this layer should be easy to take on and off without removing your pack or other layers. Many hikers carry their mid layer in their pack at the start of a winter hike and put it on during the first break or when moving from uphill climbing to flat terrain. A full-zip fleece is more versatile than a pullover because you can vent heat by unzipping without fully removing it.
The outer layer (shell layer) protects you from wind, snow, and rain while allowing moisture from sweat to escape. A good winter shell is windproof, water-resistant or waterproof, and breathable. This layer stays in your pack most of the time and comes out when weather conditions deteriorate or when you stop for extended breaks. Shells with pit zips (underarm vents) give you ventilation options when you need to wear the shell while still moving. If you are just getting started with winter hiking, consider investing in a quality rain jacket for hiking that can serve as your shell layer across multiple seasons.
Protecting Your Extremities in Cold Weather
Your body prioritizes keeping your core warm, which means your hands, feet, and head lose heat quickly in winter conditions. Many hikers dress their torso correctly but neglect their extremities, leading to cold, uncomfortable outings.
Hands require a layered approach just like your torso. Lightweight liner gloves work well during active hiking when your hands are generating heat. When you stop or when temperatures drop, add insulated mittens or gloves over the liners. Mittens keep hands warmer than gloves because your fingers share heat, but gloves offer better dexterity for adjusting gear, using trekking poles, or taking photos. Many winter hikers carry both and switch based on conditions. Quality hiking gloves designed for cold weather should be water-resistant and allow enough dexterity to operate zippers and pack straps without removing them.
Feet stay warmer when they are not constricted. This is counterintuitive, but cramming thick socks into tight boots restricts blood flow and makes your feet colder. Wear one pair of moisture-wicking wool or synthetic hiking socks in boots with enough room for your toes to move freely. If your feet run cold, invest in insulated winter hiking boots rather than adding more sock layers to summer boots. Your regular hiking boots may work fine for winter day hikes if temperatures stay above 20 degrees and trails are dry.
Your head and neck lose significant heat because of high blood flow near the surface. A lightweight beanie that covers your ears is essential. Start the hike with it in your pack, then put it on during breaks or when moving into shade or wind. A neck gaiter or buff pulled up over your face protects against wind and cold air without the bulk of a scarf. These are easy to pull down when you are working hard uphill and need maximum ventilation.
When to Add and Remove Layers During Your Hike
The secret to staying warm without overheating is proactive layer management. Waiting until you are already sweating or already cold means you have waited too long. Adjusting layers should happen frequently throughout a winter hike.
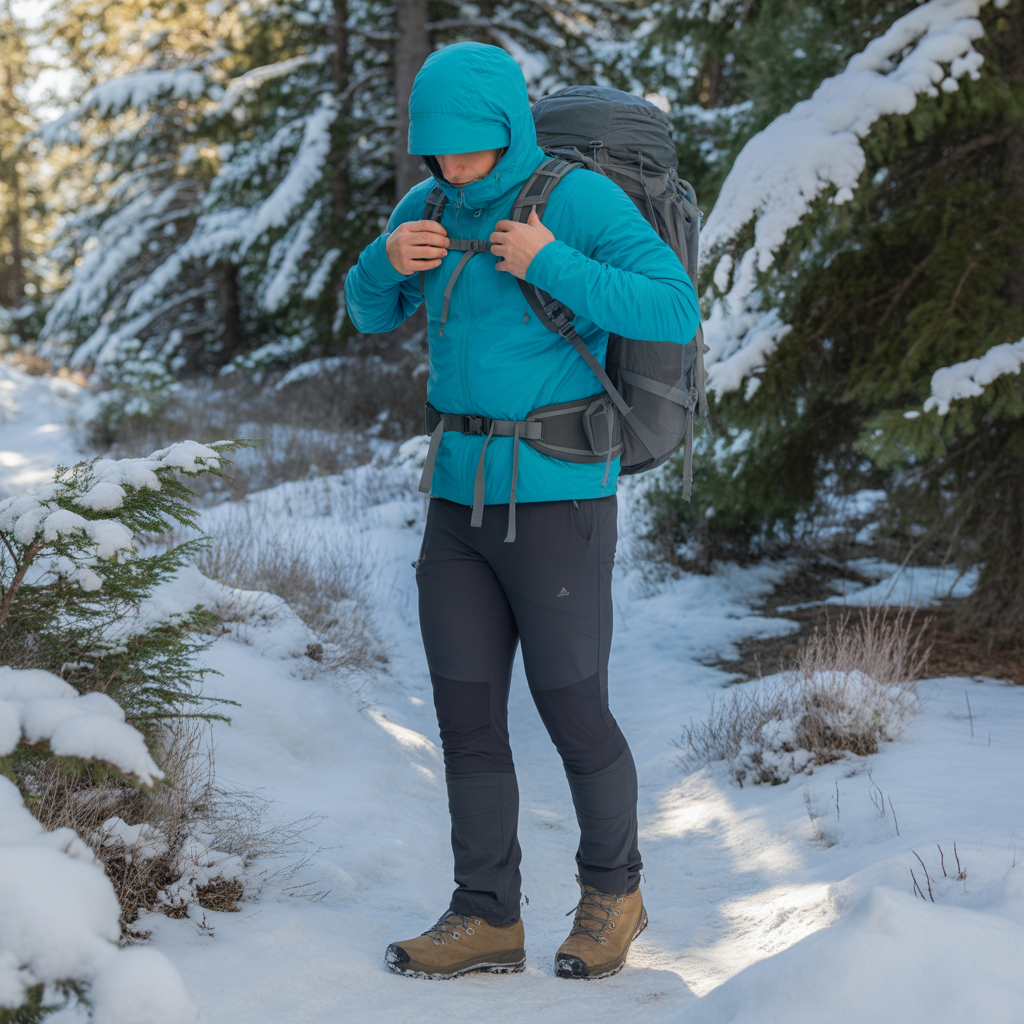
Start your hike slightly cold. This feels uncomfortable in the parking lot, but within 10 minutes of hiking your body will warm up. If you start comfortable, you will overheat quickly once you are moving. A good rule is to feel slightly chilly (not shivering, just cool) when you begin hiking. Your body will reach a comfortable temperature within the first half mile.
Remove your mid layer before you start sweating on climbs. If you feel yourself getting warm, stop and remove a layer immediately. It takes 30 seconds to unzip your pack, stuff a fleece inside, and get moving again. That small pause prevents 20 minutes of sweating that will make you cold later. Many winter hikers unzip or remove their mid layer at the base of any significant uphill section, then add it back at the top.
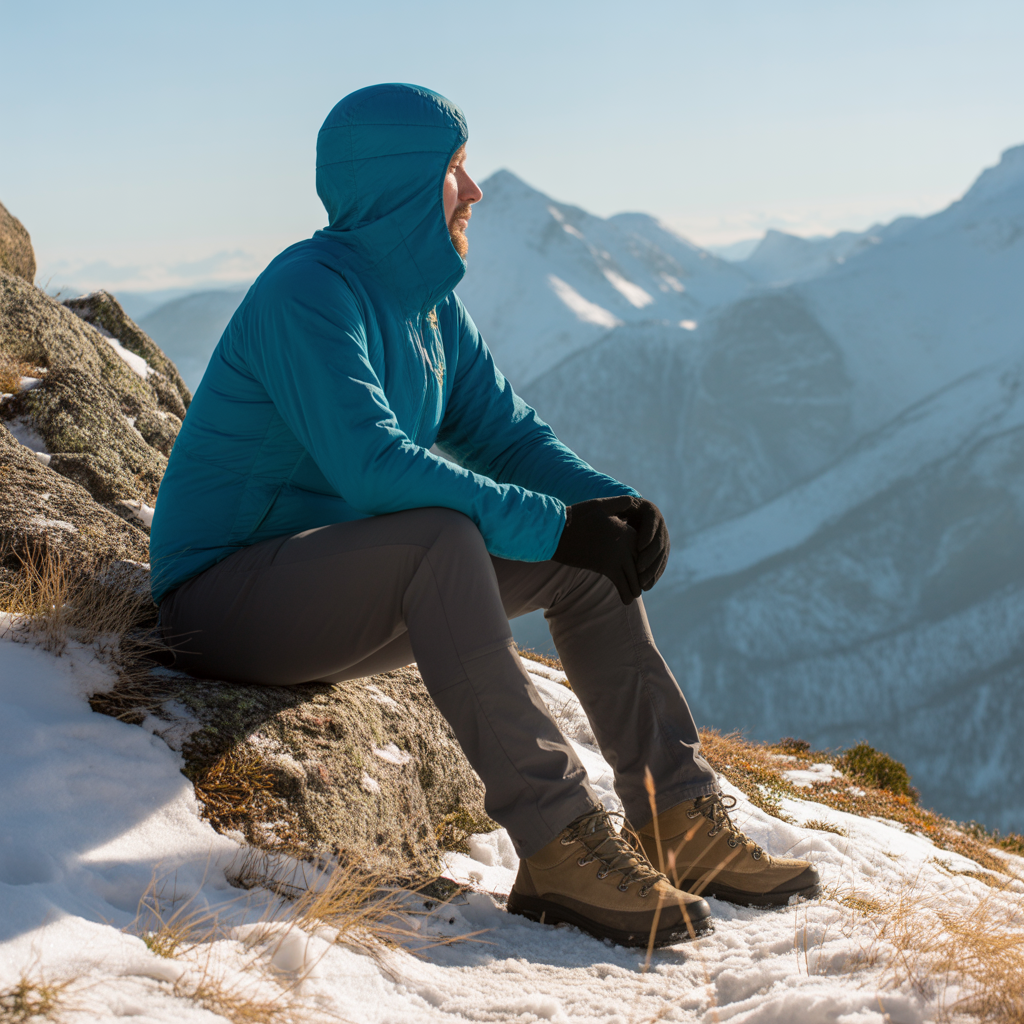
Add layers during every break longer than five minutes. Your body temperature drops quickly when you stop moving in winter. Before you sit down for a snack or water break, add your mid layer or shell. This prevents the chill from setting in and keeps you comfortable during the rest stop. Remove the added layer again before you start hiking.
Vent before removing. If you are getting warm but not overheating, try unzipping your jacket, opening pit zips, or removing your hat before taking off an entire layer. Sometimes a small ventilation adjustment is all you need to regulate temperature without the hassle of layer changes.
Additional Winter Hiking Warmth Strategies
Beyond clothing layers, several other strategies help maintain warmth on winter trails. Eating and drinking regularly keeps your internal furnace burning. Your body needs fuel to generate heat, and cold weather increases caloric demands. Pack high-energy snacks like nuts, chocolate, or energy bars and eat small amounts every 45 minutes to an hour. Warm liquids in an insulated bottle provide both hydration and an internal heat boost.
Keep moving when possible. Standing still for extended periods in winter is a recipe for getting cold. If your group stops for a break, keep shifting your weight, do a few squats, or pace around rather than standing motionless. This maintains some heat production without the exertion of hiking.
Use trekking poles to engage your upper body and generate more heat. Poles add an upper body workout component to hiking that increases overall heat production and keeps your arms from getting cold. They also improve stability on snow and ice, which prevents the muscle tension and energy drain that comes from fear of slipping.
Protect your gear from moisture. Keep extra layers and clothing in waterproof stuff sacks or dry bags inside your pack. If your spare mid layer gets wet from snow or condensation, it loses its ability to warm you when you need it. A simple plastic trash bag liner in your pack protects everything from moisture.
Common Winter Hiking Clothing Mistakes to Avoid
Wearing cotton is the most dangerous winter clothing mistake. Cotton absorbs up to 27 times its weight in water, takes forever to dry, and provides no insulation when wet. This applies to cotton jeans, cotton t-shirts, cotton long underwear, and cotton socks. Check every layer before a winter hike to ensure nothing is cotton. Even cotton-blend materials can be problematic in cold, wet conditions.
Overdressing at the start leads to excessive sweating, which leads to getting cold later. It is extremely difficult to dry out once you have soaked your base layer with sweat on a winter trail. The discomfort of starting slightly cold for 10 minutes is far better than being wet and cold for three hours.
Ignoring wind chill creates a false sense of security. A sunny 30-degree day feels warm in the parking lot but can feel like the teens or single digits on an exposed ridgeline with wind. Always pack a windproof shell layer and extra insulation even if the forecast looks mild. Weather can change quickly, and what starts as a pleasant winter hike can become challenging if wind picks up.
Skipping gaiters in deep snow is a cold, wet mistake. Gaiters keep snow from getting into your boots, which prevents wet socks and cold feet. Once your feet are wet in winter, it is nearly impossible to warm them back up without ending the hike.
Frequently Asked Questions
What temperature is too cold for hiking?
There is no universal temperature cutoff that makes hiking too cold, but most recreational hikers find that single-digit temperatures (below 10 degrees Fahrenheit) or any temperature with dangerous wind chill requires advanced winter hiking skills and specialized gear. For those new to winter hiking, starting with temperatures between 20 and 40 degrees provides a margin of safety while you learn layer management and how your body responds to cold weather activity. The bigger concern is not the temperature itself but your preparation level. Are you dressed in proper layers? Do you have backup warm clothing? Can you recognize early signs of hypothermia? Have you told someone your hiking plans? These factors matter more than the thermometer reading. Always check wind chill, not just temperature, since wind dramatically accelerates heat loss. A calm 15-degree day can be more manageable than a windy 30-degree day. Start with shorter winter hikes close to your car or trailhead so you can bail out quickly if you get too cold, then build up to longer winter adventures as you gain experience and confidence.
How do I stop my hands from getting cold while hiking?
Cold hands while hiking usually result from poor circulation, wet gloves, or gloves that are too tight. Start with thin, moisture-wicking liner gloves that allow dexterity for adjusting gear and using poles. When your hands start getting cold, add insulated mittens or gloves over the liners. Mittens are warmer than gloves because your fingers share heat, but they sacrifice dexterity. Many hikers carry both mittens and gloves to switch based on activity and temperature. Keep hand warmth by maintaining core body warmth, since your body restricts blood flow to extremities when your core temperature drops. Wear adequate layers on your torso, and consider adding a layer before your hands start feeling cold. Swing your arms in large circles (like a windmill) to push blood into your fingers when they feel cold. Make sure your gloves or mittens are not too tight, which restricts circulation. Finally, keep gloves dry by storing extras in a waterproof bag in your pack, and consider bringing chemical hand warmers for emergency warmth on very cold days. Quality cold weather hiking gloves with water-resistant exteriors and adequate insulation make a significant difference in hand comfort during winter hikes.
Should I wear jeans hiking in winter?
No, you should never wear jeans hiking in winter (or any season). Jeans are made from cotton denim, which absorbs moisture from sweat and precipitation, provides no insulation when wet, and takes hours to dry. In winter conditions, wet cotton jeans can contribute to hypothermia because they pull heat away from your body. Instead, wear hiking pants made from synthetic materials or merino wool that wick moisture away from your skin and continue insulating even when damp. Many winter hikers layer synthetic or wool long underwear (base layer bottoms) under lightweight hiking pants for warmth without bulk. This combination provides better temperature regulation, allows you to vent heat by unzipping pant legs (if your pants have side zips), and keeps you warm even if you encounter snow or wet conditions. Softshell pants offer a good middle ground with light insulation, stretch for mobility, and water resistance. For very cold conditions or deep snow, consider insulated winter hiking pants or add wind-resistant shell pants over your base layers. The key is avoiding cotton in any form on winter trails. Your legs generate significant heat while hiking, so you may not need as much insulation on your lower body as you expect, but you absolutely need moisture management that cotton cannot provide.
What are the signs of hypothermia while hiking?
Understanding the warning signs of hypothermia helps you make better decisions on winter trails. The condition develops when your body loses heat faster than it can produce it, causing your core temperature to drop below normal levels. Early signs include uncontrollable shivering, which is your body working hard to generate heat. You may also experience cold, pale skin, especially on extremities like fingers and toes. Mental changes appear early: confusion, difficulty making decisions, slurred speech, and poor judgment are all warning signs. Someone with hypothermia may insist they are fine and resist help, which is why hiking with partners who can monitor each other is safer in winter. As hypothermia progresses, shivering actually stops (a dangerous sign that the body is shutting down), coordination deteriorates (stumbling, clumsiness), and the person may become drowsy or apathetic. If you notice any signs of hypothermia in yourself or a hiking partner, stop immediately, get to shelter if possible, add dry layers, consume warm liquids and high-energy food, and seriously consider ending the hike. In severe cases, call for emergency help. Prevention is always easier than treatment: dress in proper layers, stay dry, eat and drink regularly, maintain a steady pace that generates heat without causing excessive sweating, and turn back before conditions become dangerous. Never ignore early warning signs or push through when your body is telling you it is too cold.
The Bottom Line
Staying warm on winter trails is a skill that develops with experience, but the fundamentals are straightforward: start slightly cold, manage layers proactively before you sweat or chill, protect your extremities, and understand how your body generates and loses heat during activity. The difference between a miserable winter hike and an enjoyable one often comes down to a few small decisions made throughout the day.
If you are planning your first winter hike, start with a short trail (two to three miles) on a day with mild temperatures and no precipitation. This gives you a low-stakes environment to practice layer management and learn how your body responds to cold weather hiking. If you already have experience with three-season hiking but are new to winter, focus first on upgrading your layer system before worrying about specialized winter gear like insulated boots or expedition-weight base layers. A good merino wool or synthetic base layer, a fleece mid layer, and a windproof shell will handle most winter day hikes.
Pay attention to what works and what does not on each winter outing. Did you sweat too much on the uphill? Start with fewer layers next time. Were your hands freezing at the summit? Add mittens over your gloves or bring a spare pair. Winter hiking rewards careful observation and continuous adjustment. The goal is not to get everything perfect on your first try, but to learn something about your personal temperature regulation and preferences on every trip. With practice, managing warmth on winter trails becomes intuitive, opening up months of beautiful, uncrowded hiking that most people miss by staying indoors.
Disclosure: As an Amazon Associate, we earn from qualifying purchases. This does not affect our editorial recommendations.