
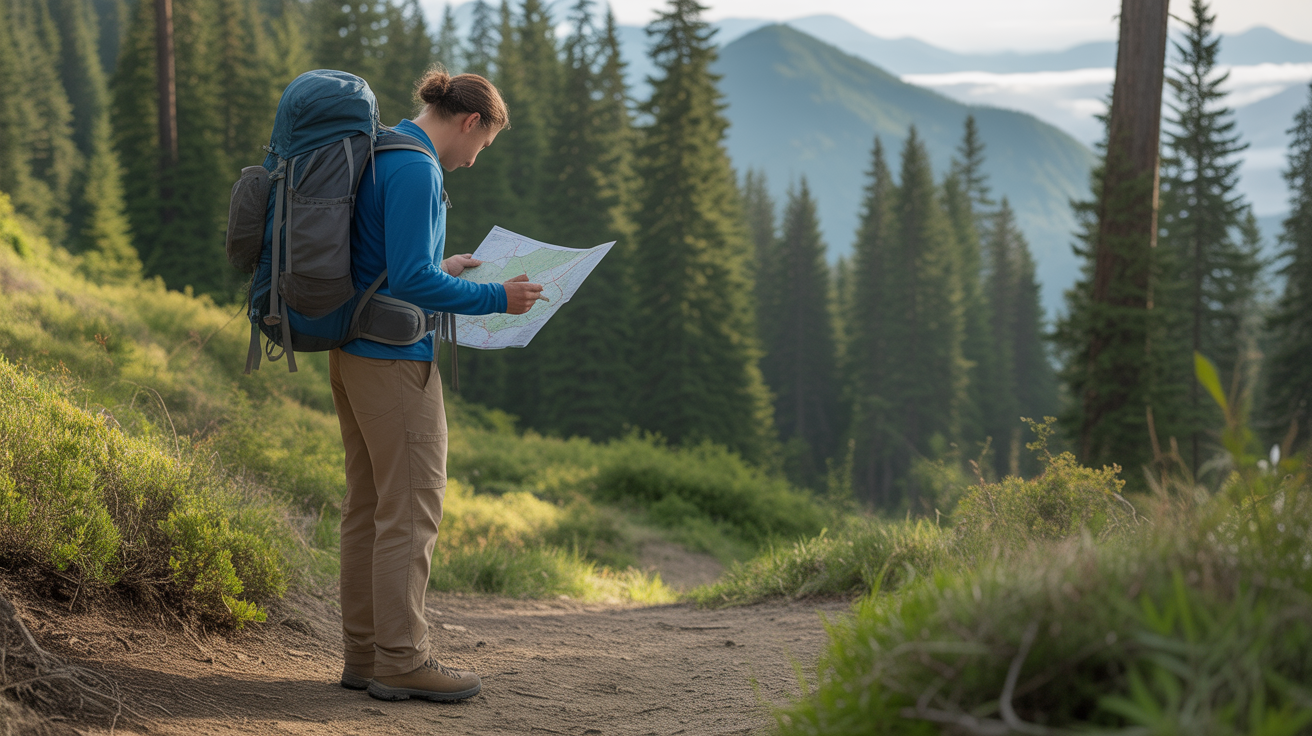
You want to go hiking, but you are staring at your phone wondering where to even start. How do you find a trail? What do you need to bring? How do you know if the weather will cooperate or if the trail is even open? If you have never planned a hiking trip before, the process can feel surprisingly overwhelming – even though millions of people hit the trails every weekend without a second thought.
The good news is that planning a hiking trip is not complicated once you know the steps. This guide will walk you through the entire process, from finding your first trail to knowing exactly what to pack and how to check conditions before you leave home. By the end, you will have a clear plan you can follow for any hike, whether it is a one-hour loop near your house or a full-day adventure.
What to Look For
Choose Your Trail Based on Your Fitness and Experience
The first step in planning any hiking trip is choosing a trail that matches your current fitness level and experience. If you have never hiked before, start with trails labeled as “easy” or “beginner-friendly” that are three miles or less with minimal elevation gain. Elevation gain refers to the total amount of upward climbing you will do on the trail – a trail with 500 feet of elevation gain is much easier than one with 1,500 feet, even if they are the same distance.
Look for trails that are well-marked, close to populated areas, and have recent reviews from other hikers. Avoid trails described as “strenuous,” “remote,” or “unmaintained” until you have several hikes under your belt. Your goal for your first few trips is to build confidence and learn what your body can handle, not to push yourself to exhaustion. You can always increase difficulty once you know your baseline.
When evaluating a trail, pay attention to the round-trip distance and the estimated time. Most beginner hikers walk at about two miles per hour on flat terrain, but that slows significantly on uphill sections. A three-mile trail with 800 feet of elevation gain might take you two to three hours, not the 90 minutes you would expect on flat ground. Give yourself extra time, especially on your first few hikes.
Use Trail-Finding Apps and Websites to Research Options
The easiest way to find trails near you is to use a dedicated hiking app or website. AllTrails is the most popular option and offers a free version that lets you search by location, difficulty, length, and trail type. You can read recent reviews, see photos from other hikers, and download trail maps to your phone. Other reliable options include Hiking Project and local park or forest service websites.
When you search for trails, filter by difficulty level and distance first. Read at least five to ten recent reviews before committing to a trail – these will tell you about current trail conditions, parking availability, how crowded the trail is, and whether the difficulty rating is accurate. Pay special attention to reviews from the past two weeks, as trail conditions can change quickly due to weather, maintenance, or seasonal factors.
Do not rely solely on the trail description provided by the app or website. User reviews will give you the real story about whether a trail is truly beginner-friendly, whether the parking lot fills up early, and whether there are any unexpected obstacles like creek crossings or overgrown sections. This research phase is critical and should take at least 15 to 20 minutes before you finalize your trail choice.
Check Trail Conditions and Weather Before You Go
Once you have chosen a trail, you need to verify that it is actually open and safe to hike. Start by checking the official website for the park or forest where the trail is located – many trails close seasonally due to snow, fire danger, wildlife activity, or maintenance work. Do not assume that because a trail appears on an app, it is currently open. Always verify with the managing agency.
Next, check the weather forecast for the specific area where you will be hiking, not just your home town. Mountain and coastal weather can be dramatically different from nearby cities. Look at the hourly forecast, not just the daily summary, and pay attention to temperature, precipitation, and wind. If there is any chance of thunderstorms, heavy rain, or high winds, reschedule your hike. Your first few hikes should be in mild, stable conditions so you can focus on learning the basics without weather adding extra challenges.
Some trails require permits or have trailhead parking that fills up early in the day. Check whether your chosen trail requires a parking pass, a day-use permit, or an advance reservation. National parks, state parks, and popular trails often require a fee or a timed-entry permit, especially on weekends. Showing up without the proper permits can mean you cannot access the trail at all, so handle this step at least a few days before your planned hike.
Pack the Ten Essentials Plus Water and Food
Even on a short day hike, you should carry the Ten Essentials – a standard list of gear that can keep you safe if something goes wrong. These include navigation tools such as a map and compass or a GPS device, sun protection such as sunscreen and sunglasses, insulation such as an extra layer of clothing, illumination such as a headlamp, first-aid supplies, fire-starting materials, a repair kit and tools, nutrition such as extra food, hydration such as extra water, and emergency shelter such as a lightweight emergency blanket.
You do not need expensive versions of these items for beginner hikes. A basic first-aid kit, a lightweight rain jacket, a flashlight, some energy bars, and a plastic emergency blanket will cover most of the list. The key is to have them with you, even if you do not think you will need them. Most hiking accidents happen on easy trails close to trailheads, not on remote expeditions.
For water, carry at least one liter per person for every two hours of hiking, more if it is hot or the trail has significant elevation gain. Bring more water than you think you will need – dehydration is one of the most common problems for new hikers. For food, pack calorie-dense snacks like trail mix, nut butter packets, granola bars, or dried fruit. Eat something small every hour, even if you do not feel hungry, to keep your energy steady. If you are hiking with a dog, bring a dog water bottle for hiking to keep your pup hydrated on the trail.
Dress in Layers and Wear Proper Footwear
What you wear on a hike matters more than you might expect. Avoid cotton clothing, which stays wet and cold when you sweat or if it rains. Instead, choose synthetic or wool layers that dry quickly and keep you warm even when damp. Dress in layers so you can adjust as you heat up during the hike or cool down during breaks. A typical layering system includes a moisture-wicking base layer, an insulating mid-layer like a fleece, and a waterproof or windproof outer layer.
For your legs, wear hiking pants for beginners or athletic leggings that allow full range of motion. Avoid jeans, which are heavy, restrictive, and stay wet if they get damp. In warm weather, lightweight hiking pants or athletic shorts work well, but bring a pair of long pants in your pack if the weather could change or if the trail passes through brushy or tick-prone areas.
Footwear is the single most important piece of gear for hiking. For beginner-friendly trails, you do not necessarily need heavy hiking boots – many new hikers do well in trail running shoes for hiking, which are lighter and more comfortable than traditional boots. However, if the trail is rocky, muddy, or involves stream crossings, a pair of hiking boots for beginners will provide better ankle support and protection. Whatever you choose, make sure you have worn the shoes on at least two or three walks before your hike to avoid blisters.
Plan Your Timing and Tell Someone Your Plans
Timing is more important than most beginners realize. Plan to start your hike early in the day, ideally before 9 a.m., especially if the trail is popular or if the weather will be hot later. Early starts give you plenty of daylight, help you avoid crowds, and reduce the risk of afternoon thunderstorms in many regions. Calculate how long the hike should take based on distance and elevation gain, then add at least 30 to 60 minutes as a buffer for breaks, photos, and slower-than-expected pace.
Before you leave home, tell someone where you are going, which trail you are hiking, and when you expect to be back. Share the trailhead name, the parking lot location, and your estimated return time. This is a basic safety step that takes two minutes but can be lifesaving if something goes wrong. If you are hiking alone, this step is non-negotiable. You can also use apps like AllTrails to share your location in real time with a trusted contact.
Once you are on the trail, pace yourself and take breaks as needed. There is no shame in stopping to catch your breath, drink water, or simply enjoy the view. Hiking is not a race, and the goal is to finish the hike feeling good, not exhausted or injured. If at any point the trail feels too difficult or the weather changes unexpectedly, turn around. You can always come back another day when conditions are better.
Frequently Asked Questions
How do I find hiking trails near me?
The easiest way to find hiking trails near you is to use a trail-finding app like AllTrails, which has the largest database of trails in North America. Download the free version and search by your location, then filter by difficulty, distance, and elevation gain to find beginner-friendly options. You can also check local park websites, state forest websites, or city recreation department pages for trail listings. Many state and national parks have excellent beginner trails with clear descriptions and maps available online.
When you search for trails, read recent reviews from other hikers to get a sense of current conditions, parking availability, and whether the difficulty rating is accurate. Look for trails described as “easy,” “well-marked,” or “family-friendly” if you are just starting out. Trails that are three miles or less with under 500 feet of elevation gain are ideal for your first few hikes. Avoid trails described as “strenuous,” “poorly maintained,” or “remote” until you have more experience.
What should I bring on my first hike?
For your first hike, bring the Ten Essentials: navigation tools such as a map or smartphone with a trail app, sun protection such as sunscreen and sunglasses, insulation such as an extra layer, illumination such as a flashlight or headlamp, first-aid supplies, fire-starting materials such as waterproof matches, a repair kit with basic tools, nutrition such as energy bars or trail mix, hydration such as at least one liter of water, and emergency shelter such as an emergency blanket. You do not need expensive gear – basic versions of these items will work fine.
In addition to the essentials, wear moisture-wicking clothing in layers, avoid cotton, and choose proper footwear such as trail runners or hiking boots that you have already broken in. Bring a small backpack to carry everything comfortably. Pack more water and snacks than you think you will need, especially if the hike is longer than an hour or involves elevation gain. A hiking daypack in the 20-30 liter range is perfect for carrying all your essentials without feeling overloaded.
How do I know if a trail is too difficult for me?
A trail is too difficult if it exceeds your current fitness level or experience in terms of distance, elevation gain, or technical terrain. For beginners, start with trails that are three miles or less with minimal elevation gain – ideally under 500 feet. Trails labeled as “easy” or “beginner-friendly” on apps like AllTrails are good starting points. Read recent reviews to see what other hikers say about the difficulty, as trail ratings can sometimes be misleading.
Pay attention to how you feel during the hike. If you are extremely out of breath, feel dizzy, or experience sharp pain in your joints, those are signs that the trail may be too challenging. It is always okay to turn around and try a shorter or flatter trail instead. You can gradually build up to longer and steeper hikes as your fitness improves. Most new hikers underestimate how much harder uphill hiking is compared to flat walking, so start conservatively and increase difficulty slowly.
Do I need to break in hiking boots before my first hike?
Yes, you should break in any new hiking boots or shoes before wearing them on a trail. Wearing new footwear on a trail without breaking them in first is the most common cause of blisters for new hikers. Break-in means wearing the boots around your house, on short walks in your neighborhood, or during errands for at least a few hours over several days before your hike. This allows the materials to soften and conform to your feet and helps you identify any pressure points or fit issues before you are miles from the trailhead.
For lightweight trail running shoes, the break-in period is usually shorter – often just one or two short walks is enough. For stiffer leather or mid-height hiking boots, you may need a week or more of casual wear before they feel comfortable. If you develop hot spots or rubbing during the break-in period, address the issue with different socks, insoles, or by adjusting the lacing before you hit the trail.
How early should I start a hike?
For most hikes, plan to start before 9 a.m., especially if the trail is popular, if the weather will be hot later in the day, or if afternoon thunderstorms are common in your area. Starting early gives you plenty of daylight to complete the hike, helps you avoid crowds at the trailhead and on the trail, and reduces your exposure to heat and afternoon weather changes. In summer, starting by 7 or 8 a.m. is even better, particularly for hikes in exposed or high-elevation areas.
Early starts also mean you are more likely to find parking at popular trailheads, which can fill up completely by mid-morning on weekends. If you are hiking in a national or state park that requires a timed-entry permit, follow the entry window you reserved. Calculate the total time you will need for the hike, including breaks, and add at least 30 to 60 minutes as a buffer. Always plan to be off the trail and back at your car before sunset, as hiking in the dark without experience or proper lighting is dangerous.
The Bottom Line
Planning your first hiking trip is simpler than it seems once you break it down into clear steps: choose a beginner-friendly trail using an app like AllTrails, check current conditions and weather, pack the Ten Essentials along with water and snacks, dress in moisture-wicking layers with proper footwear, and start early in the day after telling someone your plans. These steps work for any hike, whether it is a one-mile loop at a local park or a longer trail in a nearby state forest.
If you are planning a very short hike under two miles on a well-maintained trail, you can simplify your packing slightly, but do not skip the basics like water, snacks, and an extra layer. If you are planning a longer hike or one with significant elevation gain, take extra time to research the trail and pack backup supplies. The key is to start conservatively, learn what works for your body and your goals, and build confidence with each trip. Hiking is a skill that improves with practice, and every hike teaches you something new about your preferences, your pace, and your gear needs.
Disclosure: As an Amazon Associate, we earn from qualifying purchases. This does not affect our editorial recommendations.