
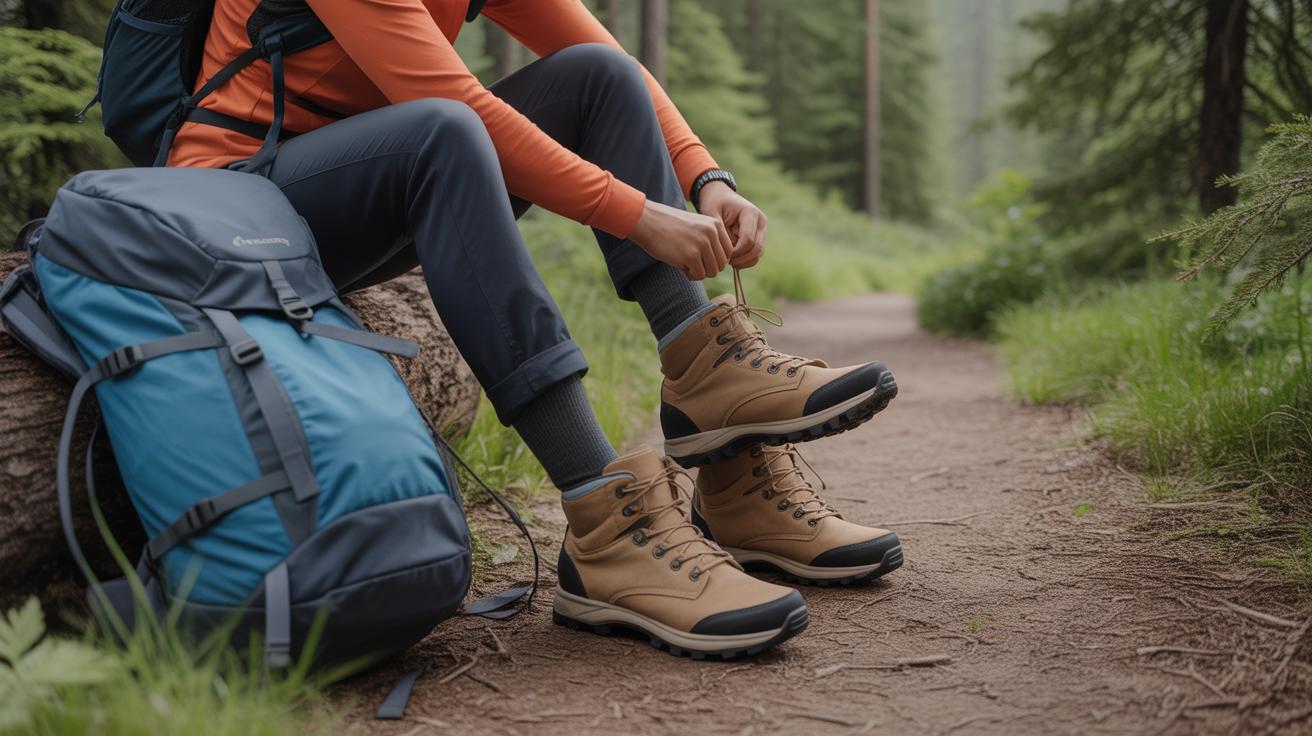
You have finally picked out a pair of boots that felt perfect in the store, and now they are sitting by your door waiting for their first real trail. But before you lace them up for that weekend hike you have been planning, there is one critical step that stands between you and a comfortable adventure: breaking them in properly. The good news is that breaking in hiking boots does not have to mean suffering through weeks of painful hot spots and bandaged heels. With the right approach and a realistic timeline, you can prepare your boots for the trail using techniques many experienced hikers rely on to minimize discomfort.
This guide walks you through exactly how to break in your new boots using a proven step-by-step process. You will learn what to expect during each phase, which techniques many hikers find effective, and how to spot warning signs before they turn into problems. Whether you bought budget-friendly boots or invested in a premium pair, the break-in principles remain the same – and they are simpler than you might think.
What to Look For
Understanding Why Hiking Boots Need Breaking In
Unlike sneakers that feel comfortable right out of the box, hiking boots are built with stiffer materials designed to protect your feet on rugged terrain. The leather, synthetic uppers, and structured midsoles (the supportive layer between the insole and outsole) need time to mold to the unique shape of your feet. During this break-in period, the materials soften in the right places while maintaining support where you need it most. Taking rigid, unyielding boots directly onto the trail often leads to repetitive friction in specific spots, which creates hot spots that can quickly develop into painful issues.
The break-in timeline varies depending on boot construction. Full-grain leather boots typically require two to four weeks of regular wear, while synthetic and fabric boots may only need one to two weeks. Lightweight lightweight hiking boots for women and other synthetic models generally break in faster than traditional leather. The key is not to rush the process – your feet will tell you when the boots are ready for serious trails.
The Three-Week Break-In Timeline
Week one focuses on indoor wear only. Put on the hiking socks you plan to wear on the trail – never thin cotton socks – and wear your boots around the house for one to two hours daily. Walk on different surfaces: hardwood floors, carpet, stairs if you have them. This allows the boot materials to start flexing without the risk of being stuck miles from your car with uncomfortable feet. Pay attention to any pressure points or areas that feel too tight. Some initial stiffness is normal, but sharp pain or numbness means the fit may be wrong.
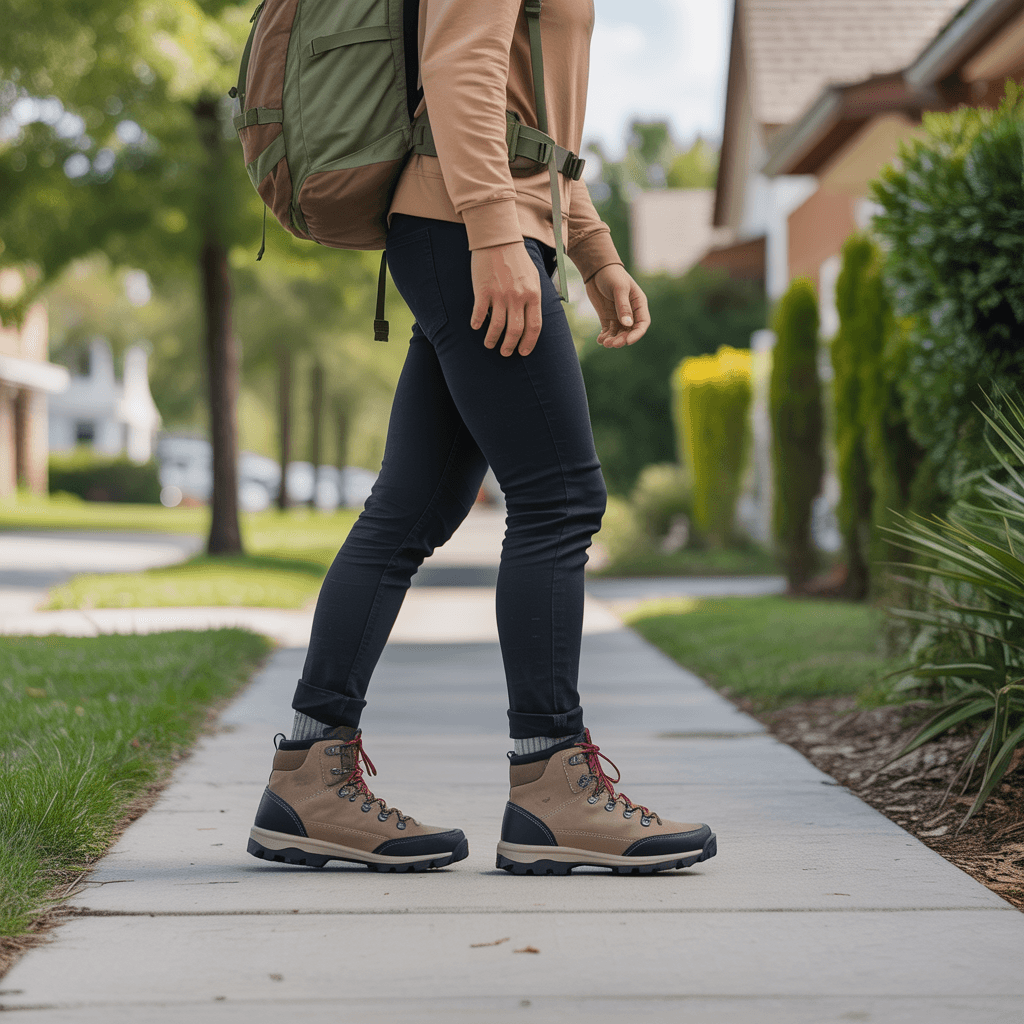
Week two introduces short outdoor walks. Start with 20 to 30 minute walks on flat, paved surfaces like sidewalks or parking lots. Gradually increase to 45 minutes by the end of the week. The goal is to simulate hiking movement – rolling through your heel to toe – while staying close to home. This is when you will really start to feel how the boots respond to your gait. Any hot spots (warm, tender areas where friction is building) that develop during these walks are early warnings. Address them immediately with anti-chafe sticks for hiking or adjust your lacing technique before moving to week three.
Week three involves loaded day hikes. Add weight to a daypack – start with 10 to 15 pounds – and take your boots on easy trails with minimal elevation gain. Choose a trail under three miles for your first outing, then gradually increase distance. The added weight changes how your feet move inside the boots and reveals pressure points that did not appear during unloaded walks. Keep your first few trail outings short enough that you can turn back if discomfort develops. By the end of week three, your boots should feel noticeably more comfortable and responsive.
Techniques That Speed Up the Breaking-In Process
The leather conditioning method works well for full-grain and nubuck leather boots. Apply a leather conditioner specifically designed for footwear – not furniture polish or generic leather products – to the outside of the boots. This softens the leather slightly and helps it mold to your foot shape faster. Apply conditioner after each wear during the first week, then once weekly after that. Do not oversaturate the leather, as too much conditioning can weaken the boot structure. Wipe away excess product and let the boots dry naturally away from direct heat.
Targeted lacing adjustments address specific pressure points before they become serious issues. If your toes feel cramped, skip the bottom eyelets to give the toe box more room. If your heel is slipping – a common source of friction on the heel – use a heel-lock lacing technique at the top two eyelets: thread the lace up through the second-to-last eyelet, then down through the top eyelet to create a loop on each side, then cross the laces through the opposite loops and pull tight before tying. This locks your heel in place. For high arches or instep (top of the foot between ankle and toes) pressure, loosen the middle laces while keeping the top and bottom snug. Experiment with different lacing patterns during your indoor and neighborhood walking phases when the stakes are low.
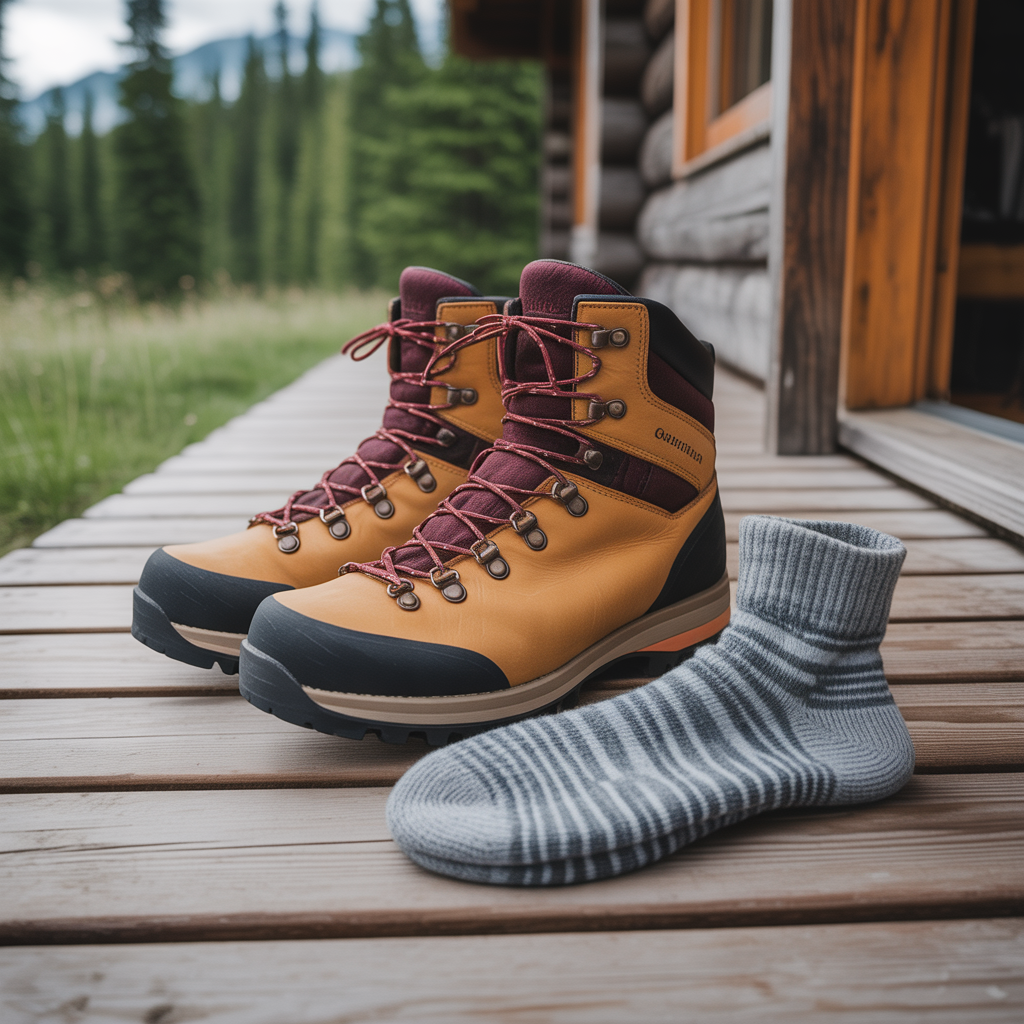
Sock layering provides extra protection during the initial break-in period. Wear a thin liner sock underneath your regular hiking sock. The two layers slide against each other instead of rubbing against your skin, which many hikers find reduces friction significantly. This technique is particularly helpful for areas prone to hot spots like heels and the balls of your feet. Once your boots are fully broken in, you can switch back to a single sock layer if you prefer.
What to Do When Hot Spots Appear
A hot spot is the warning signal that comes before more serious friction damage – a warm, slightly tender area where rubbing is concentrated. The moment you feel one developing, stop walking and address it immediately. Apply a friction-reducing product like an anti-chafe balm or specialized tape directly to the affected area. If you are on a trail, this is your signal to turn back. Pushing through a hot spot often leads to tissue damage that sidelines you for days or weeks, while addressing it early means you can resume breaking in your boots the next day.
Preventive taping covers known problem areas before friction builds. If you consistently develop sensitivity on your heels or the sides of your toes, apply medical tape or specialized patches to these areas before putting on your socks. This creates a smooth barrier that reduces friction from the start. Keep a small blister kit in your pack during the break-in period so you always have supplies on hand.
When to Consider Insole Upgrades
Factory insoles are often the thinnest, least supportive component of new boots. If you are experiencing arch pain, heel discomfort, or general foot fatigue during break-in walks, the insoles may be the problem rather than the boot itself. Aftermarket hiking shoe insoles with better arch support and cushioning can transform how your boots feel. Replace the factory insoles before you start the break-in process if possible, as this gives the boots time to mold around the new insoles rather than requiring a second adjustment period later.
Signs Your Boots Are Fully Broken In
Proper break-in completion has clear indicators. The boots should flex naturally with your foot movement rather than fighting against your gait. The materials around your ankle should feel soft and conforming instead of rigid. You should be able to wear the boots for three to four hours on varied terrain without developing any hot spots. The heel counter (the stiff cup that wraps around your heel inside the boot) should hold your heel firmly in place without slipping, and your toes should have enough room to wiggle without sliding forward on downhills. When you can complete a moderate day hike – five to seven miles with some elevation change – and your feet feel good at the end, your boots are ready for longer adventures.
Frequently Asked Questions
How long does it take to break in hiking boots?
Most hiking boots require two to four weeks of regular wear to fully break in, though the exact timeline depends on boot construction and materials. Synthetic and fabric boots typically break in faster – often within one to two weeks – while full-grain leather boots may need the full four weeks or occasionally longer. The process works best when done gradually rather than rushed. Plan to wear your boots for one to two hours daily during the first week indoors, then progress to short outdoor walks and finally loaded day hikes. A realistic break-in schedule helps minimize the discomfort that comes from taking stiff, unmolded boots on a serious trail before they are ready. If your boots still feel rigid or cause hot spots after four weeks of progressive wear, the fit may be incorrect rather than a break-in issue.
Can you break in hiking boots in one day?
Breaking in hiking boots in one day is not realistically possible and attempting to do so will almost certainly result in very uncomfortable feet. Boot materials need time to soften and mold to your unique foot shape through repeated wear cycles – not continuous hours of forcing them to conform. While you might be able to slightly soften very flexible synthetic boots with an intensive full-day wear session, the result will not compare to proper gradual break-in, and your feet will likely be covered in hot spots by the end. If you have an urgent hike approaching and new boots, your better option is wearing well-broken-in shoes or trail running shoes you already own rather than gambling on boots that have not been properly prepared. The discomfort and potential problems from improperly broken-in boots will affect your hike far more than wearing less-than-ideal but comfortable footwear.
Should hiking boots hurt at first?
New hiking boots should feel stiff and slightly uncomfortable at first, but they should never cause actual pain. Some initial tightness across the top of your foot and around the ankle is normal as the materials have not yet molded to your shape. However, sharp pain, pinching, numbness, or any sensation that makes you want to immediately remove the boots indicates a fit problem rather than normal break-in discomfort. The difference is important: break-in stiffness gradually improves with wear and feels more like pressure than pain, while fit issues persist or worsen no matter how long you wear the boots. If your boots cause genuine pain during indoor wear in the first few days, return them and try a different size or model. No amount of break-in time will fix boots that are fundamentally the wrong shape or size for your feet.
How do you soften stiff hiking boots?
The safest way to soften stiff hiking boots is through gradual wear following a structured break-in timeline, but you can accelerate the process slightly with leather conditioning for leather boots. Apply a boot-specific leather conditioner to the exterior after each wear during the first week, which helps the leather fibers relax and mold faster. Flex the boots manually with your hands when they are slightly warm – such as after wearing them – by bending them at the ball of the foot and working the ankle area to encourage the materials to break down naturally. Avoid extreme methods like soaking boots in water, microwaving them, or using excessive heat, as these techniques can damage waterproof membranes, weaken adhesives, and destroy boot structure. Some hikers recommend wearing boots in a hot shower to soften them, but this risks damaging internal components and is unnecessary if you follow a proper break-in schedule. Patience produces better results than aggressive softening attempts that may permanently damage your investment.
What socks prevent blisters when breaking in hiking boots?
The best friction management during boot break-in comes from wearing proper hiking socks made from merino wool or synthetic moisture-wicking materials rather than cotton. Cotton retains moisture and creates friction, while technical hiking materials pull sweat away from your skin and reduce rubbing. For maximum comfort during the break-in period, many hikers use a sock layering system: a thin synthetic or merino liner sock against your skin, topped with a cushioned hiking sock. The two layers slide against each other instead of rubbing your skin, which significantly reduces friction in problem areas. Make sure your socks fit properly without bunching or excess fabric, as wrinkles create pressure points that can cause discomfort. Some hikers find compression socks helpful during break-in because they hold everything firmly in place and reduce movement inside the boot. Whichever sock system you choose, wear the exact same socks during break-in that you plan to wear on actual hikes, as switching sock thickness changes how your foot fits inside the boot.
The Bottom Line
Breaking in hiking boots does not have to be a painful ordeal if you approach it with a realistic timeline and the right techniques. Start with indoor wear to identify fit issues early, progress to neighborhood walks to begin the molding process, and finish with short loaded hikes that simulate real trail conditions. Most boots need two to four weeks of this graduated wear to become truly trail-ready, and cutting corners during this period often leads to friction issues that keep you off trails even longer. Pay attention to what your feet are telling you during each phase – hot spots are warnings, not challenges to push through.
The specific strategies that work best depend on your boot materials and personal friction-prone areas. Leather conditioning speeds softening for traditional boots, while lacing adjustments and sock layering protect vulnerable spots during the initial stiff phase. Keep supplies on hand during break-in hikes so you can address problems immediately rather than limping back to the trailhead. When your boots flex naturally with your movement and you can complete a moderate day hike without any discomfort, you will know the break-in process is complete. The investment of a few weeks now means years of comfortable hiking ahead without the foot issues that sideline so many outdoor enthusiasts.
Disclosure: As an Amazon Associate, we earn from qualifying purchases. This does not affect our editorial recommendations.