
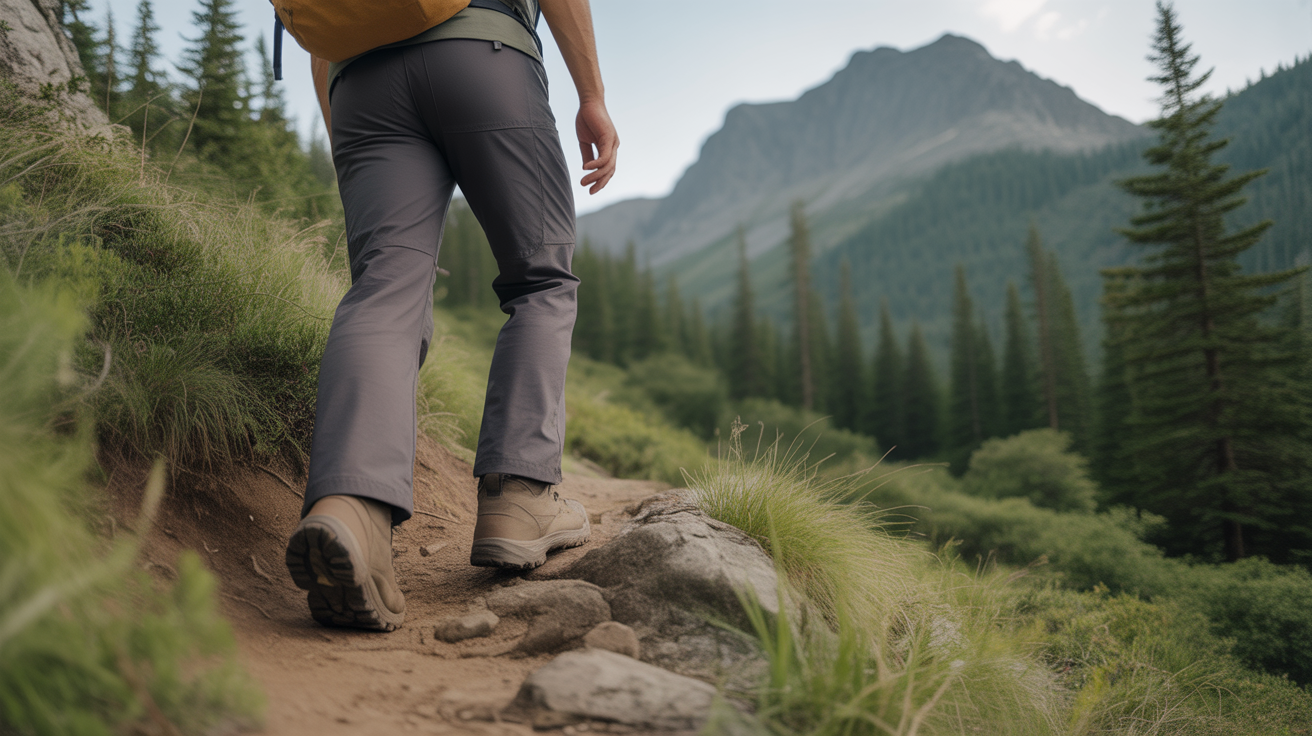
If you are getting winded on every uphill section while other hikers breeze past you, you are not alone – and you are definitely not out of shape. Most beginner hikers struggle on climbs not because they lack fitness, but because they have not learned the specific techniques that make uphill hiking sustainable. The way you breathe, the pace you set, and how you position your body make an enormous difference in how efficiently you move uphill.
This guide will teach you the exact breathing patterns, pacing strategies, and body mechanics that experienced hikers use to climb steadily without burning out. These are not fitness tips or training plans – these are practical techniques you can apply on your very next hike to transform how you handle elevation gain. Whether you are planning your first real climb or just tired of stopping every five minutes, these methods will help you hike uphill with less fatigue and more confidence.
What to Look For
Master the Pressure Breathing Technique
The single most effective tool for uphill hiking is pressure breathing, a technique borrowed from mountaineers that dramatically improves oxygen delivery to your muscles. Here is how it works: breathe in normally through your nose, then exhale forcefully through pursed lips as if you are blowing out a candle. The key is making your exhale longer and more deliberate than your inhale – this creates slight back-pressure in your lungs that keeps your airways open longer and maximizes oxygen absorption.
On moderate climbs, try a 2:3 ratio – inhale for two steps, exhale for three steps. As the trail gets steeper, shift to 1:2 (one step inhale, two steps exhale) or even 1:1 on very steep sections. The rhythm matters more than the exact count, so find a pattern that feels sustainable and stick with it. Many beginners hold their breath without realizing it when a climb gets hard, which is exactly when you need steady oxygen flow most. If you catch yourself holding your breath or breathing shallowly, reset with three deep pressure breaths and re-establish your rhythm.
Use the Rest Step to Conserve Energy
The rest step is a walking technique that lets you rest your muscles between every single step, which sounds impossible until you try it. Here is the method: as you step forward with your front foot, keep most of your weight on your rear leg, which should be completely straight and locked at the knee. Pause for a full second with your rear leg bearing your weight and your rear knee locked – this lets your skeleton support you instead of your muscles. Then shift your weight forward onto your bent front leg, straighten that leg and lock the knee, and repeat with the other side.
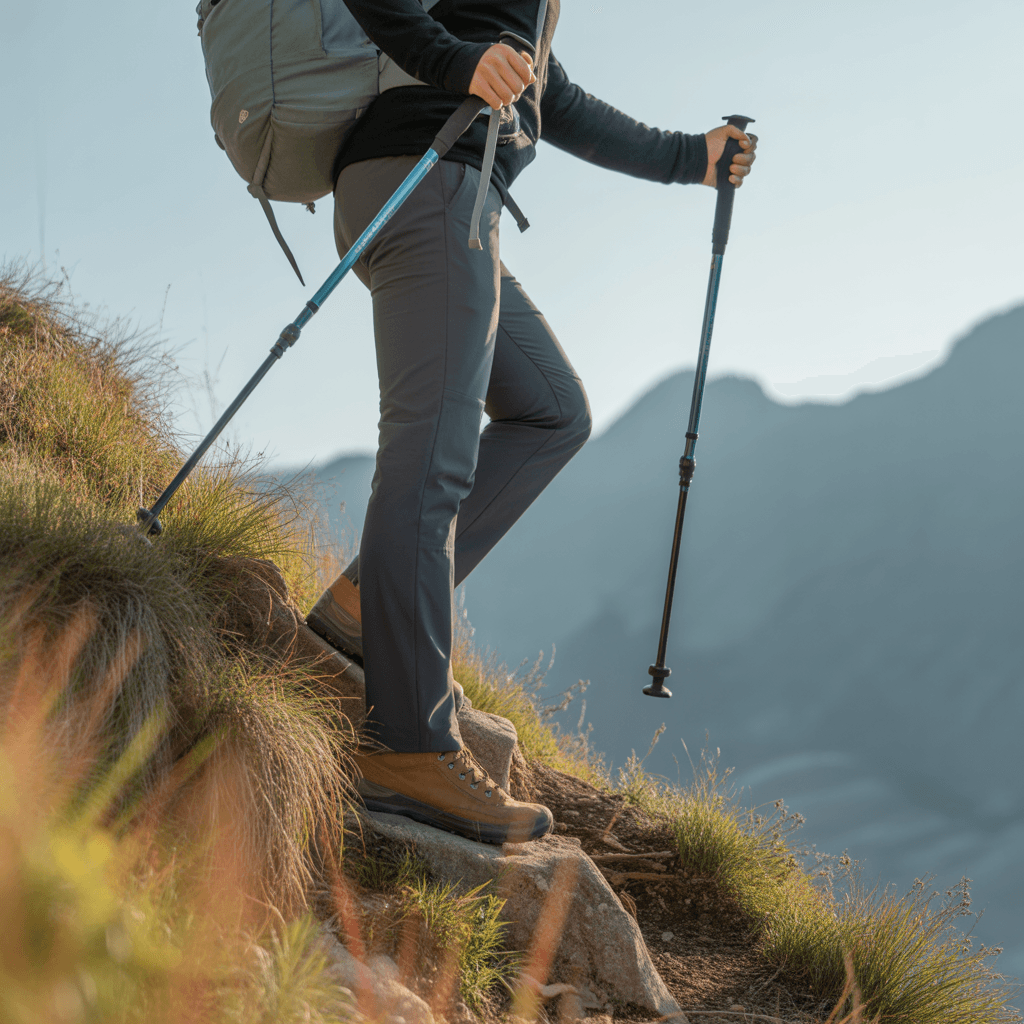
This technique feels awkward and extremely slow at first, which is exactly the point. The rest step is not about speed – it is about sustainability. Use it on any section where you feel your thighs burning or your breathing getting ragged. You will move slower than your normal pace, but you will be able to keep moving continuously instead of stopping every few minutes to recover. The rest step is especially valuable when you are carrying a loaded backpack or hiking at higher elevations where the air is thinner. If you are hiking with trekking poles for beginners, plant them firmly with each rest step to take even more weight off your legs.
Shorten Your Stride and Lean Forward Correctly
When the trail tilts upward, your instinct might be to take longer steps to cover ground faster, but this is the opposite of what works. Shorter steps require less energy per step and keep your center of gravity closer to the ground, which improves balance and reduces the load on your quads. On steep sections, your steps might be only 12 to 18 inches long – half your normal stride length. This feels inefficient, but it lets you maintain a steady rhythm without spiking your heart rate.
Your upper body position matters just as much. Lean forward slightly from your ankles, not from your waist – imagine your whole body as a single unit tilting into the hill. This keeps your weight over your feet and prevents you from tipping backward. However, do not lean so far forward that you are staring at your boots; keep your head up so you can see the trail ahead and maintain balance. If you are wearing a hiking backpack under $100, adjust the hip belt and shoulder straps so the pack sits snug against your back and moves with you as one unit rather than pulling you backward.
Find Your Conversational Pace and Protect It
Your sustainable uphill pace is the speed at which you can speak a full sentence out loud without gasping for breath. This is called conversational pace, and it is slower than you think – especially on climbs. Most beginners start uphill sections too fast, motivated by adrenaline or embarrassment about being slow, and burn out within minutes. The hikers who pass you early often end up sitting on rocks later while you maintain your steady pace.
To find your conversational pace, start climbing and actually say a sentence out loud every 30 seconds or so. If you cannot finish the sentence without pausing to breathe, you are moving too fast – slow down immediately. It does not matter if this pace feels ridiculously slow or if other hikers pass you. Your goal is to move continuously without stopping, which will always get you to the top faster than charging ahead and having to stop repeatedly to recover. On long climbs, check in with yourself every five to ten minutes by speaking a sentence out loud. If your breathing has shifted out of conversational range, slow your pace before you hit exhaustion.
Time Your Breaks Strategically
How and when you take breaks has enormous impact on your overall efficiency. The worst time to stop is when you are completely gassed – at that point, your muscles have accumulated significant fatigue and lactic acid, and you will need a much longer rest to recover. Instead, take short breaks before you need them. A good rule for beginners is to stop for 30 to 60 seconds every 10 to 15 minutes of climbing, even if you do not feel tired yet. Use these micro-breaks to drink water, adjust your pack, and let your heart rate drop slightly.
When you stop, do not sit down unless you are taking a longer break of five minutes or more. Sitting signals your body to shift into recovery mode, which makes it harder to get moving again. Instead, stand upright with your hands on your hips or your pack straps, take several deep pressure breaths, and look up at the view to remind yourself why you are out here. Keep your breaks short enough that your muscles do not stiffen up. On very steep sections where you are using the rest step, you might not need separate breaks at all – the rest step builds micro-recovery into every single stride.
Use Switchback Strategy to Your Advantage
Switchbacks are the zigzag sections of trail that make climbs more gradual, and how you approach them reveals a lot about your uphill efficiency. Never cut switchbacks by walking straight up between the turns – this causes severe trail erosion, is often against trail regulations, and is actually harder because it is much steeper. Instead, use the corners of switchbacks as natural micro-rest points. As you approach each switchback turn, slow down slightly, take two or three deep pressure breaths, then make the turn and resume your conversational pace on the next section.
The outside edge of a switchback turn is usually slightly less steep than the inside edge, so favor the outside line when the trail is wide enough. On narrow trails, stay on the established tread to protect the surrounding vegetation. If you are hiking in hiking boots for beginners that are not yet fully broken in, switchback corners are good places to check for hot spots or rubbing before they become blisters. The frequent direction changes of switchbacks also give different muscle groups brief periods of relative rest, which is one reason switchback climbs often feel easier than straight uphill grinds of the same elevation gain.
Frequently Asked Questions
How do I breathe when hiking uphill?
Use pressure breathing: inhale through your nose and exhale forcefully through pursed lips, making your exhale longer than your inhale. Match your breathing to your steps – a common pattern is inhaling for two steps and exhaling for three steps on moderate climbs, shifting to one step in and two steps out on steeper sections. The pursed-lip exhale creates back-pressure that keeps your airways open longer and improves oxygen absorption. Focus on steady, rhythmic breathing rather than taking occasional huge breaths. If you catch yourself holding your breath or panting, stop for a moment, take three deliberate pressure breaths to reset, then resume climbing at a slower pace. Your breathing rhythm should feel sustainable and controlled, not desperate or gasping.
What is the best way to hike uphill?
The best uphill technique combines short steps, a forward lean from your ankles, locked-knee rest steps on steep sections, and a pace slow enough to maintain conversational breathing. Shorten your stride by half compared to flat ground, which reduces the energy required per step and keeps your center of gravity low. Lean your whole body slightly forward so your weight stays over your feet, but keep your head up to see the trail. On very steep sections, use the rest step: lock your rear knee with each step to let your skeleton support your weight for a moment, giving your muscles brief recovery between steps. Most importantly, find a pace where you can speak a full sentence without gasping – this conversational pace is sustainable for hours, while faster paces burn you out in minutes. Taking short 30 to 60 second breaks every 10 to 15 minutes, before you are exhausted, will keep your overall speed higher than pushing hard and having to stop frequently to recover.
Why do I struggle to walk uphill?
Most beginners struggle uphill not because they lack fitness, but because they start too fast, breathe inefficiently, and use poor body mechanics. The most common mistake is beginning a climb at a pace that feels comfortable on flat ground but is unsustainable on an incline – your heart rate spikes, you cannot get enough oxygen, and you have to stop repeatedly. Taking steps that are too long wastes energy and strains your quads. Holding your breath or breathing shallowly during hard sections starves your muscles of oxygen exactly when they need it most. Leaning backward or standing too upright shifts your center of gravity away from your feet, making each step harder and less stable. Finally, many beginners delay breaks until they are completely exhausted rather than taking brief preventive breaks every 10 to 15 minutes. Fix these technique issues first before assuming you need better fitness – proper pacing and breathing will improve your uphill experience immediately.
How do you not get tired on a hike?
You cannot avoid fatigue entirely, but you can prevent early exhaustion by pacing correctly, breathing efficiently, staying hydrated, and fueling your body. Start every hike and every uphill section slower than feels natural – your sustainable pace is the speed at which you can speak a full sentence without gasping. Use pressure breathing (forceful exhale through pursed lips) to maximize oxygen delivery. Drink water consistently throughout your hike, not just when you feel thirsty, because even mild dehydration significantly reduces performance. Eat small amounts of food every hour – simple carbohydrates like trail mix, energy bars, or dried fruit keep your energy steady. Take short breaks before you need them rather than pushing until you collapse. Use proper technique like the rest step and shortened stride on climbs to reduce unnecessary energy expenditure. Finally, build your hiking fitness gradually – your first few hikes will feel hard regardless of technique, but your body adapts quickly if you hike consistently.
The Bottom Line
Learning to hike uphill efficiently is not about becoming a stronger or fitter person overnight – it is about using the right techniques that experienced hikers have refined over thousands of miles. Pressure breathing, the rest step, shortened stride, conversational pace, and strategic breaks are all tools you can use on your next hike, regardless of your current fitness level. These methods work because they address the real reasons beginners struggle on climbs: starting too fast, breathing inefficiently, and using body mechanics that waste energy.
If you are planning your first hike with significant elevation gain, start with these techniques on the easiest climbs first so they become automatic before you tackle steeper terrain. Practice pressure breathing on flat sections until the rhythm feels natural, then apply it when the trail tilts upward. Do not be discouraged if your pace feels slow – continuous movement at a sustainable speed will always get you to the top faster and with more energy left over than repeated cycles of charging and collapsing. The hikers who pass you on the way up are often the same ones you will pass later when they are stopped and recovering. Focus on your own rhythm, trust the techniques, and remember that every uphill section is teaching your body and your lungs to work more efficiently for the next one. When you are ready to explore trails with real elevation gain, having reliable hiking water bottles that you can access without breaking your rhythm will help you maintain the consistent hydration these techniques require.
Disclosure: As an Amazon Associate, we earn from qualifying purchases. This does not affect our editorial recommendations.