
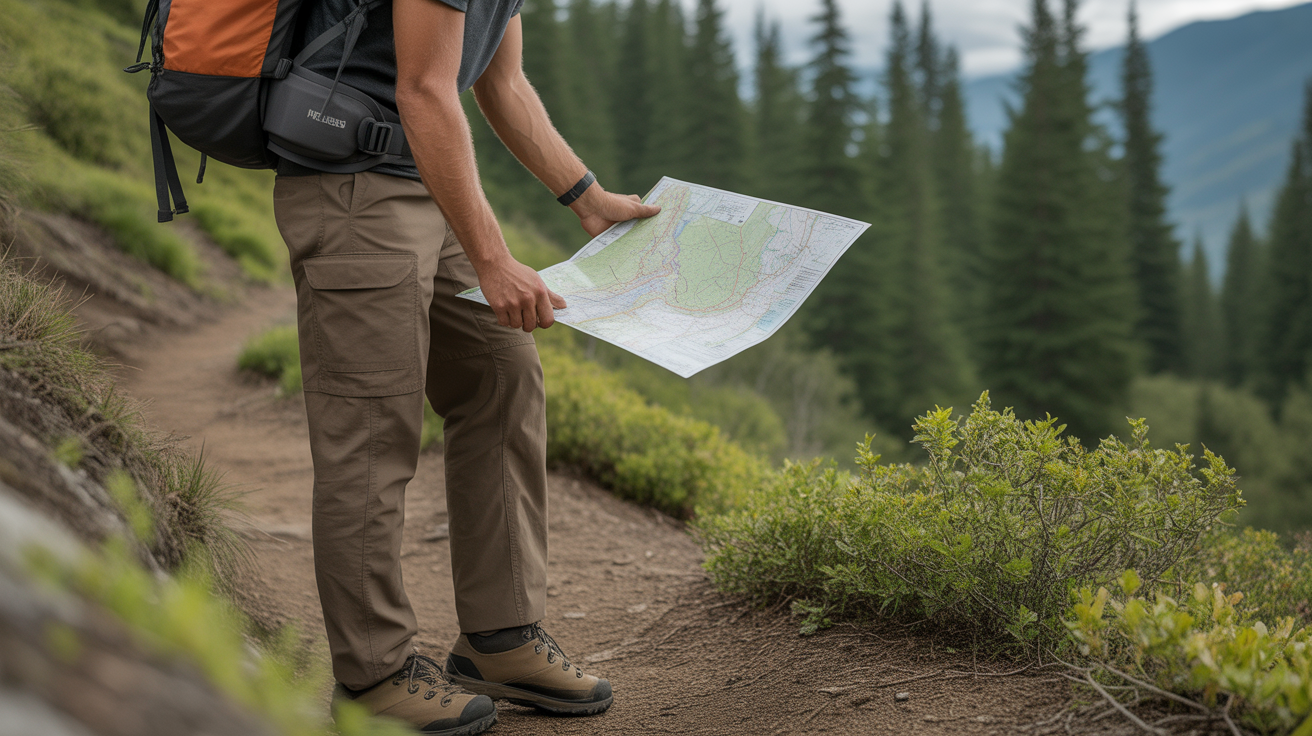
Staring at a topographic map for the first time can feel like trying to decode an alien language. Those swirling brown lines, cryptic symbols, and elevation numbers might seem overwhelming when you are just trying to figure out if the trail ahead climbs steeply or stays relatively flat. You are not alone in this confusion, and the good news is that topographic maps follow consistent, logical patterns that anyone can learn to read with a bit of practice.
This guide will walk you through everything you need to know about reading topographic maps for hiking. You will learn what those contour lines actually mean, how to estimate elevation gain, how to identify terrain features before you encounter them on trail, and how to use a topo map to make smarter decisions about your route. By the end, you will be able to look at any topographic map and visualize the landscape it represents, turning what once looked like abstract art into a practical tool for planning your hikes.
What to Look For
Understanding Contour Lines and What They Show You
Contour lines are the foundation of topographic maps, and once you understand them, everything else falls into place. Each brown line on the map represents a specific elevation, and every point along that single line sits at exactly the same height above sea level. Think of contour lines as horizontal slices through a mountain, with each slice representing a consistent elevation.
The key to reading these lines is understanding contour interval, which is the vertical distance between each line. Most hiking maps use intervals of 40 feet or 20 feet, though this varies by map scale. You will find the contour interval noted in the map legend, usually at the bottom or side of the map. If the interval is 40 feet and you count five contour lines between two points, you know there is a 200-foot elevation change between those locations.
When contour lines are close together, the terrain is steep. When they spread far apart, the terrain is gentle or flat. This spacing gives you an immediate visual sense of difficulty before you ever set foot on the trail. Widely spaced lines suggest easy walking, while tightly packed lines warn you to prepare for a challenging climb. If you are planning your first few hikes and want to avoid steep terrain, look for trails where contour lines stay consistently spaced throughout the route. Before heading out, make sure you have the right hiking boots for beginners that can handle varied terrain confidently.
Reading Index Contours and Elevation Numbers
Not all contour lines look identical. Every fifth line appears darker and thicker than the others, and these are called index contours. These heavier lines make it easier to track elevation changes across the map without counting every single line. Many index contours also include elevation numbers printed along the line, giving you exact reference points.
When you see an elevation number on an index contour, that number applies to every point along that entire line. If an index contour reads 3,200 feet, then every location that line passes through sits at exactly 3,200 feet elevation. The four thinner lines between index contours are called intermediate contours, and you can calculate their elevations by adding or subtracting the contour interval from the nearest labeled index line.
To determine whether elevation is increasing or decreasing as you move across the map, look at the numbers on index contours. Higher numbers indicate higher elevation. If you are moving from a line marked 2,800 feet toward a line marked 3,200 feet, you are going uphill. This becomes especially important when planning loop hikes or deciding which direction to hike a trail, as starting with a climb versus ending with a climb can dramatically affect your experience.
Identifying Terrain Features From Contour Line Patterns
Contour lines form distinct patterns that reveal specific landscape features, and recognizing these patterns helps you anticipate what you will encounter on trail. A series of concentric circles with elevation increasing toward the center indicates a hilltop or mountain peak. The innermost circle represents the summit. If elevation decreases toward the center, you are looking at a depression or sinkhole, though these are less common on hiking trails.
Ridgelines appear as areas where contour lines form a U-shape or V-shape pointing toward lower elevation. When you walk along a ridgeline, you stay at relatively consistent elevation with terrain dropping away on both sides. Valleys and drainages show the opposite pattern, with contour lines forming U-shapes or V-shapes pointing toward higher elevation. Water flows through valleys, so these patterns often indicate where you will find streams or seasonal water flow.
Cliffs and very steep slopes show up as contour lines that stack so close together they almost touch or even merge. When you see this pattern, expect near-vertical terrain that may require scrambling or may be impassable altogether. Saddles or passes, which are low points along a ridgeline between two higher peaks, appear as hourglass-shaped patterns where contour lines pinch together from both sides. These are often where trails cross from one valley to another, as they represent the easiest passage through mountainous terrain.
Calculating Elevation Gain and Trail Difficulty
One of the most practical uses of topographic maps is estimating how much climbing a trail involves. Total elevation gain tells you how much uphill hiking you will do, which directly impacts difficulty and hiking time. To calculate elevation gain, identify the elevation at your starting point and the elevation at your destination or turnaround point, then subtract the lower number from the higher number.
However, many trails do not climb steadily. They go up and down repeatedly, which means the simple start-to-finish calculation misses significant climbing. To get a more accurate picture, trace your planned route and note every time the trail loses elevation and then regains it. Each of these ups and downs adds to your total elevation gain. For example, if you climb 500 feet, descend 200 feet, then climb another 400 feet, your total elevation gain is 900 feet even though your net elevation change is only 700 feet.
As a general guideline for estimating hiking time, add one hour for every 2 miles of trail distance plus one additional hour for every 1,000 feet of elevation gain. This formula helps beginners plan realistic hiking schedules and avoid being caught on trail after dark. If you are carrying extra gear in your hiking daypack, allow additional time as the added weight will slow your pace, especially on climbs.
Using Map Scales and Measuring Trail Distance
Map scale determines how much real-world distance each inch or centimeter on the map represents. Common scales for hiking maps include 1:24,000, where one inch on the map equals 24,000 inches (2,000 feet) on the ground, or 1:25,000 in metric countries. The scale appears in the map legend and is essential for measuring distances accurately.
To measure trail distance, you can use the edge of a piece of paper or a string to follow the trail route, marking or noting where the trail curves. Then measure that marked length against the map scale bar to determine actual distance. Many hikers also use digital mapping tools or GPS devices that calculate distance automatically, but understanding manual measurement helps when technology fails or batteries die.
Remember that map distance shows horizontal distance only and does not account for the extra distance you cover when walking uphill or downhill. Steep terrain means you actually walk farther than the map suggests, since you are covering the diagonal slope rather than just the flat projection. This is another reason why tightly packed contour lines indicate slower, more difficult hiking beyond just the elevation change itself.
Reading Map Symbols and Understanding the Legend
Beyond contour lines, topographic maps use standardized symbols to show trails, roads, water features, vegetation, and human-made structures. The legend explains what each symbol means, and learning these common symbols makes maps far more useful. Trails typically appear as dashed or solid lines in black or red, with different line styles indicating maintained trails versus rough paths or cross-country routes.
Water features include blue lines for streams and rivers, with the line weight indicating water flow size. Lakes and ponds appear as blue filled areas. Understanding where water sources appear on your route helps with planning, especially on longer hikes where you need to refill bottles. Green shading often indicates forested or vegetated areas, while white or lighter areas may show clearings, meadows, or above-treeline terrain.
Other useful symbols include triangular markers for peaks and summits, building symbols for shelters or structures, and various markers for trailheads (the starting points where trails begin), parking areas, and campsites. Familiarize yourself with the legend before you start hiking, and keep the map oriented so that the terrain around you matches the features shown on paper. This practice makes reading the map intuitive rather than confusing. For hikes in areas with significant elevation change or challenging terrain, consider bringing trekking poles for beginners to help with stability and reduce strain on your knees during descents.

Frequently Asked Questions
What is the difference between a topographic map and a regular map?
A topographic map shows elevation changes and three-dimensional terrain features using contour lines, while a regular map typically shows only two-dimensional features like roads, boundaries, and place names without indicating hills, valleys, or slopes. Topographic maps allow you to visualize the shape and steepness of the land, which is essential for hiking because it helps you anticipate difficult climbs, identify landmarks, and understand the terrain before you encounter it. Regular road maps or simple trail maps might show where a trail goes but will not tell you whether that trail climbs 2,000 feet or stays flat. For trail planning and route selection, topographic maps provide the detailed terrain information that makes outdoor travel safer and more predictable.
How do you know if you are going uphill or downhill on a topo map?
To determine whether you are going uphill or downhill on a topographic map, look at the elevation numbers printed on the index contours, which are the thicker, darker contour lines. If you are moving from lines with lower numbers toward lines with higher numbers, you are going uphill. If you are moving from higher numbers toward lower numbers, you are going downhill. Another method is to look at streams and water features, which always flow downhill. If you are hiking along a drainage or stream, the downstream direction is downhill and the upstream direction is uphill. You can also look for the characteristic V-shape or U-shape patterns that contour lines form in valleys, where the point of the V always points uphill toward higher elevation. With practice, these patterns become intuitive and you will be able to glance at a map section and immediately know which direction slopes upward.
What does it mean when contour lines are close together?
When contour lines are close together on a topographic map, it means the terrain is steep. Since each contour line represents a fixed elevation interval, such as 40 feet, lines that are packed tightly indicate that elevation changes rapidly over a short horizontal distance. This translates to a steep slope, cliff, or very challenging climbing section on the actual trail. Conversely, when contour lines are spread far apart, the terrain is gentle or flat because elevation changes gradually over greater distance. Recognizing this spacing is one of the most important skills for reading topo maps, as it allows you to identify difficult sections of trail before you start hiking. If you see a section where five or six contour lines crowd into a tiny space, prepare for a very steep pitch that will require extra effort and time. Using a GPS watch for hiking can complement your map reading by providing real-time elevation data as you work through steep sections.
Can you use a topographic map without a compass?
Yes, you can use a topographic map without a compass, especially if you are hiking marked trails in familiar areas or using the map primarily to understand terrain and elevation rather than precise direction finding. You can orient the map by matching visible landmarks such as peaks, ridgelines, lakes, or trail junctions to their representations on the map. This technique, called terrain association, allows you to understand where you are and what terrain lies ahead without needing to know exact compass bearings. However, a compass becomes essential when visibility is poor, when you are traveling cross-country without marked trails, or when you need to find your way in areas with few distinct landmarks. For most day hikes on established trails, careful map reading combined with attention to your surroundings provides adequate route finding, but carrying a compass as a backup tool is always smart practice. Understanding how to use both together gives you the most reliable system for wilderness travel.
How accurate are topographic maps for hiking?
Topographic maps are generally very accurate for terrain features, elevation, and large-scale landscape characteristics, though the accuracy depends on when the map was created and the survey methods used. Modern USGS topographic maps in the United States are based on detailed surveys and updated satellite imagery, with elevation accuracy typically within 10 to 20 feet vertically. However, trail locations and human-made features may be outdated, as trails get rerouted, new trails get built, and old trails become overgrown. Always cross-reference your topographic map with current trail information from land management agencies or recent guidebooks. The terrain itself changes slowly, so contour lines and major features like ridgelines, peaks, and water bodies remain reliable over decades. For planning purposes, topographic maps are highly dependable for understanding terrain shape, estimating difficulty, and choosing routes, but supplement them with current trail condition reports when available.

The Bottom Line
Learning to read a topographic map opens up confident exploration on any trail. Once you understand that contour lines represent elevation and their spacing reveals steepness, you can look at any map and visualize the terrain you will encounter. You will know before leaving the trailhead whether a hike involves steady climbing, rolling hills, or challenging steep sections, which helps you prepare mentally and physically for what lies ahead.
Start practicing with maps of trails you have already hiked, matching the contour patterns to terrain you remember. This builds your mental library of how specific patterns translate to real-world slopes, ridges, and valleys. Then apply these skills to new hikes, using the map to anticipate trail features and gauge difficulty. If you are planning your first longer hike, choose routes where contour lines stay relatively spread out and elevation gain remains moderate. As your confidence and fitness improve, you can tackle trails with more dramatic contour line patterns and greater challenges. Understanding topographic maps gives you the freedom to explore confidently, choose appropriate trails for your ability level, and move safely through varied terrain. The map skills you develop now will serve you on every trail you hike for years to come.
Disclosure: As an Amazon Associate, we earn from qualifying purchases. This does not affect our editorial recommendations.