
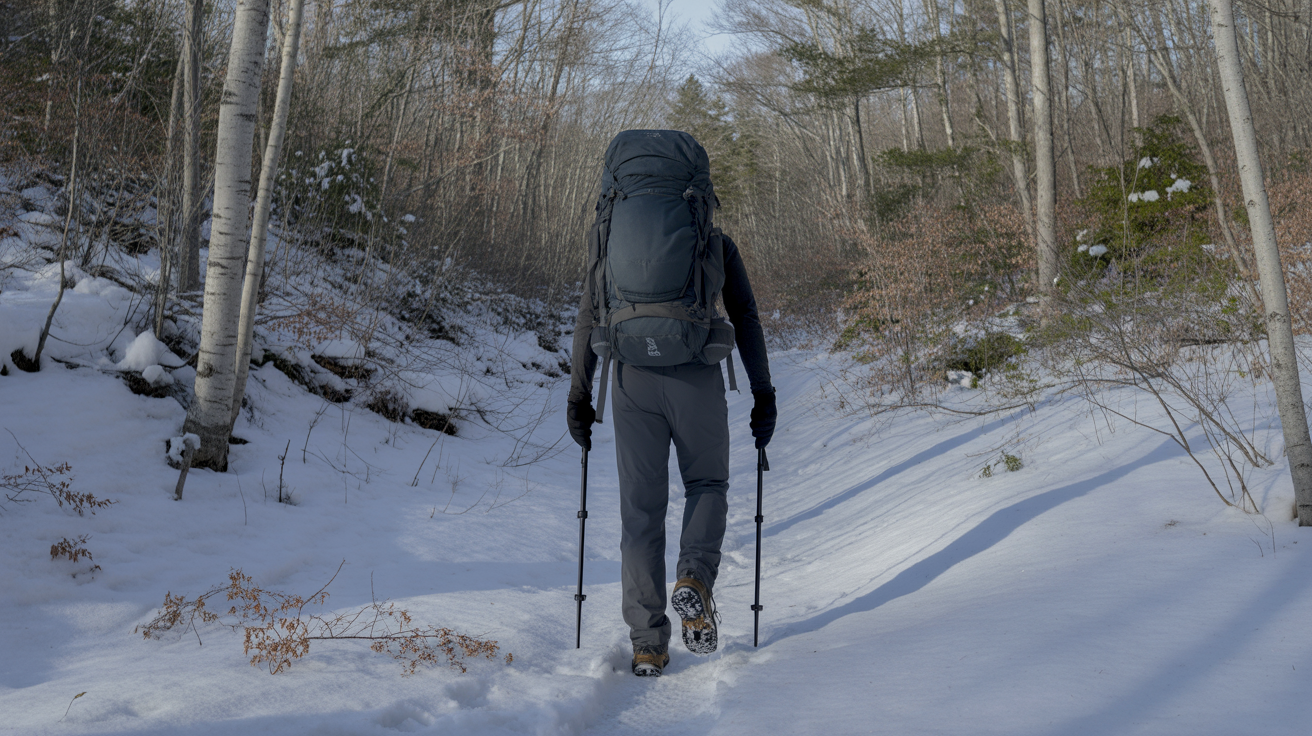
How to hike in snow for the first time is one of those questions that sounds simple until you are actually standing at a snowy trailhead wondering if your regular hiking boots are going to cut it. The good news is that hiking in snow is absolutely something you can do safely and enjoyably as a newer hiker — it just requires a bit more preparation than a warm-weather trail walk.
Snow changes the trail in ways that go beyond the obvious. It hides rocks and roots, makes slopes slippery, and pulls heat away from your body faster than you might expect. But with the right layers, the right footwear, and a few simple technique adjustments, a snowy hike can be one of the most peaceful and rewarding experiences you will have outdoors. This guide walks you through everything you need to know before you head out.
What to Look For
Start With the Right Footwear for Snowy Trails
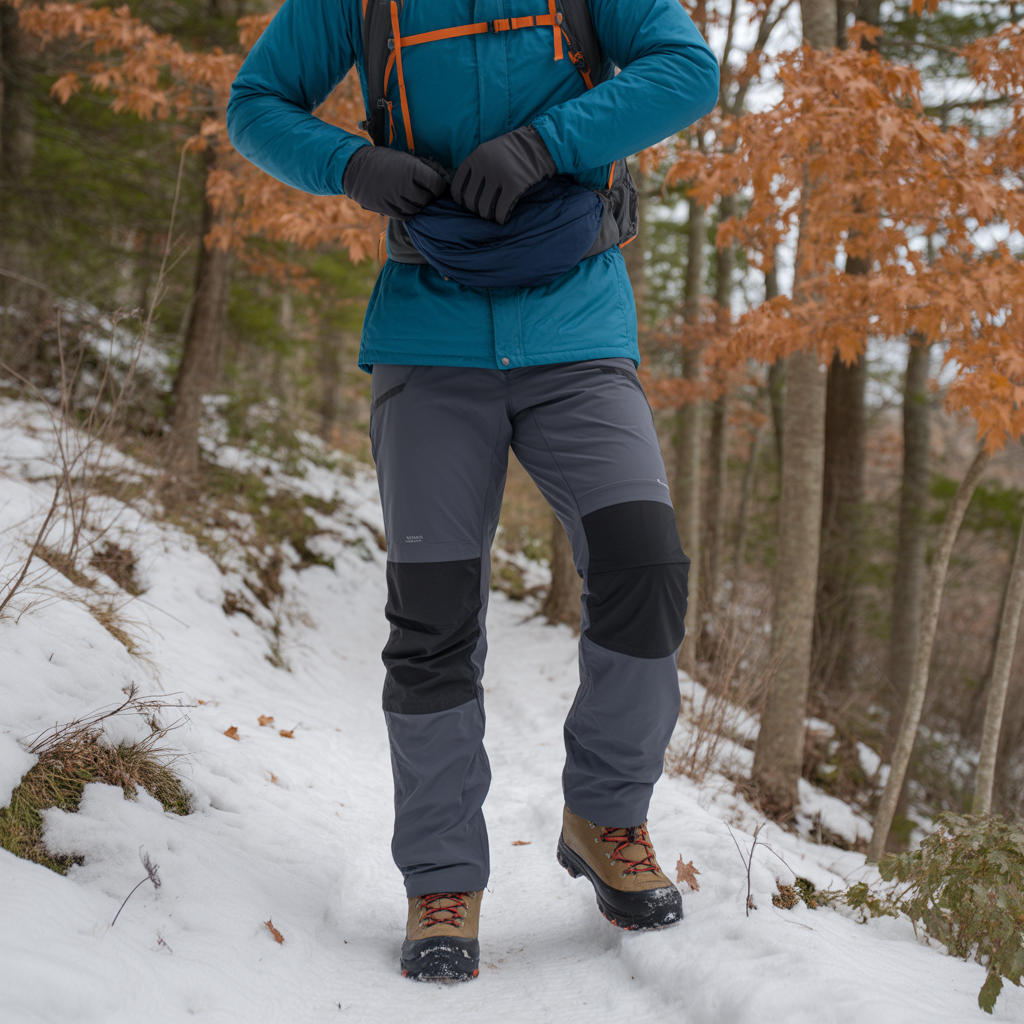
Your feet are the foundation of any hike, and in snow that matters even more. For light snow — a dusting on a packed trail — a sturdy pair of waterproof hiking boots with good ankle support will usually serve you well. The key word is waterproof. Regular trail runners or low-cut sneakers will get soaked within minutes of walking through snow, and cold, wet feet make a hike miserable and potentially dangerous.
If you are hiking in deeper or wetter snow, consider adding gaiters over your boots. Gaiters are slip-on fabric sleeves that wrap around your lower leg and boot cuff, creating a seal that keeps snow from getting inside your footwear. They are inexpensive, lightweight, and make a significant difference on any trail where snow is more than a few inches deep.
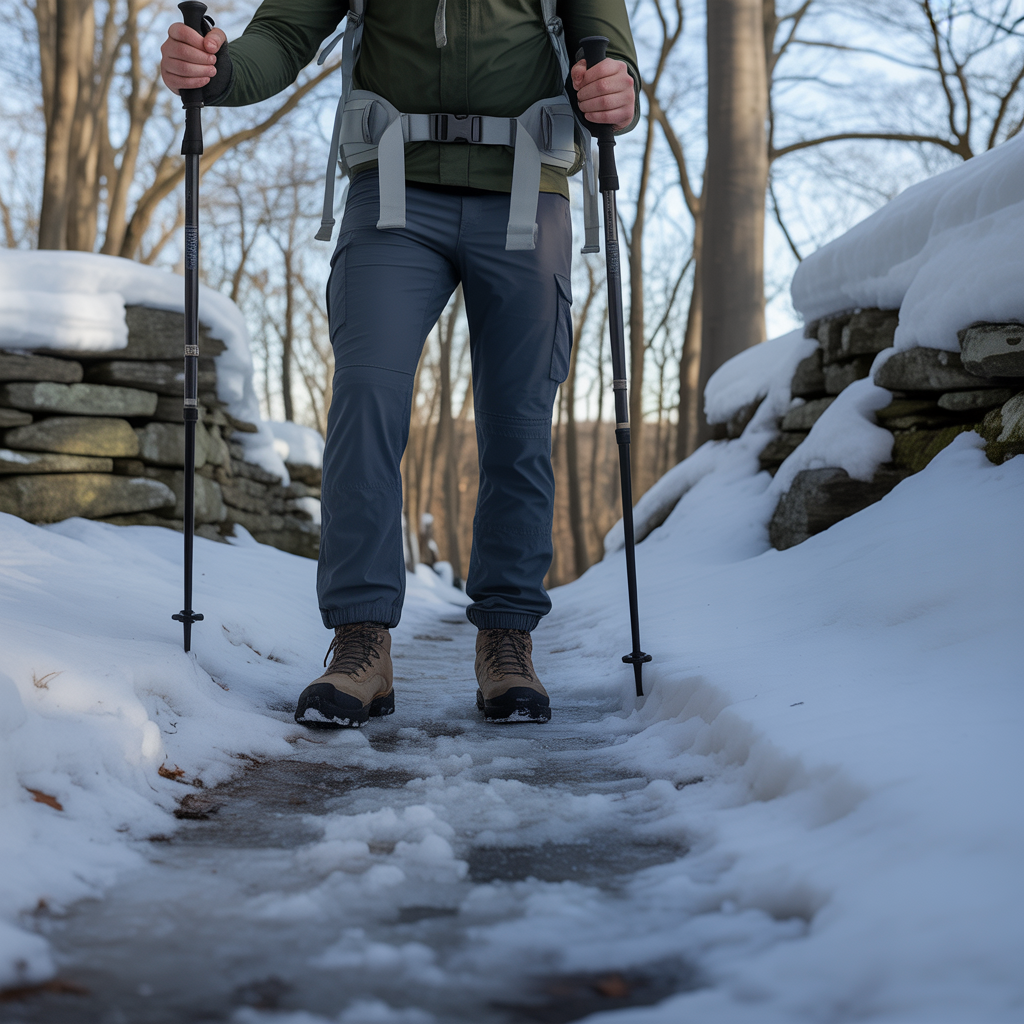
For packed snow or icy trails, microspikes — small metal traction devices that strap onto the bottom of your boots — are worth every penny. They are not the same as full crampons (which are for technical ice climbing), but they grip packed snow and ice far better than any boot sole alone. If your trail has any elevation or is known for icy sections, microspikes are non-negotiable.
Layer Your Clothing the Right Way
The layering system is how hikers stay warm without overheating — and it is the single most important concept to understand before a snow hike. You will warm up as you move, so you need clothing you can add and remove easily.
Start with a merino wool base layer directly against your skin. Merino wool regulates body temperature, manages moisture as you sweat, and stays warm even when slightly damp — all of which matter enormously in cold conditions. Avoid cotton entirely. Cotton absorbs sweat and stays wet, which strips heat from your body rapidly in cold air.
Over your base layer, add an insulating mid-layer such as a fleece or down jacket. This is your warmth layer. On top of that, wear a waterproof outer shell — a rain jacket with a hood works well for light snow conditions. If conditions are windy, a softshell jacket adds weather resistance while staying breathable during active movement.
Do not forget your extremities. A warm hat, waterproof or insulated gloves, and a neck gaiter are all worth carrying. Hands and ears lose heat fast, and once they get cold it takes a long time to warm them back up on the trail.
Adjust Your Hiking Technique for Snow
Snow changes how you move, and fighting it rather than adapting to it is how people slip or exhaust themselves early. The most important adjustment is slowing down. A mile in snow takes significantly longer than a mile on a dry summer trail. Plan your distance accordingly — cut your expected mileage by at least a third for a first snow hike.
Keep your footsteps deliberate. Step flat-footed into snow rather than heel-striking aggressively. When going uphill on packed snow, kick the toe of your boot slightly into the slope to create a small platform before shifting your weight. On downhill slopes, bend your knees slightly, lean gently forward, and take short controlled steps. Leaning back on a snowy downhill is a common mistake that leads to slipping.
Trekking poles become significantly more valuable in snow than on a dry trail. They give you two extra points of contact with the ground and help you test the firmness of snow before committing your full weight. Make sure your poles have snow baskets — the wider disc-shaped attachments that prevent the pole tip from sinking too deep into soft snow. Standard trekking pole tips and baskets can be swapped out before a winter hike if yours are not already equipped.
Carry the Right Gear in Your Pack
A snow hike demands a few extra items beyond your standard day hiking kit. Hydration is still critical even in cold weather — you may not feel as thirsty as you do in summer, but your body is still working hard and losing moisture with every breath. Carry a hiking water bottle and keep it inside your pack or close to your body so it does not freeze.
Bring more food than you think you need. Your body burns more calories staying warm than it does hiking in mild weather. High-calorie snacks like nuts, dried fruit, and energy-dense bars are easy to eat on the move and help maintain your body temperature.
A basic first aid kit, a headlamp, an emergency whistle, and a fully charged phone are all standard day hike items that become more important in winter. Daylight is shorter in the colder months, and getting caught after dark on a snowy trail is a situation you want to avoid entirely.
Know When Conditions Are Too Much for a First Snow Hike
Choosing the right conditions for your first snow hike is just as important as having the right gear. Look for a trail you have already hiked in a different season — familiarity with the route removes one variable when conditions are already more demanding. According to the National Park Service, winter hikers should always check the weather forecast and trail conditions before heading out, and let someone know your planned route and expected return time.
Avoid trails with significant avalanche risk, exposed ridgelines in high winds, or stream crossings that may be icy. Your first snow hike should be on a forgiving, well-marked trail with moderate elevation and a clear turnaround point. The goal is to build confidence — not to push limits.
For specific trail conditions and recent hiker reports before your outing, AllTrails is a reliable resource for checking recent reviews and winter-specific trail notes from hikers who have been out recently.
Frequently Asked Questions
What should I wear for my first snow hike?
Dressing for a snow hike comes down to three layers working together. Start with a moisture-managing base layer — merino wool is ideal because it keeps you warm even if you begin to sweat. Add an insulating mid-layer like a fleece or lightweight down jacket for warmth. Finish with a waterproof outer shell to block wind and light snow. Beyond your torso, cover your hands with insulated gloves, protect your ears and head with a warm hat, and use a neck gaiter to block cold air from creeping in at your collar. The most important rule is to avoid cotton in any layer. Cotton holds moisture against your skin and pulls heat away from your body rapidly in cold temperatures. On your feet, wear wool or synthetic hiking socks — never cotton — inside waterproof boots. Cold, wet feet are both miserable and a genuine safety concern on a winter trail, so prioritize keeping them dry from the moment you start walking.
Do I need special boots to hike in snow?
For light snow on a packed trail, waterproof hiking boots with good ankle support will usually do the job. Ankle support means a boot that rises above your ankle bone and provides structure on uneven terrain — this helps prevent your ankle from rolling sideways when you step on hidden rocks or roots under the snow. The waterproofing is non-negotiable — regular trail shoes or sneakers will soak through quickly and leave you with dangerously cold feet. For deeper or wetter snow, add gaiters over your boots to seal out the snow that accumulates around your boot cuff as you walk. On icy or packed-snow trails with any elevation change, consider microspikes — removable traction devices that strap to the bottom of your boots and grip ice and hard snow far better than a standard boot sole. They are affordable, easy to use, and genuinely make icy trails accessible rather than dangerous. Full mountaineering boots and crampons are for technical ice routes and steep alpine terrain — you will not need them for a standard winter day hike. Focus on waterproofing and traction appropriate to the specific conditions you are walking into.
How far should I hike in snow as a beginner?
A good rule of thumb is to cut your planned mileage by at least one third compared to what you would hike on a clear summer trail. Snow slows your pace considerably, and the extra effort of lifting your feet through soft snow or moving carefully on icy sections adds up quickly. A trail that takes you ninety minutes in summer could easily take two and a half hours in snow. Start conservatively — a three to five mile round trip on a familiar, well-marked trail is a reasonable target for a first snow hike. Choose a route with a clear turnaround point rather than a loop, so you can head back the moment you feel uncertain about conditions or energy. Because daylight hours are shorter in winter months, an early start is important. Aim to be back at the trailhead well before dark, and always tell someone where you are going and when to expect you home.
Is hiking in snow dangerous?
Hiking in snow carries more risk than hiking on a dry trail, but most of those risks are manageable with preparation and good judgment. The main hazards to be aware of are slipping on icy surfaces, getting wet and cold from poor clothing choices, losing the trail when snow covers trail markers, and running out of daylight. Each of these risks can be significantly reduced by choosing appropriate terrain, dressing in proper layers, carrying traction devices when needed, and starting early in the day. The bigger risks — avalanche, whiteout conditions, extreme cold — belong to backcountry and alpine environments, not the kind of well-traveled day hiking trails that are appropriate for a first snow hike. Stick to trails below the treeline with low avalanche exposure, check conditions and forecasts before you leave, tell someone your plan, and carry a basic emergency kit. Managed well, snow hiking is a safe and rewarding activity for hikers at almost any experience level.
The Bottom Line
Knowing how to hike in snow for the first time is really about respecting what the trail is telling you and preparing accordingly. The biggest mistakes first-time winter hikers make are underestimating how long snow slows them down, dressing in cotton layers, and skipping traction devices on icy terrain. Address those three things and you are already ahead of most people who show up unprepared.
If you are heading out for a short winter day hike on a familiar trail, focus on waterproof boots, a solid layering system, and a pair of microspikes if the trail is icy. If you are planning a longer shoulder-season hike with significant elevation, add gaiters, trekking poles, and an earlier start to your checklist.
Winter trails are quieter, more beautiful, and more rewarding than most new hikers expect. The crowds thin out, the landscape transforms completely, and the sense of accomplishment at the end of a cold-weather hike is genuinely different from anything a summer trail delivers. Start small, prepare well, and enjoy the experience of seeing familiar terrain in an entirely new way.
Disclosure: As an Amazon Associate, we earn from qualifying purchases. This does not affect our editorial recommendations.