
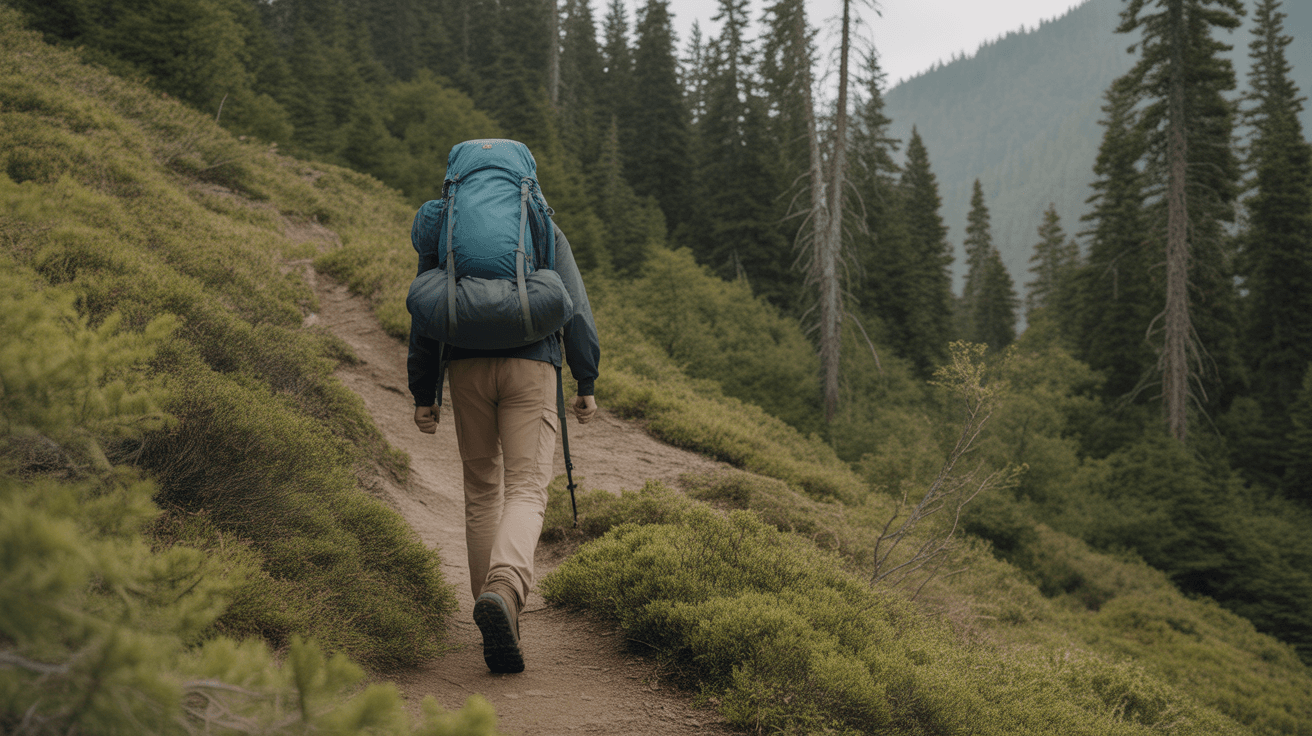
That moment when the trail tilts upward and suddenly every step feels twice as hard – you know it well. Your heart pounds, your breathing gets ragged, and you find yourself stopping every few minutes while other hikers seem to float past effortlessly. You are not out of shape, and you are not doing anything wrong. You just have not learned the specific techniques that make uphill hiking feel manageable instead of miserable.
The good news is that efficient uphill hiking is a learned skill, not a fitness test. With the right pacing strategy, breathing rhythm, and body positioning, those steep sections transform from exhausting obstacles into challenging but conquerable parts of your hike. This guide will walk you through the exact techniques that experienced hikers use to maintain steady progress uphill without gasping for air or burning out their legs halfway up.
What to Look For
The Rest Step: Your Secret Weapon for Steep Climbs
The rest step is the single most effective technique for efficient uphill hiking, yet most beginners have never heard of it. Here is how it works: with each step, you briefly lock your rear knee and shift your weight entirely onto your back leg. This creates a micro-rest where your skeletal system supports your weight instead of your muscles. You are essentially resting while still moving forward.
To practice the rest step, take a normal uphill stride, but before you shift your weight to your front foot, pause for a half-second with your back leg completely straight and locked. Let your leg bones hold you up. Then shift forward to your front foot and repeat. It feels awkward at first, like you are walking in slow motion, but on long sustained climbs, this technique saves enormous amounts of energy. Your leg muscles get tiny recovery moments with every single step, which means you can maintain your pace much longer before needing to stop.
The rest step works best on steady, moderate grades. On extremely steep sections where you are scrambling or on very gentle slopes, regular walking is fine. Save this technique for those long, grinding climbs where you can feel your thighs starting to burn.
Breathing Rhythm: Matching Breath to Steps
Your breathing pattern has more impact on uphill efficiency than most beginners realize. Random, irregular breathing leads to side stitches, dizziness, and that panicked out-of-breath feeling. Deliberate, rhythmic breathing keeps oxygen flowing to your muscles and helps you maintain a steady pace.
Start with a simple two-step breathing pattern: breathe in for two steps, breathe out for two steps. On moderate climbs, this rhythm usually works well. As the grade steepens or the air gets thinner (at higher elevations), shift to one-step breathing: in for one step, out for one step. The key is maintaining the pattern consistently. Your breath becomes a metronome that sets your hiking tempo.
Breathe through both your nose and mouth, especially on climbs. Your body needs more oxygen than nose-breathing alone can provide. Do not worry about looking like you are working hard – everyone breathes heavily on steep climbs. Focus on deep belly breaths rather than shallow chest breathing. Place one hand on your stomach occasionally to check that it is expanding with each inhale.
If you find yourself gasping or unable to maintain your breathing rhythm, you are going too fast. Slow down until you can breathe in a controlled, steady pattern again. It is far better to maintain a sustainable rhythm than to charge uphill and crash.
The Pressure Breathing Technique
Pressure breathing is an advanced technique borrowed from mountaineers who climb peaks above 14,000 feet, but it works on any steep climb where you feel short of breath. Instead of passive exhaling, you actively push air out by pursing your lips and forcing the breath out with your diaphragm muscles. This creates slight back-pressure in your lungs, which helps your body absorb more oxygen from each breath.
To practice pressure breathing, exhale through pursed lips like you are blowing out a candle. You should hear a slight rushing sound and feel resistance as you breathe out. This technique is particularly helpful when you feel winded or when hiking at higher elevations where the air contains less oxygen. Alternate between regular rhythmic breathing and pressure breathing as needed – use pressure breathing when you need an extra oxygen boost, then return to normal breathing once you feel recovered. Do not feel pressured to master this right away; focus first on establishing a basic breathing rhythm, then experiment with pressure breathing once that feels natural.
Pace and Stride Length: Slow and Steady Wins
Beginners almost always start uphill sections too fast. You feel strong at the bottom, so you attack the climb at the same pace you were using on flat ground. Five minutes later, you are stopped and gasping. Efficient uphill hiking means starting slower than feels natural and maintaining that pace all the way to the top.
Shorten your stride significantly on climbs. Instead of long, lunging steps that use maximum energy, take smaller steps that keep your center of gravity stable. Your feet should land almost directly below your hips rather than far in front of you. Imagine you are walking up an invisible staircase with very small steps. This shorter stride uses less energy per step and helps maintain your rhythm.
Find a pace you can sustain indefinitely without stopping. It should feel almost too slow at first. A good test is the talk test: you should be able to speak short sentences without gasping. If you cannot talk, you are going too fast. Remember that hiking is not a race. The goal is to reach the top feeling tired but not destroyed, not to prove how fast you can climb.
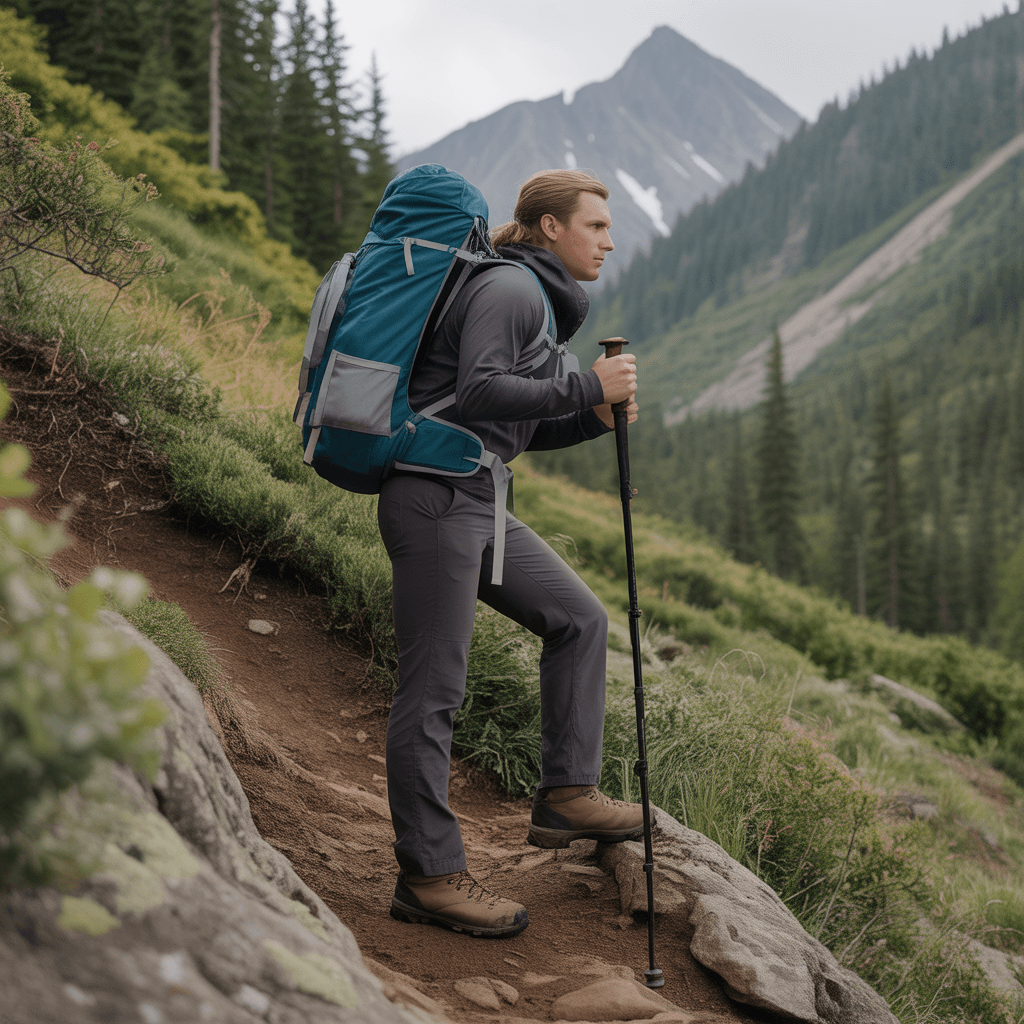
Consider using trekking poles to help maintain rhythm on steep sections, especially if you find yourself losing balance or feel strain in your knees during long climbs.
Body Position and Weight Distribution
How you position your body on climbs affects your efficiency dramatically. The most common mistake is leaning too far forward at the waist, which feels natural but actually makes climbing harder. When you hinge forward, you shift your center of gravity away from your feet, forcing your legs to work harder to keep you balanced.
Instead, keep your torso relatively upright, even on steep sections. Imagine a string attached to the top of your head pulling you up toward the sky. Your hips should stay over your feet. On very steep sections, you will naturally lean forward slightly, but resist the urge to bend at the waist. Lean from your ankles, keeping your back straight.
Place your hands on your knees or thighs on especially steep sections. This technique, called the hiking rest position, lets your arms help carry some of your body weight and gives your legs brief relief. Push down on your thighs with each step to help drive yourself upward. This is not cheating – it is efficient technique that experienced hikers use all the time.
Plant your entire foot flat on the ground with each step when possible, rather than climbing on your toes. Using your whole foot engages your larger leg muscles and saves your calves from cramping. On very steep terrain where only your toes can reach, take smaller steps and focus on finding flat spots for your feet. Boots with good sole stiffness and traction make it easier to plant your foot securely and maintain this proper foot placement throughout your climb.
Strategic Breaks and Recovery
The best uphill strategy is to minimize stops, not maximize them. Frequent starting and stopping wastes energy. Every time you stop, your muscles cool down, your momentum dies, and restarting requires extra effort. Instead of stopping every time you feel winded, slow your pace until your breathing recovers while still moving.
When you do need to stop, make it count. Step completely off the trail, take your pack off if it is heavy, and give yourself several minutes to recover fully. Drink water, eat a snack, and let your heart rate come down to normal. Three well-planned stops are far more effective than ten rushed stops where you barely catch your breath before starting again.
Pick your stopping points strategically. Look ahead and choose a landmark – a switchback (the zigzag turns trails use to climb steep slopes), a large tree, a flat spot – and commit to hiking to that point without stopping. This mental game helps you push through the urge to stop every fifty feet. As you get stronger, increase the distance between planned stops.
Pay attention to what your body needs. Some fatigue is normal, but sharp pain, extreme breathlessness, or dizziness means you need to stop and rest properly. Pushing through warning signs leads to injury or exhaustion. Learn to distinguish between the discomfort of hard work (normal and manageable) and the distress of overdoing it (time to rest).
Frequently Asked Questions
What is the proper technique for hiking uphill?
The most effective uphill hiking technique combines several elements working together. First, shorten your stride significantly – take smaller steps that land directly below your hips rather than lunging forward. Second, establish a breathing rhythm that matches your steps, such as breathing in for two steps and out for two steps. Third, use the rest step on sustained climbs by briefly locking your rear knee between steps to let your skeleton support your weight instead of your muscles. Fourth, keep your torso relatively upright rather than bending forward at the waist, which maintains better balance and efficiency. Finally, start at a pace that feels almost too slow but that you can sustain without frequent stops. The combination of these techniques allows you to maintain steady progress uphill without exhausting yourself. Many hikers also find that poles designed for trail use help maintain rhythm and reduce the load on your legs during long climbs, though they are not necessary when you are first learning these fundamental techniques.
Why do I get so out of breath hiking uphill?
Getting extremely winded on uphill sections usually happens because you are starting too fast and breathing irregularly. When you attack a climb at the same pace you used on flat ground, your muscles demand more oxygen than your lungs can supply, creating that gasping, out-of-breath feeling. The solution is not necessarily better fitness – it is better pacing and breathing technique. Start climbs at a slower pace than feels natural, even if it seems almost too easy at first. Establish a deliberate breathing rhythm matched to your steps, such as inhaling for two steps and exhaling for two steps. This ensures steady oxygen delivery to your muscles. As the climb steepens, you can shift to faster breathing (one step per inhale, one step per exhale) but maintain the rhythm. Most beginners breathe irregularly and hold their breath during hard efforts without realizing it. If you focus on rhythmic breathing and sustainable pacing, you will notice dramatic improvement in how winded you feel, even on the same trails.
How can I improve my uphill hiking endurance?
Improving your uphill endurance requires both on-trail practice and understanding efficient technique. The fastest improvement comes from simply hiking more hills while focusing on proper technique. Start with moderate climbs and deliberately practice the rest step, rhythmic breathing, and sustainable pacing. Push yourself to extend the distance between rest stops gradually – if you currently stop every five minutes, try making it to seven minutes, then ten. This builds both physical endurance and mental resilience. Off the trail, any activity that builds leg strength helps. Walking or hiking stairs, doing bodyweight squats and lunges, and cycling all strengthen the muscles you use for climbing. However, the most effective training is simply hiking uphill more often, because it trains your body for the exact movement patterns and demands you will face on the trail. Pay attention to your pack weight as well. Carrying unnecessary weight makes every climb harder. A well-fitted pack that distributes weight properly can make uphill sections feel significantly easier. Remember that improvement takes time. The climbs that exhaust you today will feel manageable in a few months with consistent practice.
Should I lean forward or stay upright when hiking uphill?
You should stay relatively upright when hiking uphill rather than bending forward at the waist, which is the opposite of what most beginners instinctively do. Leaning forward shifts your center of gravity away from your feet, forcing your leg muscles to work harder to keep you balanced and stable. Instead, keep your torso upright with your hips positioned over your feet. Imagine a straight line running from your head through your hips to your feet. On very steep sections, you will naturally lean forward slightly, but this should come from your ankles, not from bending at the waist. Think of it as your whole body tilting forward together rather than folding in the middle. This upright position lets your skeleton carry more of your weight and allows your legs to work more efficiently. The exception is when you place your hands on your knees or thighs for extra support on especially steep sections – this hiking rest position uses your arms to help push yourself upward and does require leaning forward slightly. Experiment with your body position on your next hike and notice how much easier climbing feels when you stay upright.
The Bottom Line
Efficient uphill hiking is not about being the strongest or fastest – it is about using smart techniques that work with your body instead of against it. The rest step, rhythmic breathing, shortened stride, and upright posture transform exhausting climbs into manageable challenges. These techniques feel awkward at first, especially when you slow down to what seems like a crawl, but that initial slowness is exactly what allows you to maintain steady progress without stopping every few minutes.
Start practicing these techniques on your next hike, but be patient with yourself. Choose one or two techniques to focus on during each climb rather than trying to implement everything at once. The rest step and rhythmic breathing offer the biggest immediate payoff for most beginners, so start there. As these become automatic, add the other techniques into your uphill repertoire.
Remember that every experienced hiker you see cruising uphill effortlessly learned these same techniques. They are not superhuman – they just learned how to hike efficiently. With practice, you will develop your own sustainable rhythm and find that climbs that once left you gasping become satisfying challenges that you tackle with confidence. The trails are not getting any flatter, so you might as well learn to enjoy the climbs.
Disclosure: As an Amazon Associate, we earn from qualifying purchases. This does not affect our editorial recommendations.