

That moment when you check your phone mid-hike and see zero bars is familiar to anyone who has ventured beyond paved parking lots. For many hikers, losing cell service triggers real anxiety about getting lost, missing a turn, or not being able to call for help if something goes wrong. But here is the truth: countless trails exist in areas with no cell coverage, and hikers successfully find their way every single day using methods that do not depend on a signal.
This guide walks through every practical option for staying on route without cell service, from downloading offline maps before you leave home to carrying backup tools that work anywhere. You will learn which apps actually function without signal, how to prepare your phone for offline use, and what traditional methods still work when technology fails. Whether you are planning your first hike in a remote area or just want to feel more confident about losing bars, these strategies will help you stay on track.
What to Look For
Download Offline Maps Before You Leave Home
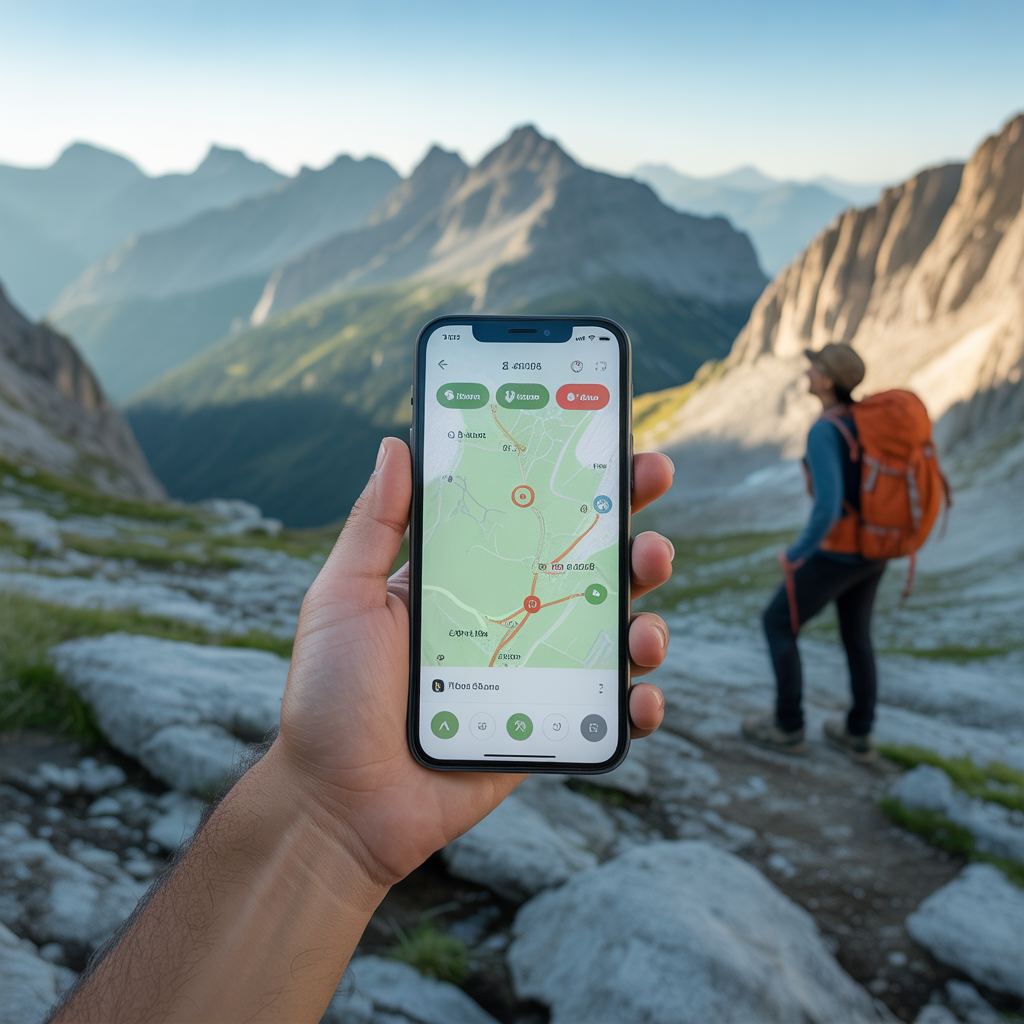
The single most important step happens before you even pack your hiking daypack: downloading the trail map while you still have WiFi or cell service. Most apps allow you to save map areas to your phone so they display even without any connection. This is not the same as screenshots, which give you a static image with no GPS tracking. Offline maps show your real-time location as a moving dot, letting you see exactly where you are on the trail as you hike.
Popular apps like AllTrails, Gaia GPS, and Avenza Maps all offer offline map downloads. The process typically involves opening the app while connected to WiFi, searching for your planned trail or hiking area, and selecting a download option that saves that geographic region to your device. Some apps limit how many maps you can download on free accounts, while paid versions allow unlimited offline storage. Download a slightly larger area than just your exact trail, which gives you context if you wander off route or need to find an alternate path to a nearby trailhead (the parking area where a trail begins).
Your phone continues to receive GPS satellite signals even in airplane mode, which means your location will still update on these downloaded maps without any cellular or WiFi connection. GPS relies on satellites orbiting overhead, not cell towers, so it functions anywhere you can see the sky. Dense forest canopy or deep canyons may slow down the initial satellite connection, but once locked in, your position tracks reliably. Make sure to enable location services for your app even when your phone shows no service bars.
Understand How Your Phone GPS Works Without Signal
Many hikers assume their phone becomes useless without cell service, but the GPS chip inside your device operates independently from your cellular connection. This is why airplane mode does not disable location tracking. Your phone picks up signals from multiple GPS satellites simultaneously to calculate your precise position, then displays that position on whatever map is currently loaded in your app. As long as you downloaded the map beforehand, you get real-time location tracking without needing to connect to anything.
The biggest drain on your phone during offline use is the screen staying on while you check your position. To conserve battery, only open your app when you need to confirm your location at trail junctions or uncertain points. Keep your phone in airplane mode to prevent it from constantly searching for a signal, which rapidly depletes the battery. Bringing a portable battery pack extends your capability significantly, especially on longer hikes where you might check your position dozens of times throughout the day.
One limitation to understand: your phone cannot download new map data, update trail conditions, or show real-time weather without cell service or WiFi. What you download before leaving is what you get. This makes pre-hike research essential. Check recent trip reports, read trail descriptions thoroughly, and download maps that include alternate routes or bailout options in case your planned trail becomes impassable.
Carry a Physical Map and Learn Basic Map Reading
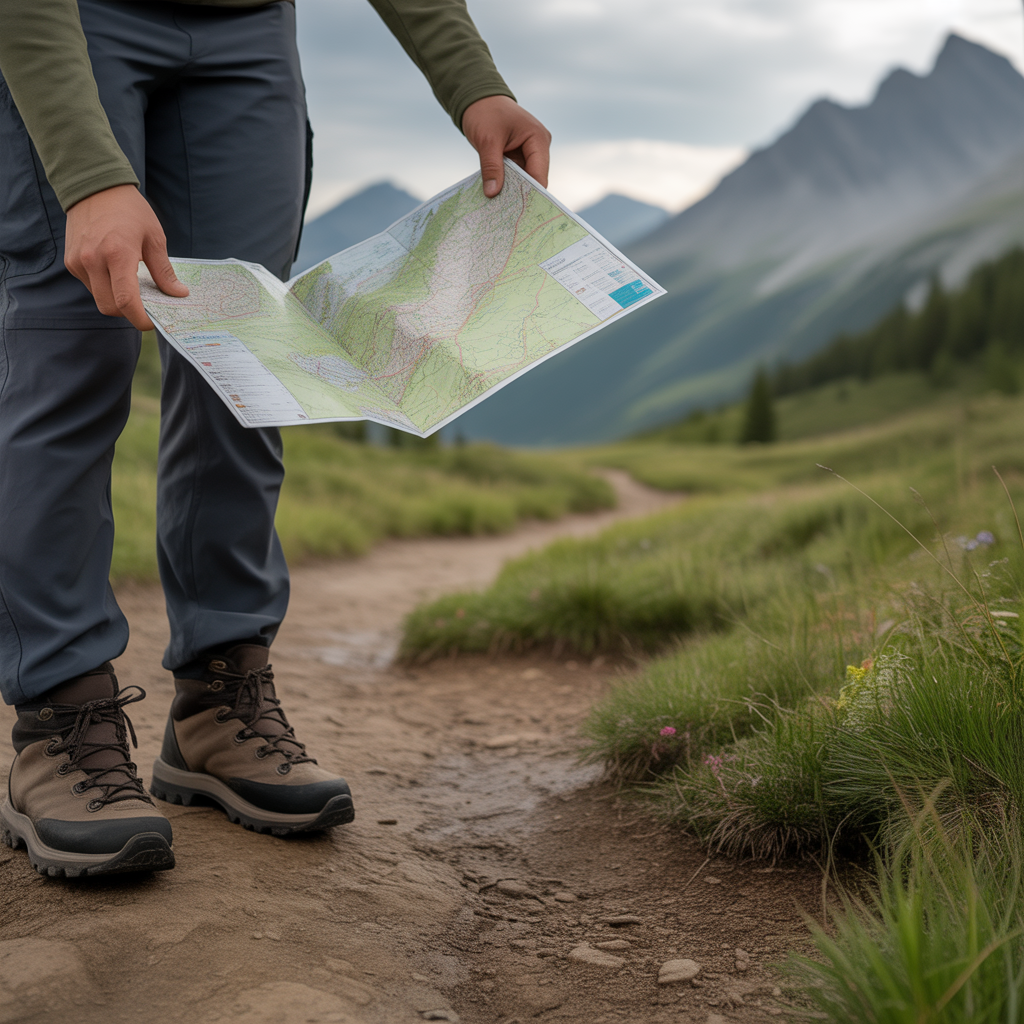
Paper maps never run out of battery, never crack when dropped, and work in any weather condition. Carrying a printed topographic map of your hiking area provides a backup that does not depend on any technology whatsoever. Many trailheads have free maps available, or you can print maps from websites like Caltopo or purchase waterproof versions from outdoor retailers and ranger stations. A physical map also gives you a broader view of the entire area than a phone screen, helping you understand how different trails connect and where you are relative to roads, water sources, and landmarks.
Learning basic map reading skills takes less time than most people think. Start by identifying the trailhead on the map, then trace the trail route with your finger while noting major landmarks like stream crossings, ridge lines, or trail junctions. Topographic maps show elevation through contour lines (curved lines that connect points of equal elevation): lines close together indicate steep terrain, while widely spaced lines show gentle slopes. Before your hike, study the elevation profile so you know when to expect climbs and descents. This mental picture helps you recognize where you are even without constantly checking your position.
Keep your map accessible, not buried at the bottom of your hiking backpack. Many hikers fold their map to show just the relevant section and store it in a pocket or outside mesh pocket where they can grab it quickly. Laminating your map or storing it in a clear waterproof case protects it from rain and sweat. Even if you plan to primarily use your phone, having the paper backup means one device failure does not leave you guessing.
Use Natural Trail Cues and Trail Markers
Trails themselves provide constant feedback if you know what to look for. Well-maintained trails show obvious tread, cleared vegetation, and regular blazes (painted marks on trees and rocks, typically rectangles in specific colors that indicate you are on the correct path) or other markers. Different trail systems use different colors and blaze patterns, so check the signage at the trailhead or trail description to know what markers to follow. Two blazes stacked vertically often signal an upcoming turn or junction.
When the trail becomes faint or you lose the obvious path, stop and look around before continuing. Hikers naturally create worn paths in vegetation, so look for areas where grass is trampled, dirt is compacted, or small rocks have been displaced by foot traffic. Established trails also show saw cuts on branches and logs where maintenance crews have cleared the path. If you walk more than a few minutes without seeing any of these signs, you have likely left the trail. Turn around and backtrack to the last point where you clearly saw trail markers or worn tread.
Pay attention to major landmarks mentioned in trail descriptions: a large boulder, a distinctive tree, a creek crossing, or a meadow. When you reach these features in the sequence described, you know you are on route. If you pass landmarks in the wrong order or do not encounter an expected feature, stop and check your map or GPS watch before continuing. Your instinct may tell you to keep moving forward, but confirming your position when something seems off prevents small errors from becoming serious problems.
Consider a Dedicated GPS Device as a Reliable Backup
Handheld GPS units and GPS watches designed for hiking offer advantages over phone use in remote areas. These devices typically have longer battery life than phones, sometimes lasting days or even weeks on a single charge. They use more sensitive GPS chips that lock onto satellite signals faster in heavy tree cover or narrow canyons. Many models are built to withstand impacts, extreme temperatures, and complete water submersion, making them more durable than phones during rugged hiking.
GPS watches track your route automatically as you hike, creating a breadcrumb trail (a recorded line showing your exact path) that shows where you have been. If you need to turn around or retrace your steps, you can follow this recorded track back to your starting point even if the trail is no longer visible. This feature provides significant peace of mind in areas with faint trails or cross-country travel. Dedicated GPS devices also display more detailed information at a glance, including heading, altitude, distance traveled, and coordinates, without needing to open multiple screens.
The downside is cost and the learning curve. Quality handheld GPS units and advanced GPS watches range from a couple hundred to several hundred dollars. They also require learning a new interface and understanding how to load maps, create waypoints (saved location points you can reference later), and interpret the display. For hikers who frequently visit remote areas without cell service, this investment pays off in reliability and confidence. For occasional hikers sticking to well-marked trails, a phone with downloaded maps usually provides sufficient capability.
Practice on Easy Trails Before Remote Hikes
The time to learn offline tracking is not during your first hike in a remote wilderness area. Start by testing your offline maps on familiar trails close to home where getting temporarily disoriented carries no real consequence. Download the map, put your phone in airplane mode, and use only the offline map as if you had no service. This practice reveals whether you downloaded the correct area, whether your GPS locks on quickly, and how comfortable you feel interpreting your position on the map.
Use these practice hikes to develop a routine for checking your location. Many experienced hikers glance at their map or GPS at every major junction, before and after steep climbs, and whenever the trail character changes significantly. This regular checking builds your awareness of where you are and how the terrain matches what you expect to see. It also helps you notice immediately if something seems wrong, rather than hiking for an hour in the wrong direction before realizing your error.
Practice also builds your confidence in the technology and your own skills. The first time you watch your position dot move accurately along the trail without any cell service, the anxiety about losing signal diminishes. You prove to yourself that location tracking works without bars. This confidence transforms hiking in remote areas from something anxiety-inducing into something liberating, knowing you have the skills and tools to stay on route anywhere.
Frequently Asked Questions
Can I use Google Maps without cell service?
Google Maps does allow offline map downloads, but it has significant limitations for trail use. You can download areas while connected to WiFi, and those maps will display your location without service. However, Google Maps focuses primarily on roads and developed areas, showing very limited trail information compared to hiking-specific apps. Many trails simply do not appear on Google Maps at all, and the app provides no elevation data or trail-specific features.
For road directions to trailheads, Google Maps offline works fine. But once you start hiking, apps designed specifically for trails like AllTrails, Gaia GPS, or Hiking Project provide far more detailed and accurate trail mapping. These apps show the actual trail route, elevation profiles, trail junctions, and points of interest that Google Maps typically does not include. If you regularly hike in areas without service, investing time in learning a trail-specific app gives you much better information than relying on Google Maps alone.
What happens if my phone dies on the trail?
If your phone battery dies and you have no backup, your primary strategy is to retrace your steps back the way you came. Most hikers can remember major landmarks, junctions, and general terrain features from their hike in, especially on the same day. Turn around and walk back, looking for familiar features in reverse. If you are on a well-marked trail, simply follow the trail markers back toward the trailhead even without a map.
This scenario highlights why carrying backup tools matters. A simple paper map costs a few dollars and weighs almost nothing, but provides full capability if your electronics fail. A portable battery pack extends your phone life significantly and can recharge your device multiple times during longer hikes. Some hikers also carry a small backup GPS device or compass as insurance. The key lesson is never to rely on a single method with no backup, especially in remote or unfamiliar areas where wrong turns have consequences.
Do I need cell service to call 911 from the trail?
Your phone will attempt to connect to any available cell tower for 911 calls, even if you have no regular service from your carrier. In emergencies, your device searches for any compatible network and uses it to place the emergency call. This means you might get through to 911 from locations where you cannot make normal calls or send texts. However, this is not guaranteed, and many remote trails exist in areas with absolutely no tower coverage from any carrier.
Because 911 access is unreliable in backcountry areas, you should never assume you can call for help. Plan hikes within your ability level, bring first aid supplies, tell someone your plans before leaving, and carry backup tools so you do not get lost in the first place. Some hikers in truly remote areas carry satellite communication devices like Garmin inReach or SPOT, which allow emergency messaging anywhere in the world regardless of cell coverage. For most day hikes on established trails, careful planning and preparation reduce the likelihood you will ever need emergency services.
How much phone battery does GPS use without service?
GPS itself uses relatively little battery power compared to your screen and cellular radio. The biggest drain during offline use comes from keeping your screen on to view the map. If you leave your app open with the screen on continuously, you might only get a few hours of battery life. However, if you keep your phone in airplane mode, turn the screen off between position checks, and only open your app at junctions or uncertain points, your battery can last an entire day of hiking.
Starting your hike with a full charge makes a significant difference. Put your phone in airplane mode before you leave the trailhead, which stops it from constantly searching for a signal and draining power. Lower your screen brightness to the minimum level where you can still read the map comfortably. Consider bringing a lightweight portable battery pack that can recharge your phone at least once, giving you enough power for long days or overnight trips. Many hikers use GPS watches for hiking specifically because they offer multi-day battery life compared to phones that typically need daily charging.
What is the most reliable offline hiking app?
Several apps offer reliable offline functionality, with the best choice depending on your hiking style and budget. AllTrails is the most popular option because it combines a huge database of trail maps with easy offline downloading and a simple interface. The free version limits how many maps you can download, but the paid subscription allows unlimited offline maps plus additional features like custom maps and real-time updates when you do have service.
Gaia GPS offers more advanced features for serious backcountry hikers, including multiple map layer options, detailed topographic maps, and sophisticated route planning tools. It costs more than AllTrails but provides professional-grade capability. Avenza Maps is another strong option that uses georeferenced PDF maps, many of which are free to download for specific parks and trail systems. The app shows your position on these professional maps without requiring any subscription.
For most hikers, starting with AllTrails makes sense because of its ease of use and comprehensive trail database. As your needs become more advanced, you can explore other apps. Whichever app you choose, download your maps and test the offline functionality on a familiar trail before depending on it in a remote area. Every app works slightly differently, and understanding the interface before you need it prevents confusion when you actually lose cell service on the trail.
The Bottom Line
Staying on route without cell service becomes straightforward once you understand that your phone GPS works independently from cellular networks and prepare accordingly. The essential steps are simple: download offline maps before leaving home, keep your phone in airplane mode to preserve battery, carry a paper map as backup, and practice on easy trails before venturing into remote areas. These preparations transform the anxiety about losing signal into confidence that you can find your way anywhere.
For hikers just starting to explore trails beyond cell coverage, begin with popular, well-marked trails where staying on route is obvious. Download the offline map and use it even though you probably do not need it, building familiarity with how the app works and how to read your position. As your comfort grows, you can tackle more remote trails knowing you have reliable tools regardless of signal strength. For frequent hikers in backcountry areas, investing in a dedicated GPS watch or handheld unit provides added reliability and battery life that phones cannot match.
The freedom that comes from moving confidently without cell service opens up incredible hiking opportunities. Many of the most beautiful and uncrowded trails exist in areas where your phone shows no bars, but these places become accessible when you have the right tools and skills. Start with the basics covered in this guide, practice on nearby trails, and gradually build your confidence until hiking without service feels as natural as hiking anywhere else.
Disclosure: As an Amazon Associate, we earn from qualifying purchases. This does not affect our editorial recommendations.