
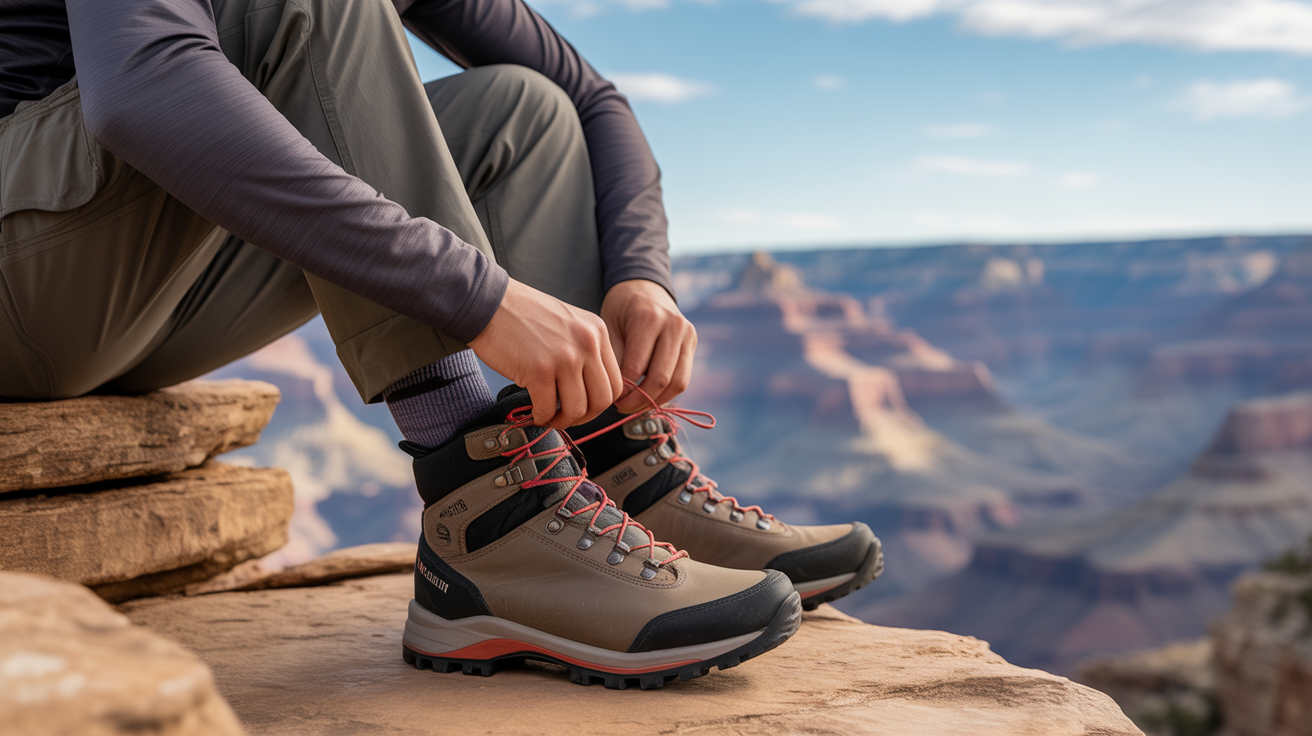
Knowing how to break in hiking boots is one of those things nobody warns you about until your heels are already raw. You bought a solid pair of boots, laced them up, and within an hour you had a hot spot forming on your heel or a pressure point grinding against your little toe. That is not a sign you bought the wrong boots. It is a sign every new boot owner faces, and there is a real method for getting through it with patience and planning.
The good news is that breaking in hiking boots does not have to mean suffering. It means introducing your feet and your boots to each other gradually, the same way you would ease into any new physical routine. This guide gives you a day-by-day approach you can follow in the weeks before your planned hike, along with the gear and habits that make the biggest difference. Follow this method and you will arrive at the trailhead with boots that feel like they were made for your feet.
What to Look For
Why Hiking Boots Need a Break-In Period
Most hiking boots are built with stiff materials — full-grain leather, reinforced midsoles, and structured toe boxes — designed to protect your feet on uneven terrain. That stiffness is exactly what makes them protective, and exactly what causes friction against soft skin before the boot has conformed to your foot shape. Leather needs to flex and soften. Synthetic panels need to loosen at the stress points. The insole needs to compress and mold to your arch. None of that happens on day one. Understanding this makes the process less frustrating. Your boots are not defective. They just need time.
According to REI’s boot break-in guide, most hiking boots require anywhere from one to four weeks of gradual wear before they are ready for a full day on trail. The timeline depends on the materials and construction. Lightweight trail shoes may break in faster, while heavy leather backpacking boots can take longer. Plan accordingly and do not leave this process to the week before your hike.
Day-by-Day Break-In Method
Start with short indoor sessions during days one through three. Wear your boots around the house for 30 to 60 minutes at a time. This sounds almost too simple, but it serves a real purpose: you are identifying pressure points before they become problematic. Pay attention to any areas that rub or feel tight. If a specific spot is already causing discomfort indoors, address it now rather than on trail.
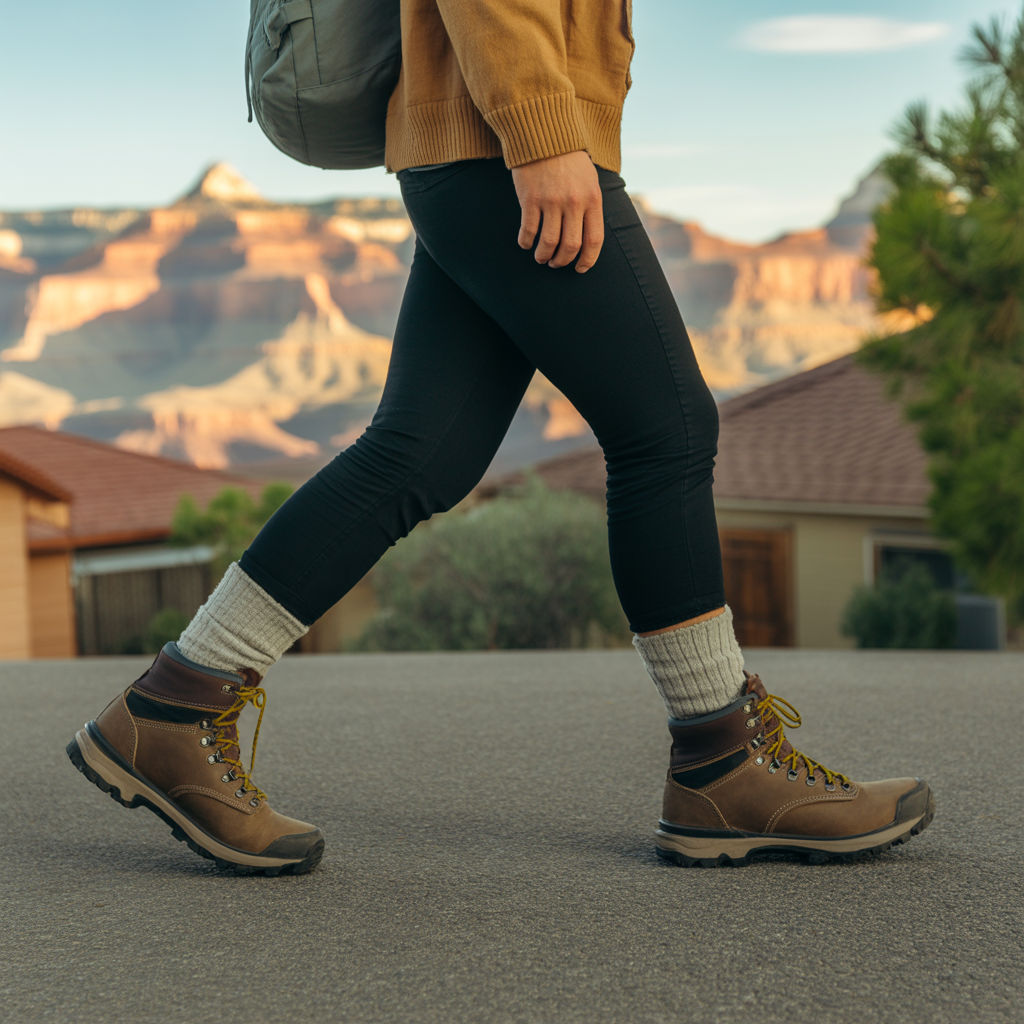
Days four through seven, move outside for short neighborhood walks of 20 to 30 minutes on flat pavement. Pavement is actually a good early surface because it is consistent and gives the boot a chance to flex through a full stride repeatedly. Wear the same hiking socks you plan to use on trail during every single session. This is non-negotiable. The thickness and material of your socks directly affect how your boot fits and where friction occurs.
Weeks two and three, extend your outings to 45 to 90 minutes on mixed surfaces — gravel paths, park trails, gentle inclines. This is when your boots really start adapting. The midsole begins to compress under your weight, and the upper conforms to the width of your foot across different movements. By the end of week two, you should notice the boot feeling noticeably more pliable and less rigid at the ankle and toe box.
In week three or four, do a two-to-three hour hike on moderate terrain with a light pack. This is your test run. If you make it through that outing with no significant hot spots, your boots are ready for your planned trip.
The Right Socks Make or Break the Process
Socks are not an afterthought in the break-in process. They are half the equation. A thin cotton sock will bunch, absorb sweat, and create exactly the conditions many hikers want to avoid. What you want is a moisture-wicking sock with enough cushioning at the heel and ball of the foot. Merino wool is the most popular choice among hikers because it regulates temperature, resists odor, and stays soft against the skin even when damp. Wear the same socks every session so your break-in reflects the actual conditions of your hike.
Recognizing and Managing Hot Spots
A hot spot is the warning signal your skin sends before a blister forms. It feels warm, slightly tender, and slightly raised. If you stop and address it immediately, you can often continue your walk. The moment you feel a hot spot, stop walking and check the area. If you catch it early, a piece of blister prevention tape or moleskin over the spot will reduce friction and allow you to keep moving. Carrying a hiking blister kit in your pack during every break-in walk is one of the smartest habits you can build from the start.
Another common approach is applying an anti-chafe balm to known friction points before lacing up. Common spots include the back of the heel, the outer edge of the little toe, and the top of the big toe knuckle. These are the areas where most boots create friction during the break-in period.
Lacing Techniques That Reduce Pressure
How you lace your boots affects fit more than most people realize. If your heel is slipping and causing friction, try the heel-lock lacing method: when you reach the second-to-last eyelet, loop the lace back through the same eyelet to create a small loop, then cross the laces through both loops before tying. This creates a secure heel hold without overtightening the forefoot. If you have pressure on top of your foot or across your toes, experiment with skipping an eyelet in the problem area to relieve that specific point of contact.
When Insoles Can Help
Factory insoles in most hiking boots are functional but not optimized for every foot type. If you are experiencing arch discomfort or general fatigue during break-in walks, it may be worth trying aftermarket hiking shoe insoles. A well-fitted insole improves arch support, reduces heel movement inside the boot, and can shift how the boot distributes pressure across your foot. If arch pain is a persistent issue for you rather than a break-in issue, that is worth addressing separately with an insole designed for that purpose. The National Park Service notes that proper footwear fit — including insole support — is one of the most important factors in trail comfort and safety.
Frequently Asked Questions
How long does it take to break in hiking boots?
Most hiking boots take between two and four weeks to break in properly when you follow a gradual approach. Lightweight synthetic boots and trail shoes often soften more quickly, sometimes within one to two weeks of regular short walks. Full-grain leather boots and heavily structured backpacking boots typically need three to four weeks before they are comfortable for a full day of hiking. The timeline also depends on how frequently you wear them. Daily 30-to-60-minute sessions move the process along faster than occasional longer outings. The key variable is consistency. If you wear your boots every day for short periods, the materials flex and conform to your foot shape much faster than if you take two long walks and then leave them in the closet. Plan your break-in period well in advance of any planned hike and resist the urge to rush it by taking a long hike before the boots are ready.
Should I wear thick or thin socks when breaking in hiking boots?
You should wear the same socks during break-in that you plan to wear on your actual hike. This is important because sock thickness directly affects how your boot fits. A thicker sock fills more space inside the boot, changing where pressure points form and how much the heel holds. If you break in your boots with thin socks and then hike in thick ones, the fit changes enough to create new friction points. Most hikers find that a medium-weight merino wool hiking sock hits the right balance — enough cushioning at contact points, moisture-wicking enough to keep the skin dry, and durable enough to last a full day on trail. Avoid cotton socks during break-in entirely. Cotton holds moisture against the skin, which softens the skin and makes it more susceptible to irritation. Good hiking socks are one of the most underrated tools in the break-in process.
Can you speed up breaking in hiking boots?
You can accelerate the process somewhat, but you cannot safely skip it entirely. The most effective approach is to wear your boots more frequently for shorter durations rather than trying to do one or two long sessions. Daily wear, even for 30 to 45 minutes around the house or neighborhood, compounds quickly and moves the break-in timeline forward. Some hikers use boot conditioner or leather softener on full-grain leather boots to accelerate softening of the upper, which can help with stiffness at the ankle. Wearing boots in a light mist or damp grass — then walking until they dry on your feet — is an older trick that can accelerate the molding process, though this method works better with leather than synthetics. What you should never do is attempt a long or steep hike with unbroken boots on the theory that you will push through the discomfort. That strategy reliably produces serious blisters and can sideline your plans entirely.
Why do my new hiking boots hurt my heels?
Heel pain and heel blisters are the most common complaint during boot break-in. There are a few causes. First, a new boot has not yet conformed to the shape of your heel, so the stiff collar or heel cup rubs against the skin with every step. Second, heel slippage — where your heel lifts slightly inside the boot — creates repetitive friction that quickly generates discomfort. Third, if your boot is slightly too large, your heel moves more than it should and the friction compounds. To address this, try the heel-lock lacing method described in this article and make sure you are lacing all the way to the top eyelet for maximum heel hold. If heel slippage continues, a slightly thicker sock or an aftermarket insole can raise the heel enough to reduce movement. A hiking blister kit with moleskin padding is a useful tool for protecting an already-irritated heel while the break-in continues.
The Bottom Line
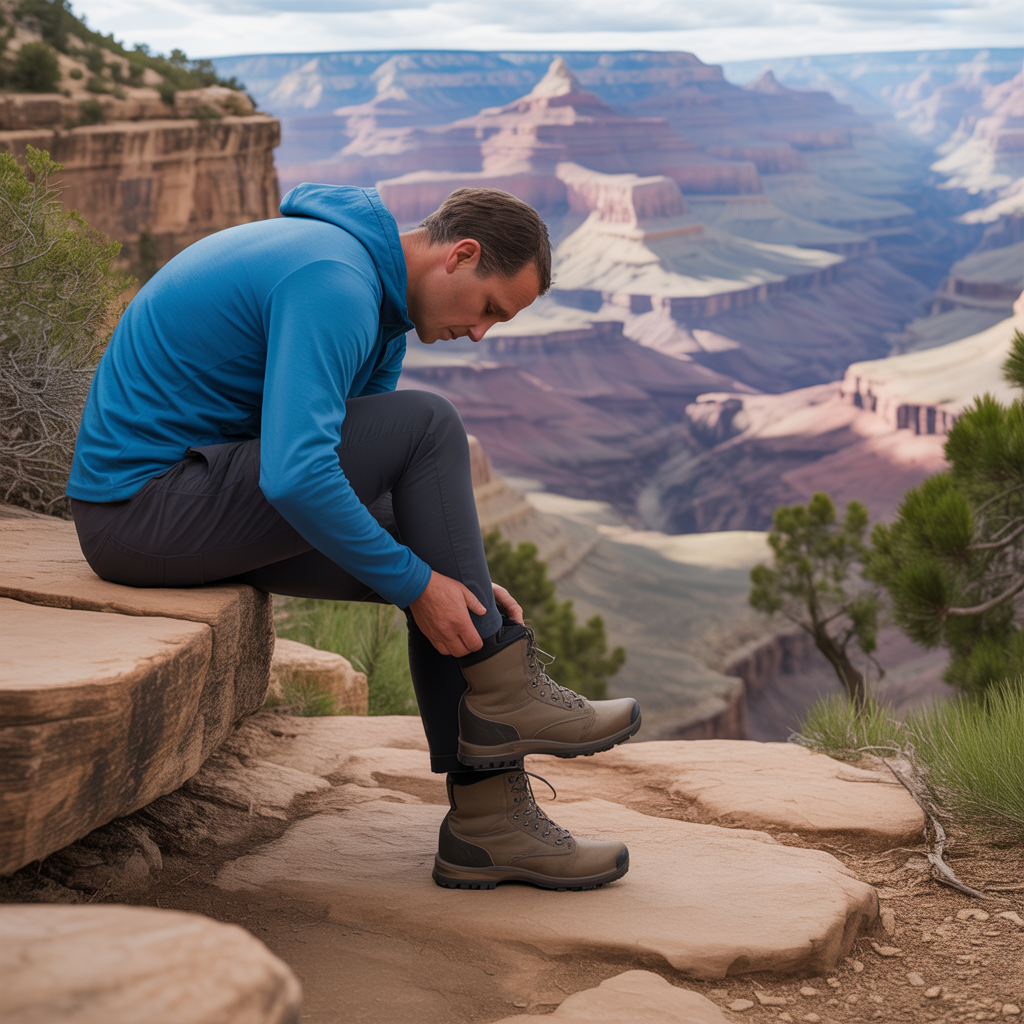
Learning how to break in hiking boots is genuinely one of the most valuable things you can do as a hiker, whether you are heading out for your first trail or returning after years away from the outdoors. The method is simple: start short, go slow, wear the right socks, and pay attention to what your feet are telling you.
If you are preparing for a specific hike, work backwards from your target date and make sure you have at least three weeks of gradual wear before you hit the trail. If a hot spot appears during break-in, treat it immediately with protection rather than pushing through. If your boot feels consistently wrong in one spot after two weeks of wear, it may be a fit issue worth revisiting at the store rather than a break-in issue.
For hikers managing foot-specific concerns — wide feet, high arches, or heel discomfort — consider investing in quality aftermarket hiking insoles before starting the process. Small adjustments at the beginning save a lot of pain later. The goal is to arrive at the trailhead excited, not dreading the first mile. A little patience now makes all the difference.
Disclosure: As an Amazon Associate, we earn from qualifying purchases. This does not affect our editorial recommendations.