
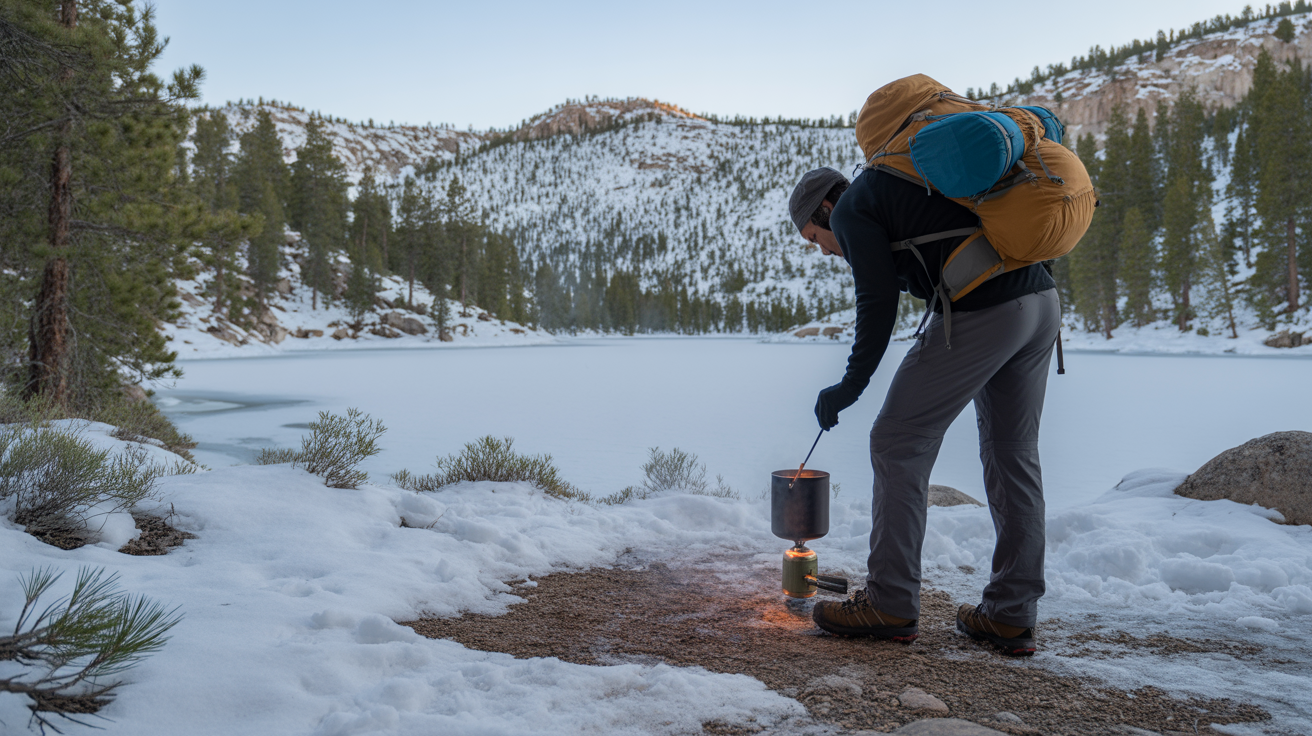
How to Cook on the Trail: A Beginner’s Guide is something most new backpackers search for the night before their first trip, staring at a pile of gear they are not sure how to use. If that sounds familiar, you are in the right place. Trail cooking is genuinely simpler than it looks once you understand a few basics, eating a hot meal after miles of hiking is one of the best parts of the whole experience.
The stove aisle at any outdoor retailer can feel overwhelming. Canister stoves, alcohol stoves, integrated systems, fuel types. It is a lot. But here is the truth: most beginners need one stove that boils water reliably, fits in their pack, and does not require a tutorial every time they use it. This guide breaks everything down in plain language so you can make a confident choice before your first night out.
What to Look For
Why Trail Cooking Is Different From Camping Cooking
When you cook on the trail, especially while backpacking, every item you carry has to earn its weight. You are not pulling up to a campsite in a car with a cooler full of food, you are carrying everything on your back for miles. That changes how you think about meals. Trail cooking is mostly about heating water, rehydrating food, and keeping cleanup fast and easy. The good news is that modern trail food options are genuinely tasty, and once you have a basic system dialed in, meal prep at camp becomes one of the most satisfying parts of the day.
Stove Types: What Your Options Actually Are
There are four main stove categories beginners will encounter. Each one has a real place depending on your trip style, group size, and budget.
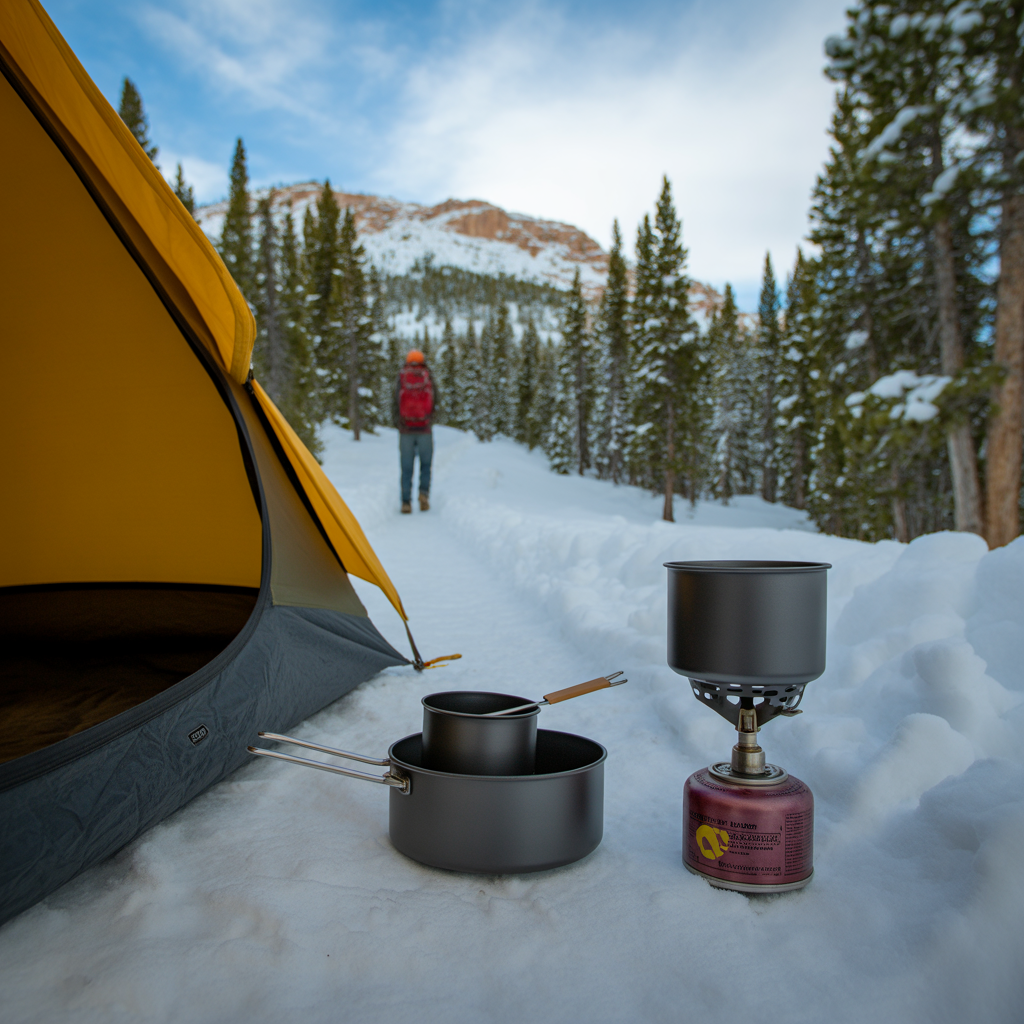
Canister stoves are the most beginner-friendly option by a wide margin. They screw onto a pressurized fuel canister and light with the push of a button or a simple sparker. There are no complicated setups, no priming, and no spill risk. Most are small enough to fit in your palm. The tradeoff is that fuel canisters are not refillable and can be harder to find in remote areas. If you are car camping, doing weekend trips at established campgrounds, or heading out for your first few backpacking nights, a canister stove is the right call.
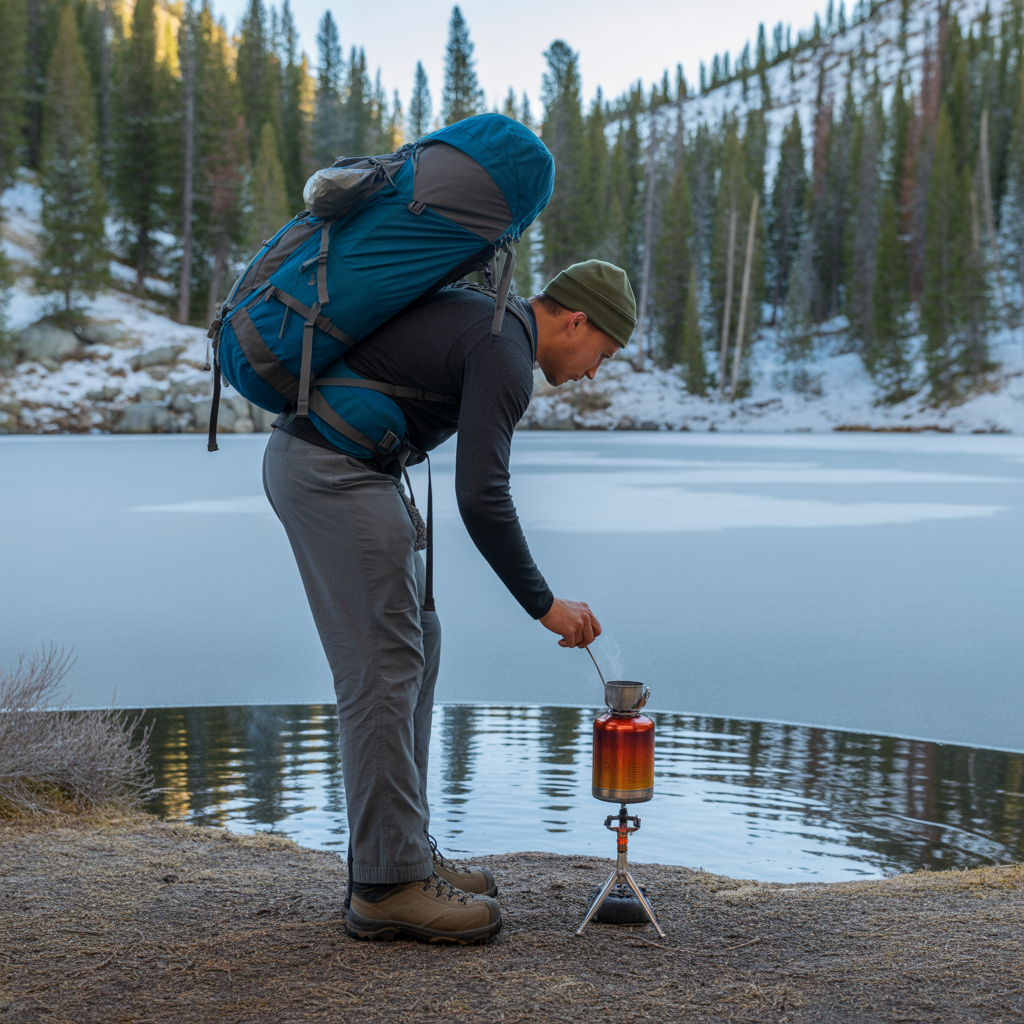
Integrated canister systems (brands like Jetboil are the most well-known) combine the stove and cookpot into a single unit that is engineered to boil water as fast and efficiently as possible. They are excellent for solo hikers or pairs who mainly want hot water for freeze-dried meals and coffee. They are less ideal if you want to cook actual food in a pan.
Alcohol stoves are ultralight and cheap to run, but they are slow, tricky to use in cold or windy conditions, and require more practice. They are better suited to experienced minimalists than first-time trail cooks.
Wood-burning stoves use sticks and debris as fuel, which means you never run out of fuel, in theory. In practice, finding dry wood at elevation, in wet conditions, or in areas with fire restrictions is not always possible. These are a niche option, not a beginner default.
For most beginners, a canister stove or an integrated system is the clear answer. A good portable trail stove does not need to be expensive to work well.
Fuel Types Explained Simply
Canister fuel is the most common fuel type for beginner setups. It typically contains a mix of isobutane and propane, which burns clean, requires no priming, and performs well in moderate temperatures. One small canister (100g) will usually last a solo hiker two to three days of normal cooking — mostly boiling water for meals and a morning coffee.
Cold temperatures reduce canister performance because the pressure inside the canister drops as it gets colder. If you are hiking in winter conditions or at high elevation, keep your canister warm (sleeping with it inside your bag works), or look for a stove with a remote canister design that allows the canister to be inverted.
Alcohol fuel (usually denatured alcohol or HEET yellow bottle) burns cleanly but is sensitive to wind and altitude. White gas (used in liquid fuel stoves) is powerful and cold-weather reliable but requires a heavier stove and more maintenance.
For your first trips, stick with isobutane-propane canisters. They are sold at REI, outdoor retailers, and many hardware stores. According to REI’s backpacking stove guide, isobutane blends offer the best balance of performance and ease of use for most recreational backpackers.
Solo vs Group Cooking: What Changes
Solo hiking and two-person trips are where lightweight canister stoves and integrated systems shine. You are boiling small amounts of water, your cookware needs are minimal, and a single 0.9-liter pot handles almost everything. A backpacking cookware set designed for one to two people will typically include a pot, lid that doubles as a pan, and sometimes a mug.
For groups of three or more, your cooking approach changes. You will either need a larger pot (1.5 to 2 liters), or each person brings their own individual setup and cooks separately. Cooking for a group on a single small stove is slow and inefficient. Many groups split the load: one person carries the stove, another carries the fuel, and everyone manages their own food. This is a practical system that distributes weight fairly.
Group cooking also means more fuel consumption. A weekend trip for four people will burn through a 220g canister or more, depending on how much actual cooking (versus just boiling water) you do.
What to Actually Eat on the Trail
This is where beginners get pleasantly surprised. Trail food has come a long way. Your simplest and most reliable option is freeze-dried meals — just add boiling water, wait five to ten minutes, and eat directly from the bag. No dishes. For breakfast, instant oatmeal, grits, or ramen are fast and calorie-dense. For snacks between meals, energy bars and trail mix carry well and require zero prep.
For a weekend trip, a typical meal plan looks like this: oatmeal or instant coffee for breakfast, a cold lunch of crackers, nut butter, and a bar, and a hot freeze-dried dinner. You do not need to cook every meal. In fact, most experienced backpackers prefer a cold lunch to avoid breaking out the stove mid-hike.
Leave No Trace principles apply to your cooking too. According to Leave No Trace, all food waste and packaging should be packed out, and cooking should happen at least 200 feet from water sources to protect the surrounding ecosystem.
Beginner Cooking Setup Checklist
Before your first trip, confirm you have these basics covered: a canister stove with a built-in or separate igniter, at least one fuel canister sized appropriately for your trip length, a lightweight pot or integrated cook system, a long-handled spoon or spork, and a lightweight camp mug for coffee or soup. Keep your setup simple. One pot, one stove, one fuel source. You can always add complexity as your experience grows. But on your first few trips, simplicity is your best tool.
Frequently Asked Questions
What is the easiest stove for a beginner backpacker?
The easiest stove for a beginner is a canister stove with an integrated igniter. It screws directly onto a standard isobutane-propane fuel canister, lights with a single click, and requires no priming, pumping, or special technique. Integrated systems like Jetboil take this one step further by combining the stove and pot into a single efficient unit that boils water in under three minutes. Either option is far more forgiving than alcohol or wood-burning stoves, which require more practice and environmental cooperation to work reliably. If you are heading out for your first overnight trip, choose simplicity. A basic screw-top canister stove weighs very little, costs less than most camping gear, and will serve you reliably across dozens of trips. Once you have a feel for how your cooking habits work on the trail; how much fuel you use, how often you cook versus eating cold. You can dial in a more refined setup. For now, the goal is a hot meal without frustration at the end of a long hiking day.
How much fuel do I need for a weekend backpacking trip?
For a solo hiker on a two-night weekend trip where you are primarily boiling water for meals and one hot drink per day, a single 100g isobutane canister is usually enough. For two hikers sharing one stove, step up to a 220g canister to be safe. Cold temperatures and wind will burn through fuel faster because the stove has to work harder to maintain a boil. If you are camping above 8,000 feet or in near-freezing conditions, bring 25 to 30 percent more fuel than you think you need. A practical rule of thumb: plan for roughly 15 to 20 grams of fuel per person per day for simple boil-only cooking. Weighing your canister before and after a trip is a great habit. It helps you dial in your actual consumption so future trips are better calibrated. Leftover fuel is not wasted since canisters are reusable across multiple trips until empty.
Can I cook real food on a backpacking stove or only boil water?
You can absolutely cook real food on a backpacking stove. It just depends on the stove and cookware you have. Integrated systems like Jetboil are optimized for boiling water and are not ideal for sauteing or simmering. A standard canister stove with a wide, flat pan gives you more control and lets you make scrambled eggs, sauteed vegetables, quesadillas, or even pancakes at camp. The key is using a stove with a good flame control valve, which allows you to dial down from a full boil to a gentle simmer. For beginners, freeze-dried meals and boil-only recipes are the easiest starting point. They require almost no skill and produce zero dishes. As your experience grows, a backpacking cookware set that includes a frying pan opens up your options considerably. Many experienced backpackers enjoy a proper cooked breakfast as one of the highlights of a multi-day trip.
Is it safe to cook inside a tent?
Cooking inside a tent is dangerous and should be avoided. Backpacking stoves produce carbon monoxide, which is odorless and can build up to lethal concentrations inside an enclosed space very quickly. Even a vestibule is not safe for operating a stove unless it is fully open and well-ventilated with significant airflow. Additionally, open flames inside or near a tent create a serious fire hazard, as most tent fabrics are not fire-resistant. The standard practice is to cook at least a few feet away from your tent entrance. In heavy rain, use a tarp or natural overhang if available, or accept a cold meal for the evening. Many backpackers plan their dinner timing to finish before dark and before conditions get challenging. Your safety on the trail always takes priority over a hot meal.
How do I clean my camp cookware without running water?
Cleaning cookware in the backcountry requires a different approach than at home. The goal is to leave no food residue that attracts wildlife and to follow Leave No Trace guidelines. Start by scraping every bit of food out of your pot with your spoon. Eating as much as possible reduces cleanup significantly. Then add a small amount of water to the pot, swish it around, and drink or pour it into a cathole (a small hole dug at least 200 feet from water sources and trails). For stubborn residue, a small piece of a hiking towel works for light scrubbing. Use only biodegradable soap sparingly if needed, and always dispose of gray water far from water sources. Avoid washing dishes directly in streams or lakes. This contaminates the water and disturbs aquatic ecosystems. Many experienced backpackers use a pot cozy (an insulated sleeve) to fully rehydrate meals inside the bag, meaning the pot itself never needs washing at all.
The Bottom Line
How to Cook on the Trail: A Beginner’s Guide comes down to one principle: start simpler than you think you need to, and build from there. If you are heading out for your first overnight trip, a basic canister stove, a 100g fuel canister, a lightweight pot, and a few freeze-dried meals will cover everything you need. Do not let gear complexity stop you from getting out there.
If you are planning a solo trip, an integrated system that boils water fast is hard to beat for convenience. For two hikers, a standard canister stove with a 1-liter pot handles every meal without fuss. For groups of three or more, split the cooking duties and consider having each person bring their own lightweight stove setup to keep pace manageable.
As you get more comfortable, your trail kitchen will naturally evolve; better cookware, more adventurous meals, and a clearer sense of exactly how much fuel your trips actually use. That growth happens on the trail, not in the gear store. Pack what you have, keep it simple, and focus on the experience. The food will taste better than anything you have ever cooked at home. Mostly because you earned it.
Disclosure: As an Amazon Associate, we earn from qualifying purchases. This does not affect our editorial recommendations.