
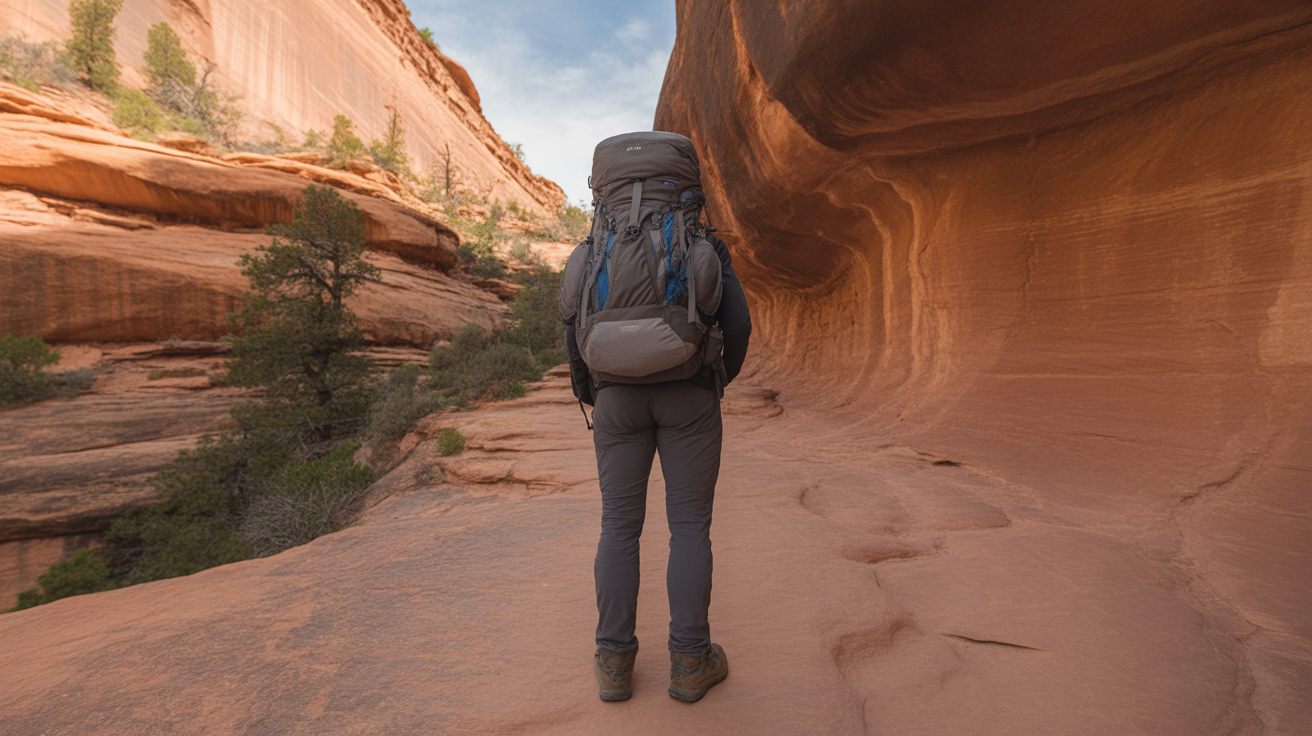
How to stay safe hiking alone is one of the most important questions any solo hiker can ask – and asking it means you are already thinking the right way. Solo hiking is genuinely rewarding: you set your own pace, choose your own route, and experience the trail entirely on your own terms. But it also means that if something goes wrong, you are the first and sometimes only line of response.
This guide goes well beyond the standard advice of telling someone your itinerary. You will find a layered safety framework built around preparation, gear, and real-time decision-making – the kind of practical system that gives you genuine confidence on the trail, not just a checklist you forget by the trailhead (the parking area and official starting point of a hiking trail). Whether you hike a few times a year or every weekend, these protocols apply every time you head out alone.
What to Look For
The Communication Stack: Beyond the Basic Itinerary
Telling someone your itinerary is the floor, not the ceiling, of solo hiking safety. A complete communication stack has three layers. The first is your trip plan: share it with at least one person who knows what to do if you do not check in. Include the trailhead name and address, your planned route, the time you expect to return, and the number for the local ranger station or park service. The second layer is real-time communication. Your phone works on many trails, but signal drops fast in canyons and dense forest. Download offline maps through an app like AllTrails before you leave, and carry a fully charged device in a protective case. The third layer is emergency communication that works without cell coverage. A satellite communicator is the single most impactful safety upgrade a solo hiker can make. Devices like the Garmin inReach let you send a distress signal from virtually anywhere on earth. It is not just for emergencies – two-way messaging keeps your contact person informed throughout the day.
Navigation Skills and Tools That Work When Your Phone Does Not
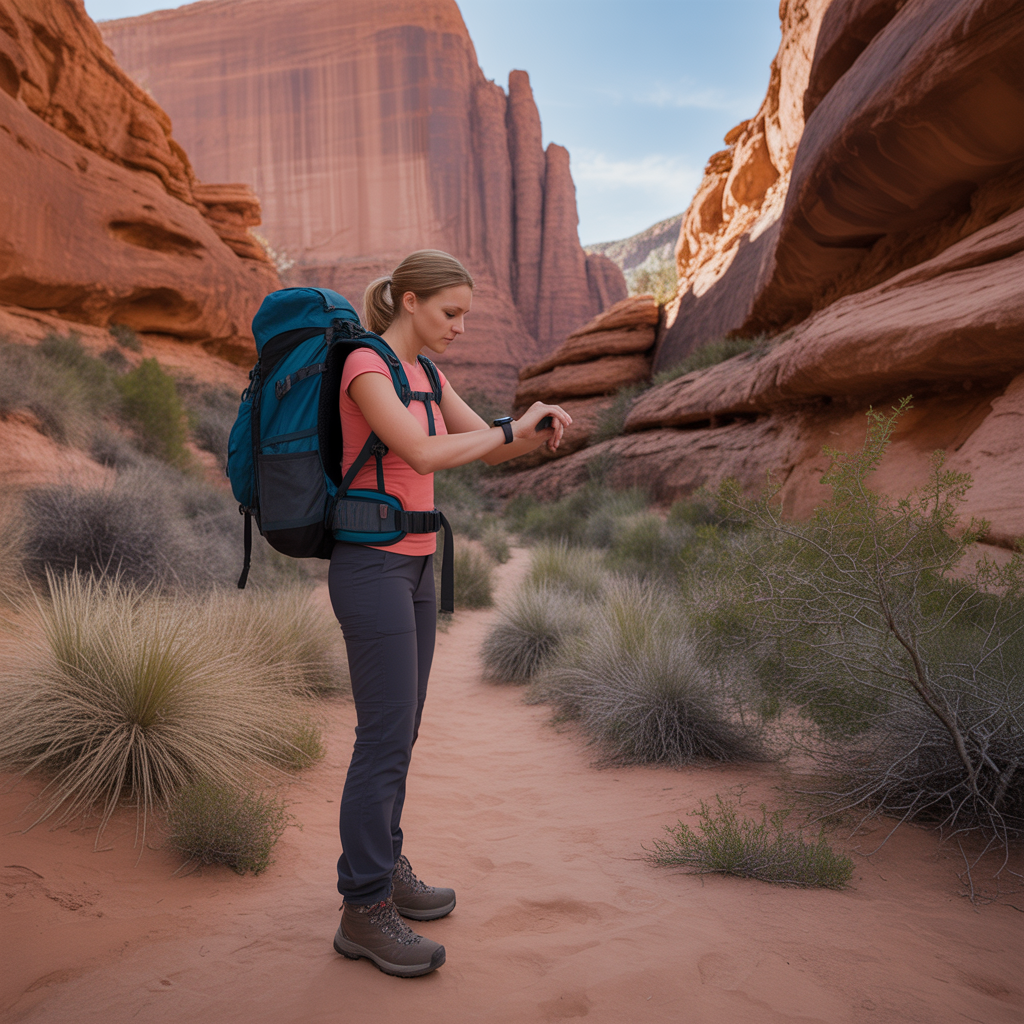
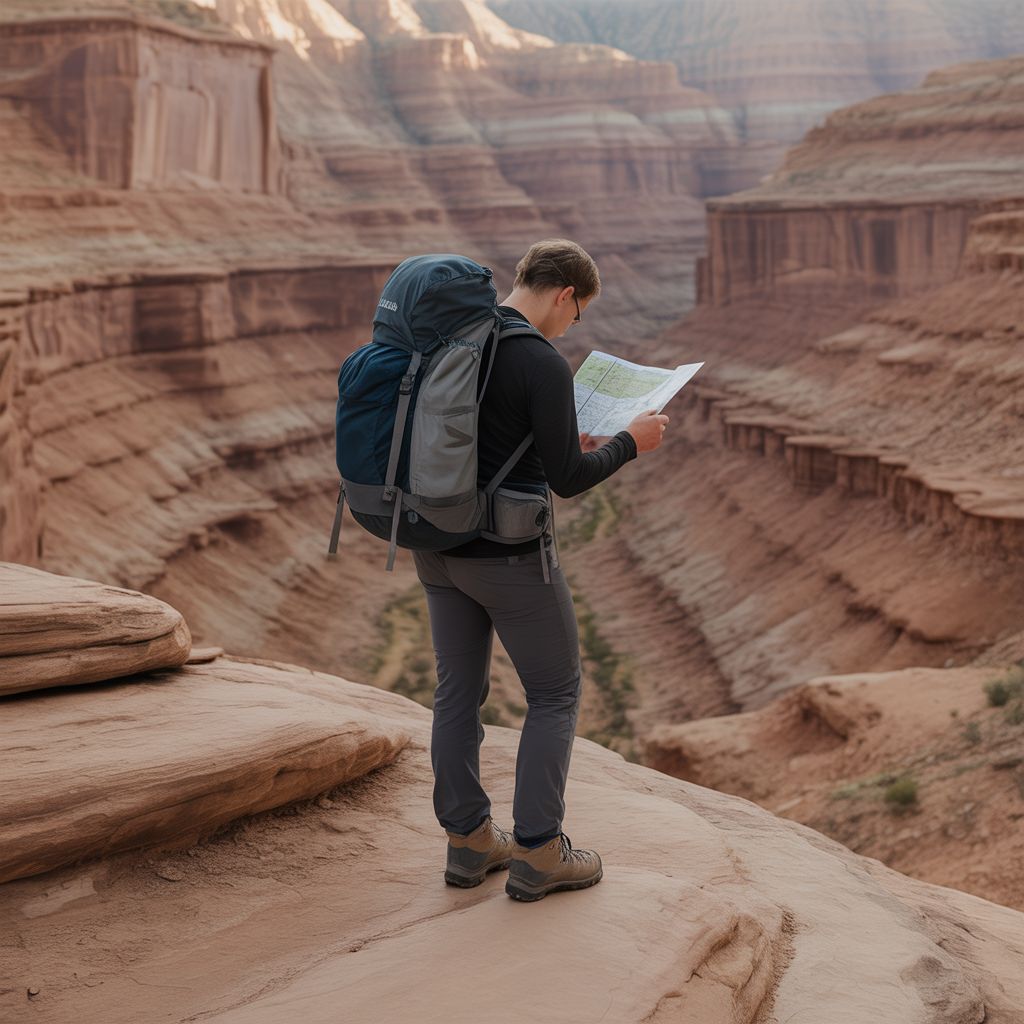
Knowing how to stay safe hiking alone depends heavily on knowing where you are at all times. Phone batteries die. Apps crash. Learning to read a physical trail map and carry a compass is a skill worth building even if you use digital navigation every single hike. Before any solo trip, study the route on a topographic map and identify key landmarks: trail junctions, stream crossings, elevation changes. On the trail, check your position at each landmark rather than only when you feel lost. A GPS watch adds a reliable backup layer – it tracks your location continuously without draining your phone battery. Mark your trailhead as a waypoint before you start walking so you always have a return reference saved.
The Solo Hiker Emergency Kit: What to Actually Carry
A well-stocked pack does not need to be heavy, but it does need to cover the scenarios most likely to strand a solo hiker: getting lost after dark, injury that limits mobility, and sudden weather changes. For signaling, carry an emergency whistle – sound travels much farther than your voice and requires no battery. For navigation after dark, a rechargeable headlamp is essential. A compact first aid kit for hiking should cover wound cleaning, blister treatment, and basic splinting materials. Pack an emergency space blanket – they weigh almost nothing and can prevent hypothermia if you are forced to shelter unexpectedly. Finally, carry more water than you think you need. A portable water filter lets you refill from natural sources if you run low, which extends your margin significantly on longer routes.
Wildlife and Terrain: A Decision-Making Framework
Most solo hikers worry about dramatic threats, but the real risks are usually subtler: a twisted ankle on rocky terrain, a surprise thunderstorm above treeline (the elevation where trees stop growing due to harsh conditions), or an unexpected encounter with wildlife that escalates because there was no one else around to de-escalate. For terrain, adopt a simple rule: slow down before you speed up. On any section where a fall would be serious, move deliberately and make sure each foot placement is secure before shifting your weight. For wildlife in bear country, carry bear spray and know how to deploy it before you need it. Make noise on blind corners. For weather, build a turn-back trigger into your plan before you start – for example, if you have not reached a specific checkpoint by a set time, you turn around regardless of how good you feel. This removes emotion from the decision when fatigue or excitement might otherwise override good judgment.
Physical Preparation and Knowing Your Limits
Understanding how to stay safe hiking alone also means being honest about your current fitness and experience level relative to the trail you have chosen. The National Park Service recommends matching trail difficulty to your fitness level and experience, not to your ambition on a given day. A useful self-check before any solo hike: have you done this distance and elevation gain before, with or without company? If the answer is no, consider doing it with another person first. Build up solo hikes progressively – start with shorter, well-traveled trails with clear signage before moving to remote or technical terrain. According to the National Park Service hiking safety guidelines, most rescues involve hikers who underestimated a trail or overestimated their readiness. Conditioning your body gradually is not a limitation – it is the practice that keeps you hiking for years. If you are just starting out, there is no shame in choosing trails rated as easy or moderate while you build experience and confidence.
Real-Time Decision-Making on the Trail
Even the best preparation does not eliminate every variable. What separates safe solo hikers from unlucky ones is a habit of ongoing assessment rather than one decision at the trailhead. Check in with yourself at regular intervals: How is your water supply? Is the weather changing? Are you moving at a pace that will have you back before dark? If any of those answers raises a flag, respond to it immediately rather than waiting to see how it develops. Establish a personal turnaround rule that accounts for energy, not just distance – many experienced solo hikers use a one-third rule, meaning they reserve one-third of their water and energy for the return trip and turn around when they have used the first third. To assess your energy reserves, pay attention to your breathing, muscle fatigue in your legs, and how frequently you need to stop for rest compared to the start of your hike. You can also reference resources like REI’s expert hiking advice for additional frameworks on managing conditions in the field. Trust what you observe, not what you hoped the day would look like when you planned it.
Frequently Asked Questions
Is it safe to hike alone as a woman?
Solo hiking as a woman is something millions of people do safely and confidently every year. That said, it does call for the same layered safety approach any solo hiker should use, applied consistently. Share your itinerary with a trusted person every single time, not just on unfamiliar trails. Carry a satellite communicator so you can reach help regardless of cell coverage. Trust your instincts at the trailhead and on the trail – if something feels off about a situation or another person, it is always acceptable to change your plan. Choose well-trafficked trails when you are building your solo hiking experience, and gradually expand to quieter routes as your confidence and navigation skills grow. Visible confidence, awareness of your surroundings, and having a clear plan tend to be the most effective safety factors. An emergency whistle and bear spray are both compact additions that provide meaningful reassurance without adding significant weight to your pack.
What should I do if I get lost while hiking alone?
The moment you realize you are unsure of your location, stop moving. Continuing forward when lost almost always makes the situation worse by increasing the distance between you and the last point you recognized. The standard protocol is STOP: Stop, Think, Observe, and Plan. Think back to the last trail landmark you identified with confidence. Observe your surroundings for any recognizable features like ridgelines, water sources, or trail markers. Check your offline map or GPS watch for your current coordinates. If you have a satellite communicator, this is the time to use it to notify your emergency contact of your situation even before it becomes critical. Blow your emergency whistle in sets of three – the universal distress signal – if you believe searchers might be within range. Stay where you are if you cannot confidently find your way back, as moving makes you harder to find. Make yourself visible from the air by moving to an open area if possible.
What gear do I need for a solo hike?
For a solo day hike, your gear list should cover the Ten Essentials as a baseline: navigation tools, sun protection, insulation, illumination, first-aid supplies, fire starting, repair tools, nutrition, hydration, and emergency shelter. For solo hiking specifically, communication gear jumps to the top of the priority list. A satellite communicator is the most important solo-specific addition beyond what a group hiker might carry. A fully charged phone with offline maps downloaded, an emergency whistle, and a first aid kit round out the essentials. Your pack should hold everything comfortably without being so heavy it slows you down – a well-fitted hiking daypack in the 20 to 30 liter range works well for most day hikes. Carry more water than you expect to need, and bring enough food to cover an extra two to three hours beyond your planned return time.
How do I let someone know my hiking plans?
A proper hiking trip plan goes beyond a quick text message. Write down your trailhead name and GPS coordinates or address, your planned route with specific trail names and junctions, your expected return time, the vehicle you are driving and where it will be parked, and the contact number for the local ranger station or park. Share this with at least one person who will actually act on it if they do not hear from you by your check-in time. Agree on a specific action: for example, if you have not texted by 7pm, they call the ranger station, not wait until morning. If you have a satellite communicator, you can send automated tracking updates or a custom check-in message throughout the hike so your contact always knows your approximate location. Leave a physical copy of your trip plan on your dashboard so rangers can find it if your vehicle is the first sign that something is wrong.
The Bottom Line
Knowing how to stay safe hiking alone comes down to building systems that work before, during, and after your hike – not just hoping nothing goes wrong. For the hiker who goes out occasionally on familiar trails, the highest-impact changes are a satellite communicator, a downloaded offline map, and a real trip plan shared with someone who knows what to do with it. For someone building a more active solo hiking habit, layering in a GPS watch, a solid first aid kit, and a personal turnaround rule will cover the vast majority of scenarios you are likely to face. No single piece of gear or protocol is a guarantee, but stacking multiple simple systems dramatically reduces your exposure to the situations that turn inconveniences into emergencies. The goal is not to eliminate all risk – it is to ensure that if something goes wrong, you have the tools, the information, and the decision-making framework to respond effectively. Start with one upgrade at a time, practice your protocols on easier trails, and build your solo hiking confidence the same way you build your fitness: gradually, deliberately, and with a clear sense of where you are headed.
Disclosure: As an Amazon Associate, we earn from qualifying purchases. This does not affect our editorial recommendations.