
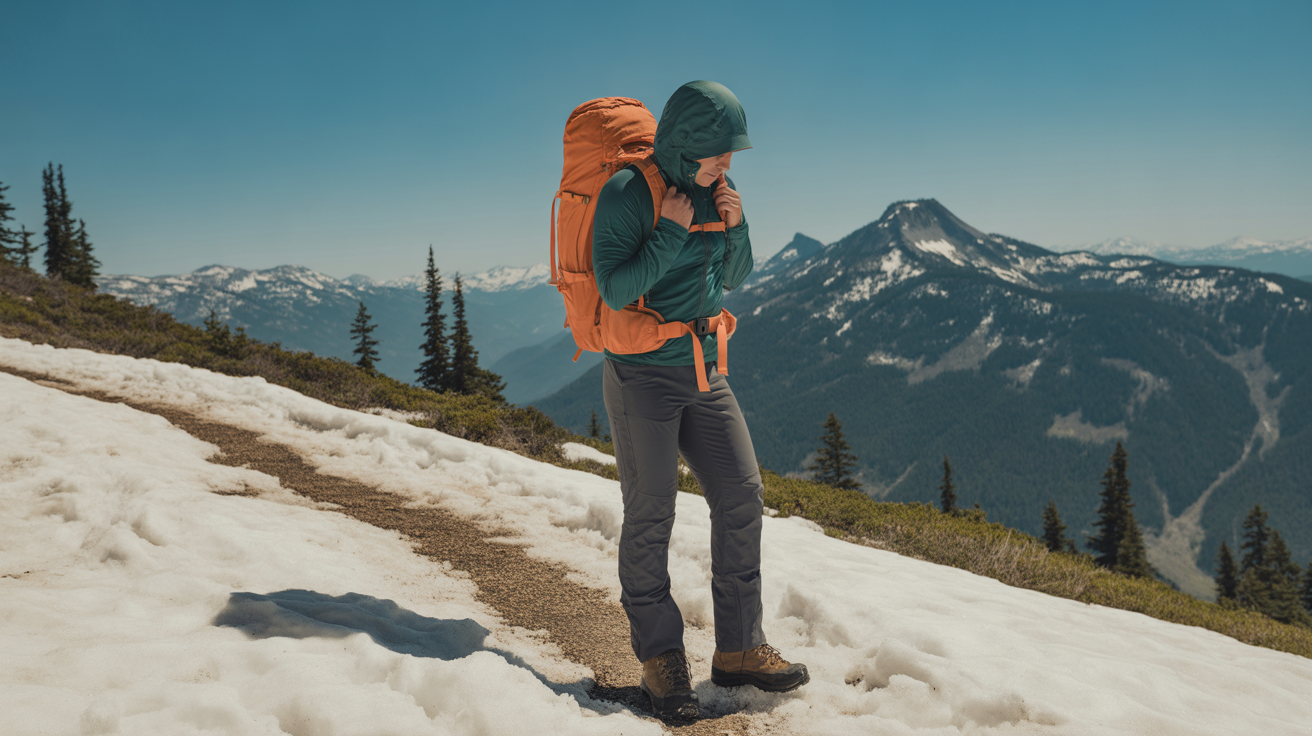
How to layer clothing for cold weather hiking is one of those things that sounds more complicated than it actually is – until you are out on the trail, soaking in your own sweat and shivering at the same time, wondering where it all went wrong. If that scenario sounds familiar, you are not alone. Getting too hot, too cold, or uncomfortably damp is the number one complaint from hikers heading out in fall and winter conditions.
The good news is that layering is not a mystery reserved for mountaineers or gear obsessives. It is a simple, flexible system that anyone can learn in about ten minutes. This guide breaks down exactly how to layer clothing for cold weather hiking – what each layer does, what to wear, what to avoid, and how to adjust on the fly when your body temperature changes mid-hike.
What to Look For
Why the Three-Layer System Works
The foundation of how to layer clothing for cold weather hiking is a three-layer system: a base layer, a mid layer, and an outer layer. Each one has a specific job, and they work together to regulate your body temperature as conditions and your effort level change. Think of it like a team where every player has a defined role. When you understand what each layer is supposed to do, you stop guessing and start making smart decisions before you hit the trail.
The key insight behind the system is that your body generates a lot of heat when you hike – sometimes more than you expect. The goal is not just to stay warm. It is to stay warm without trapping the moisture your body releases through sweat. Trapped moisture makes you cold faster than almost anything else on a winter trail.
Layer One: The Base Layer
Your base layer sits directly against your skin. Its only job is moisture management – pulling sweat away from your body so it can evaporate instead of soaking into your clothing and chilling you. This is why your choice of fabric here matters more than anywhere else in the system.
Merino wool and synthetic materials like polyester are the two best options for a merino wool base layer for hiking. Merino wool regulates temperature naturally, resists odor, and stays warm even when slightly damp – making it a favorite for hikers who run cold. Synthetic base layers dry faster and tend to be less expensive. What you should never use as a base layer is cotton. Cotton absorbs moisture and holds it against your skin, which is exactly the opposite of what you need. On a cold day, a wet cotton shirt is a fast path to misery.
For your lower body, the same logic applies. Moisture-wicking fleece-lined hiking leggings can serve double duty as both base and mid layer on your legs in moderately cold conditions.
Layer Two: The Mid Layer
The mid layer is your insulation. Its job is to trap body heat and keep you warm. This is the layer you add when you stop moving and the layer you stuff into your pack when you are working hard on an uphill section.
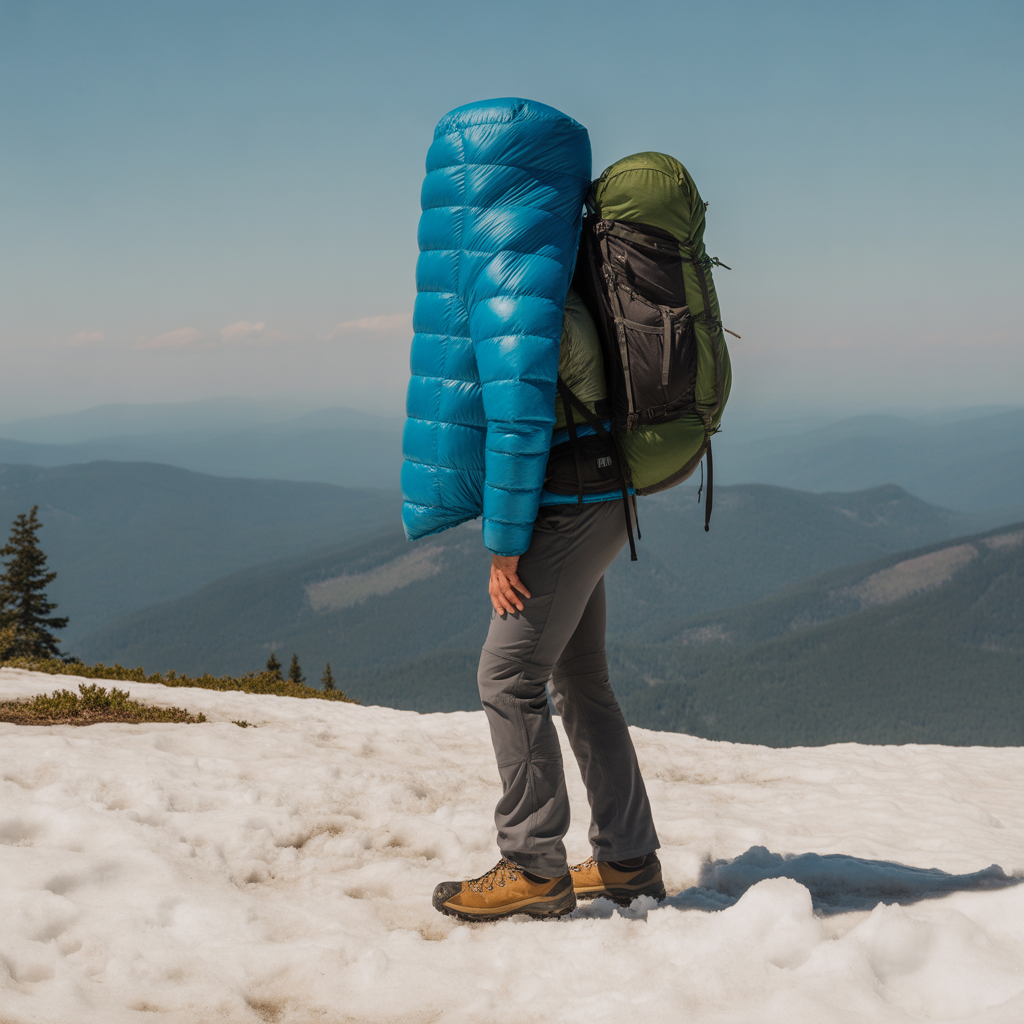
Fleece jackets are the most popular mid layer choice because they are lightweight, breathable, and continue to provide warmth even when damp. Down jackets offer excellent warmth-to-weight ratios and pack down small, but they lose most of their insulating ability when wet – a real risk in snowy or rainy conditions. Synthetic insulated jackets split the difference: nearly as warm as down and much more forgiving in wet weather.
For most cold weather day hikers, a mid-weight fleece or a synthetic insulated jacket hits the sweet spot between warmth, weight, and packability. The key is choosing something you can easily stuff into your hiking daypack when your body temperature climbs on the ascent.
Layer Three: The Outer Layer
Your outer layer is your shield against wind, rain, and snow. It does not need to be heavily insulated – that is the mid layer’s job. What it does need to do is block wind effectively and keep precipitation from soaking through to your insulating layers underneath.
A waterproof or water-resistant rain jacket is the standard choice for cold weather hiking. Look for something with pit zips or venting panels if you run warm, because being able to release heat without fully removing a layer is one of the most useful features on a wet, cold day. A softshell jacket for hiking works well in dry cold and high-wind conditions when rain is not a factor – it is more breathable than a hard shell but offers less waterproofing.
For your legs, men’s hiking pants or women’s hiking pants in a wind-resistant or water-resistant fabric cover the outer layer role on your lower body without the bulk of full rain pants in most conditions.
Do Not Forget Extremities
Your core layering system protects your torso and legs, but cold hands, a cold head, and cold ears can ruin a hike faster than almost anything. A warm hiking beanie is non-negotiable in genuinely cold temperatures – a significant amount of body heat escapes through your head. Add a neck gaiter for extra coverage around your neck and lower face, and a pair of hiking gloves for cold weather to protect your hands.
Your feet also deserve attention. Moisture-wicking merino wool hiking socks keep your feet warmer than cotton socks and manage moisture far better on long outings. In deep snow or wet conditions, hiking gaiters for snow prevent slush and powder from working its way into your boots.
How to Adjust Layers on the Trail
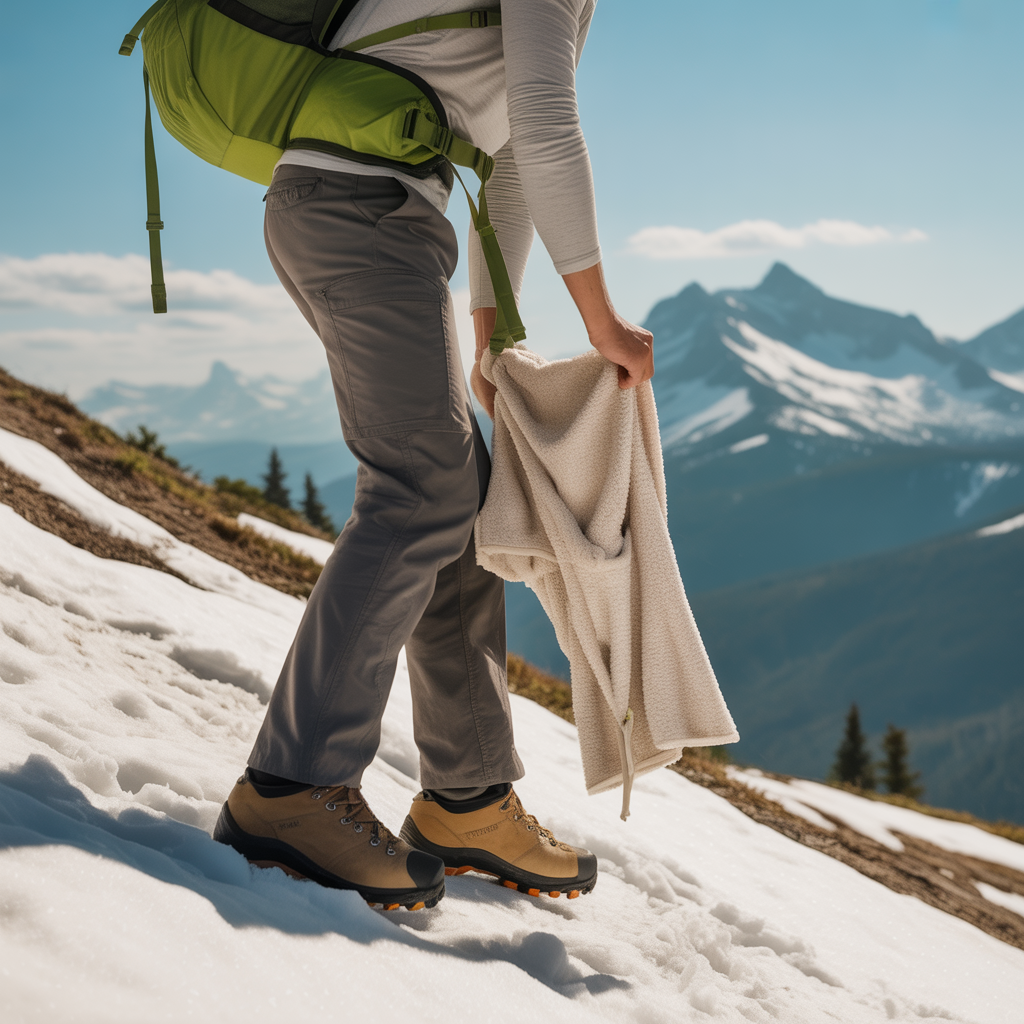
Knowing how to layer clothing for cold weather hiking also means knowing when to add and remove layers during your hike – not just at the trailhead (the parking area or starting point of a hike). The most common mistake hikers make is waiting until they are already cold or already soaked in sweat before making an adjustment. A better approach is to start slightly cooler than feels comfortable when you begin your hike. You will warm up within the first ten minutes of walking, and starting too warm means you will be overdressed before you even find your stride.
Get into the habit of removing your mid layer before a long uphill section and adding it back at the summit or during long rest stops. According to REI’s layering guide, proactive layer management – adjusting before you overheat rather than after – is the single most effective habit for staying comfortable across a full day of hiking in variable conditions. The National Park Service also emphasizes dressing in moisture-wicking layers as a core component of safe cold-weather hiking preparation.
Frequently Asked Questions
What is the best base layer material for cold weather hiking?
Merino wool and synthetic polyester are the two best base layer materials for cold weather hiking. Merino wool is naturally temperature-regulating, odor-resistant, and stays warm even when slightly damp – making it the top choice for hikers who tend to run cold or who sweat heavily. Synthetic materials like polyester dry faster and are generally more affordable, which makes them a solid option if you are just getting started. The one material to avoid at all costs as a base layer is cotton. Cotton absorbs sweat and holds moisture against your skin, which drops your body temperature fast in cold conditions. This is the reason behind the common outdoor saying that cotton can be dangerous in wet or cold weather – moisture held against your skin pulls heat away from your body much faster than air does. Whatever material you choose, make sure your base layer fits snugly against your skin so it can effectively pull moisture away from your body.
How many layers do you need for cold weather hiking?
For most cold weather hiking situations, three layers cover everything you need: a moisture-wicking base layer, an insulating mid layer, and a wind and water-resistant outer layer. That said, the number of layers you actually wear at any given moment during a hike will change depending on your effort level and the weather conditions. On a long uphill climb, you might be down to just your base layer and outer shell. At the summit during a rest stop in the wind, you will want all three layers on. The value of the three-layer system is not that you always wear all three at once – it is that you have the right tools available to respond to whatever conditions you encounter. How to layer clothing for cold weather hiking is really about flexibility, not a fixed uniform you wear from start to finish.
Should I wear a down jacket or a fleece as a mid layer?
Both work well, but they suit different conditions. A fleece mid layer is more breathable, performs better when damp, and is easier to manage during high-output activities like steep climbs. A down jacket offers superior warmth for its weight and packs down smaller, which is useful if you are carrying it in your pack for most of the hike and only pulling it out at rest stops or in camp. The main limitation of down is that it loses nearly all of its insulating ability when wet. If you are hiking in snowy, rainy, or high-humidity conditions, a synthetic insulated jacket is often the smarter choice – it mimics the compressibility of down but continues to insulate even when damp. For most three-season cold weather day hikes, a mid-weight fleece is the most practical and versatile option.
How do I stop getting too sweaty when hiking in cold weather?
The key is proactive layer management rather than reactive layer management. Most hikers make the mistake of waiting until they are already soaked in sweat before removing a layer. A better approach is to start your hike feeling slightly cooler than comfortable – you will warm up within the first ten minutes, and starting underdressed means you will not overheat on the first climb. Before any sustained uphill section, remove your mid layer and stow it in your pack. Use venting features on your outer layer, like pit zips, to release heat without fully removing it. Choosing the right base layer also makes a significant difference. A quality moisture-wicking base layer pulls sweat away from your skin and allows it to evaporate, keeping you drier even when you are working hard. Learning how to layer clothing for cold weather hiking is as much about managing activity level as it is about managing clothing.
The Bottom Line
Learning how to layer clothing for cold weather hiking does not require a gear overhaul or a deep dive into technical fabrics. The three-layer system gives you a simple, proven framework that works across a wide range of conditions and activity levels. Start with a moisture-wicking base layer, add an insulating mid layer you can easily remove and stow, and put a wind and water-resistant outer layer on top.
If you are heading out for your first cold weather hike, focus on getting the base layer right first – that is where most people go wrong. Skip the cotton entirely. If you already have the basics dialed in and want to fine-tune your system, experiment with removing your mid layer before climbs and replacing it at rest stops. That single habit will make more difference than any gear upgrade.
Do not forget the small things either. A warm beanie, a neck gaiter, insulating gloves, and warm wool socks have an outsized impact on how comfortable you feel on the trail. Cold extremities will end a hike faster than a cold torso. Get those details right and you will wonder why cold weather hiking ever felt like a problem in the first place.
Disclosure: As an Amazon Associate, we earn from qualifying purchases. This does not affect our editorial recommendations.