
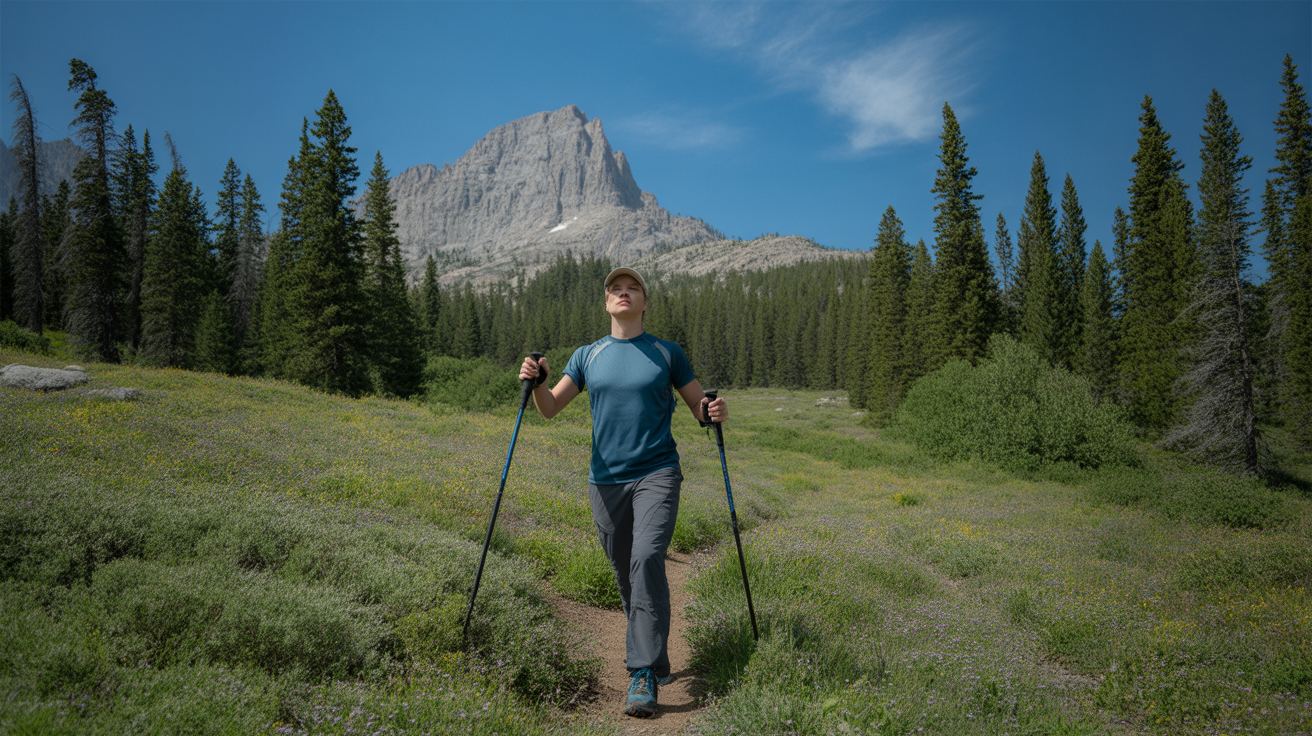
How to use trekking poles correctly is one of those things that looks obvious until you are actually on the trail with sore wrists and poles that feel like they are working against you instead of for you. If you have ever finished a hike with aching forearms, poles that kept slipping, or the nagging feeling that you were just dragging them along out of habit, you are not alone. Most hikers never receive any instruction on pole technique, and the result is a lot of wasted effort and unnecessary discomfort.
The good news is that using poles effectively is not complicated. A handful of adjustments to how you grip, strap, and set your poles can completely change the experience. This guide walks you through every key element, from setting the correct length for flat ground versus steep climbs, to using the wrist straps the right way, to planting your poles in a rhythm that actually helps you move. Whether you own a brand-new pair of hiking poles or have been using the same set for years without much thought, this breakdown will help you get real value out of every step.
What to Look For
Why Proper Technique Matters More Than the Poles Themselves
Learning how to use trekking poles correctly is far more impactful than upgrading to a more expensive pair. Poles used with poor technique can actually create new problems, including wrist strain, shoulder fatigue, and an awkward gait that slows you down. When used well, poles help distribute effort across your upper and lower body, reduce impact on your legs during descents, and give you a third and fourth contact point on uneven ground. The difference is entirely in the technique.
How to Set the Correct Pole Length
The most common mistake hikers make is setting their poles at a single fixed length and using them that way for an entire hike. Pole length should change with the terrain. For flat ground and gentle trails, stand naturally and hold the grip with the tip of the pole resting on the ground. Your elbow should form roughly a 90-degree angle. That is your baseline flat-ground length. When climbing uphill, shorten each pole by 5 to 10 centimeters. This keeps the poles useful for pushing without forcing you to hunch over or reach back awkwardly. When descending, do the opposite and lengthen each pole by 5 to 10 centimeters. Longer poles allow you to plant ahead of your feet for support and control on the way down. Adjusting takes less than a minute and makes a significant difference in how your body feels at the end of the day. If your poles have twist-lock or lever-lock mechanisms, check them before each section of trail to make sure they have not loosened under pressure.
Using the Wrist Straps the Right Way
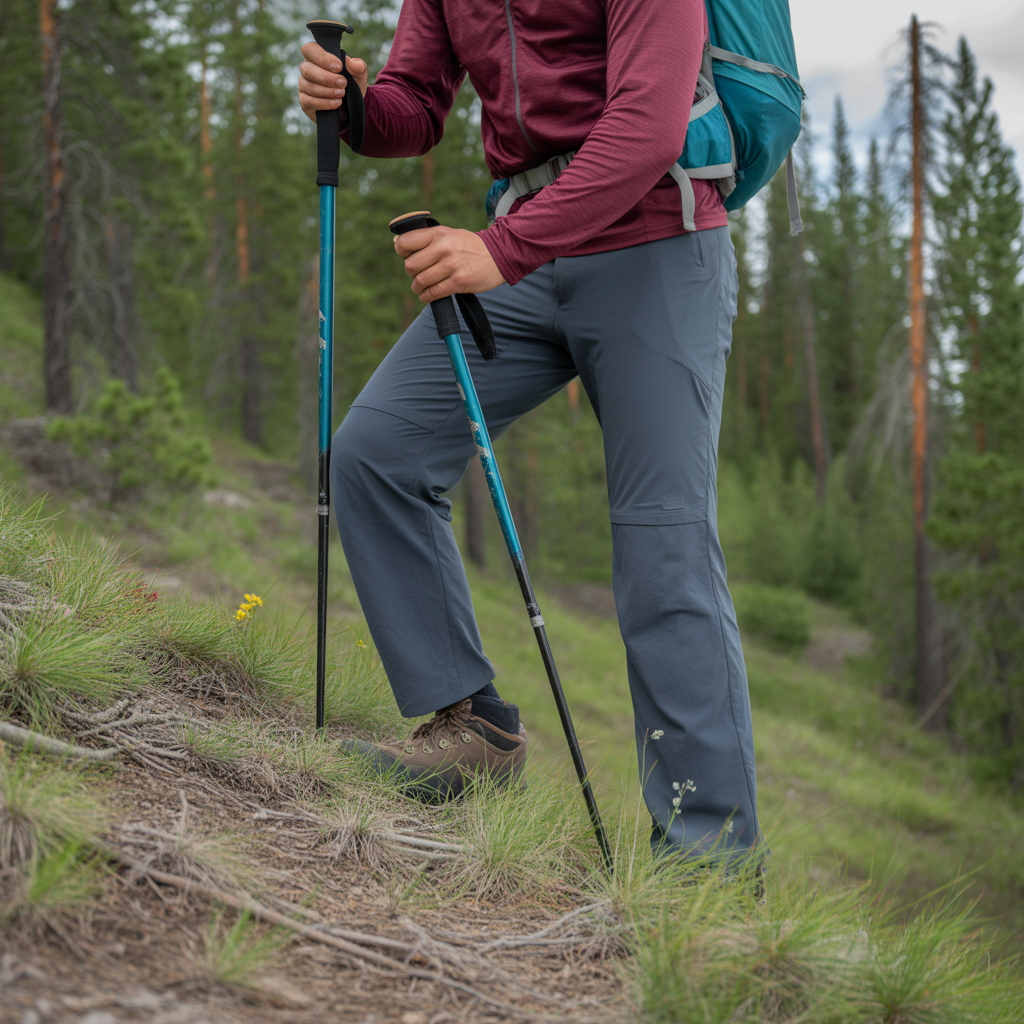
Many hikers thread their hand through the wrist strap from the top down, which is the wrong way and leads directly to the wrist pain and fatigue that makes poles feel useless. The correct method is to come up through the strap from underneath. Slide your hand up through the loop from below, then let the strap rest across the back of your hand and between your thumb and forefinger. When you grip the handle, the strap should sit snugly against the heel of your palm. This means that when you push down on the pole during a step, the force transfers through the strap to your hand, not through a white-knuckle grip on the handle. You can actually hold the grip quite loosely when the strap is fitted correctly. This is how you use poles for long distances without your hands cramping. Adjust the strap so it is snug but not tight enough to cut off circulation.
Grip Technique and Pole Planting Rhythm
Once the straps are set correctly, the grip technique follows naturally. Hold the handle lightly, using the strap for support rather than squeezing hard. On flat ground, poles work best in an opposite-arm-to-leg rhythm, the same natural swing your arms make when walking. Your right pole plants as your left foot steps forward, and vice versa. This rhythm mirrors your natural gait and adds propulsion without disrupting your movement. On technical terrain, rocky switchbacks, or scrambles, you may plant both poles simultaneously for balance rather than maintaining the alternating rhythm. That is perfectly fine. Let the terrain guide your pattern. If your trekking pole grips become slippery on humid or sweaty days, consider cork or foam grip options, which tend to handle moisture better than rubber.
Terrain-Specific Tips for Uphill and Downhill
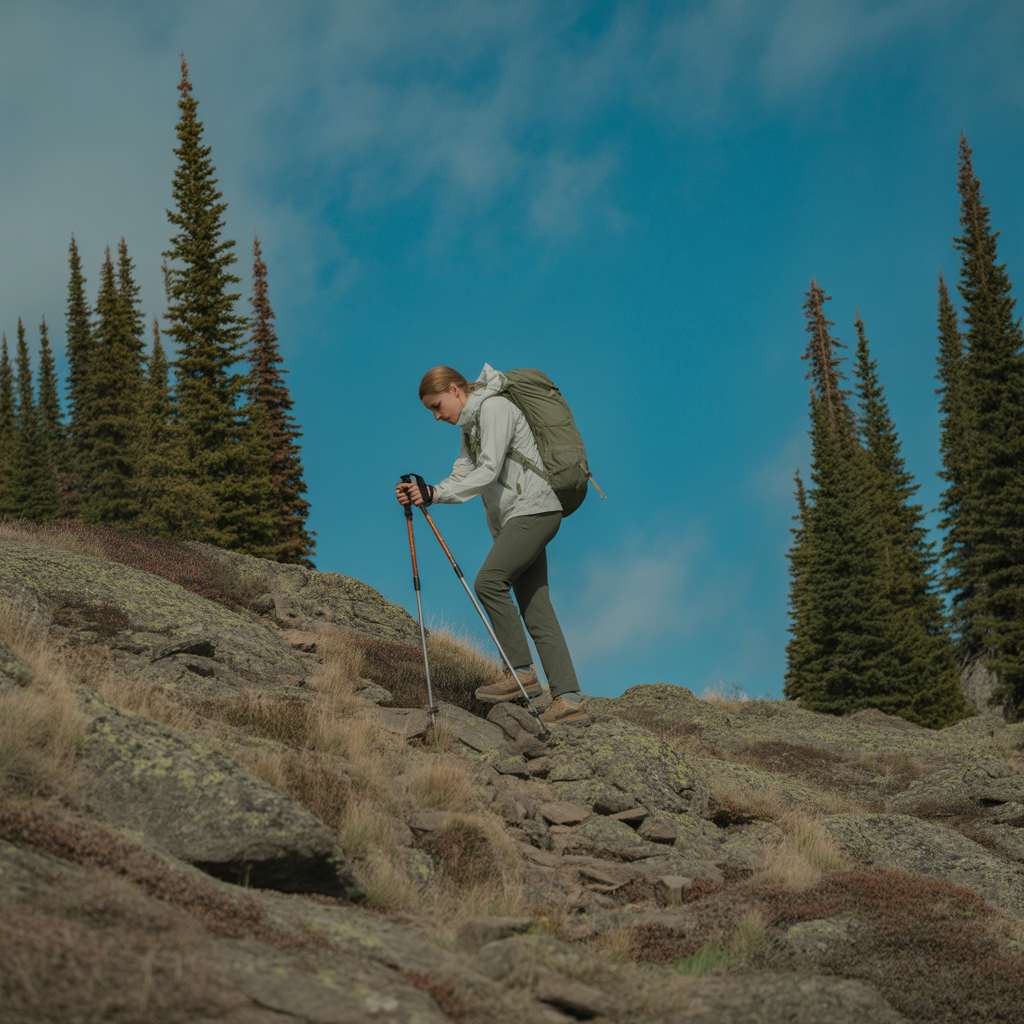
On climbs, use your poles to push yourself forward and upward rather than pulling the pole back behind you. Think of each plant as a push-off from behind, not a brake from in front. Keep the pole angle angled backward slightly so you get propulsion rather than resistance. On descents, poles provide noticeable relief for tired legs and knees. Plant both poles slightly ahead and to the sides of your body before each step down. Let the poles absorb some of the load as your foot lands. This is especially valuable on loose gravel, steep switchbacks, or any surface where footing is uncertain. If you are crossing a stream or boulder field, use both poles simultaneously for a wide, stable base. Also consider the trekking pole tips and baskets you are using. Rubber tips work well on pavement and hard rock, while carbide tips grip dirt and gravel better. Baskets prevent poles from sinking too deep in soft ground or snow.
Common Mistakes and How to Fix Them
The most common errors beyond strap technique and length are gripping too tight, carrying the poles rather than using them, and planting too far out to the side. Gripping too hard tires out your forearms and hands within a few miles. Practice holding the handle loosely and letting the strap do the work. Carrying poles without planting them is a balance issue, often because hikers set their poles too short and then find them awkward to use. Revisit your length setup. Planting too wide creates instability rather than support. Poles should plant close to your line of travel, not far out to the sides like training wheels. According to REI’s trekking pole guide, keeping the plant close to your body line is one of the most consistent technique corrections instructors make with new pole users. Finally, on paved or hardpack surfaces, consider using rubber tip covers, which protect the carbide tip and reduce the annoying clicking sound on hard ground.
Frequently Asked Questions
Should trekking poles be the same length for uphill and downhill?
No, and this is one of the most important adjustments you can make. For uphill sections, shorten your poles by 5 to 10 centimeters from your flat-ground baseline. This allows you to push effectively from behind without having to reach too far back or hunch forward. For downhill sections, lengthen your poles by the same amount. Longer poles let you plant ahead of your body and absorb impact as you step down, which reduces strain on your legs and improves your balance and control on steep terrain. The adjustment takes less than a minute on most poles with quick-lock systems. If you find yourself hiking varied terrain throughout a single trail, it is worth stopping at the top and bottom of major climbs to readjust. Hikers who figure out how to use trekking poles correctly on varied terrain almost always cite length adjustment as one of the most impactful technique changes they can make. It is a small habit that makes a large difference by the end of the day.
Why do my wrists hurt when I use trekking poles?
Wrist pain from trekking poles is almost always caused by one of two things: incorrect strap setup or gripping the handle too tightly. If you thread your hand through the strap from the top down and then clutch the grip to hold the pole in place, the load concentrates directly on your wrist joint and the tendons running through it. The fix is to come up through the strap from underneath so the strap rests across the back of your hand. This transfers the pole load through the strap and into the heel of your palm rather than your wrist. Once the strap is positioned correctly, you should be able to hold the grip very lightly. The second cause is gripping too hard even with the strap set correctly. Tight grip tension travels up the forearm and into the wrist. Practice consciously loosening your hold on flat sections of trail until light contact feels natural. Learning how to use trekking poles correctly starts with the strap setup, and resolving wrist pain is usually the fastest reward.
Do trekking poles actually help, or are they just extra weight to carry?
Trekking poles genuinely help when used with correct technique. The benefit depends almost entirely on whether you are using them actively or just carrying them. When used properly, poles distribute physical effort across your upper body, reduce the load on your legs during descents, improve stability on uneven ground, and help you maintain a more consistent pace on long climbs. Many hikers find their legs feel noticeably less fatigued at the end of a hike when they use poles correctly throughout. That said, poles do add weight to carry and require active engagement to provide benefit. On easy, flat trails with wide paths, some hikers prefer to leave them packed away. On rocky, rooted, or steep terrain, the value becomes much clearer. If you have been using poles without noticing benefit, the answer is almost always technique rather than the poles themselves. Mastering how to use trekking poles correctly turns them from awkward accessories into genuinely useful tools. For hikers who want extra stability on technical ground, reviewing your hiking shoe insoles for added support is also worth considering alongside your pole setup.
Where should I plant my trekking poles when hiking?
Pole placement depends on the terrain and your goal. On flat ground, plant each pole just slightly behind where your opposite foot lands, using an alternating arm-and-leg rhythm. The pole tip should contact the ground a few inches to the side of your foot and slightly behind your body, angled backward so you can push off rather than brace against it. On uphills, plant the poles behind you and push forward and upward with each step. On descents, plant ahead of your body and slightly to the sides, using the poles to slow and control your downward momentum before each foot placement. On loose or unstable ground, plant deliberately and test the surface before committing weight to the pole. Avoid planting poles too far to the side, which reduces their effectiveness and can pull you off balance. The goal is always to support your direction of travel, not to prop yourself up from the sides. Learning how to use trekking poles correctly for each terrain type builds muscle memory over a few hikes.
The Bottom Line
Understanding how to use trekking poles correctly changes the entire experience of using them. What feels like an awkward accessory with sore wrists and no clear purpose becomes a genuinely useful tool the moment you adjust the length for the terrain, set the straps the right way, and let your natural walking rhythm guide the planting pattern.
If you are heading out on your first few hikes with poles, start on a moderate trail and take five minutes before you set off to dial in your flat-ground length and strap fit. Then shorten the poles by 5 to 10 centimeters when you hit your first real climb, and lengthen them for the descent. That single habit will do more for your experience than any other adjustment.
For hikers dealing with wrist pain, the fix is almost always the strap setup. Come up through the loop from underneath, let the strap sit across the back of your hand, and loosen your grip. For hikers who have never felt any benefit from poles, revisit your length and planting rhythm on a descent. That is usually where the value becomes undeniable.
The National Park Service hiking basics guide is also worth bookmarking for broader trail preparation tips that pair well with good pole technique. Start with these fundamentals, and you will wonder how you hiked without them.
Disclosure: As an Amazon Associate, we earn from qualifying purchases. This does not affect our editorial recommendations.