
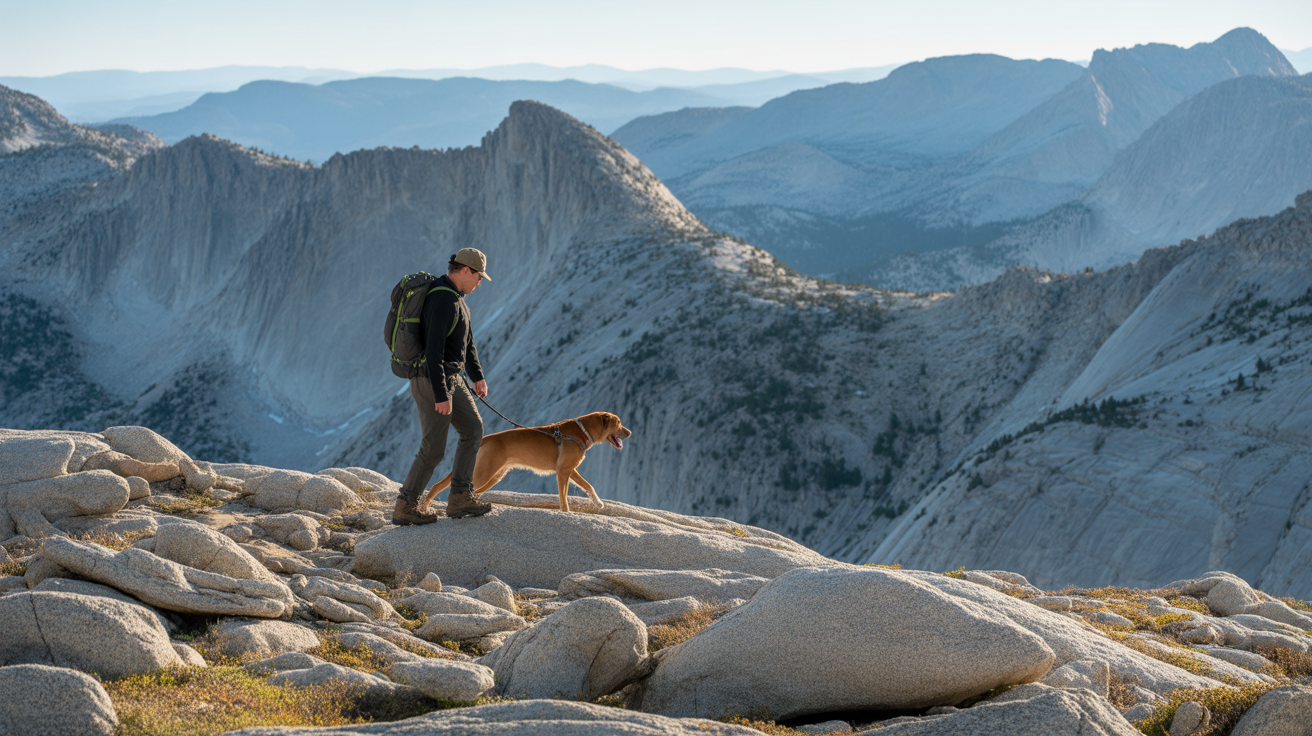
How to take care of your dog’s paws on rocky trails is one of those things most hikers figure out only after their dog comes home limping. You had a great day out, the views were worth every step, and then you notice your dog favoring a leg on the drive home or refusing to put weight on a paw. It is a sinking feeling – and it is more common than you might think. Rocky terrain is genuinely tough on paw pads, especially for dogs who are still building trail fitness or heading out on harder ground than usual.
The good news is that protecting your dog from paw injuries on rocky trails is very manageable once you know what to look for and what tools actually help. This guide covers everything: how to inspect paws before and after a hike, when dog paw balm is the right call, when dog hiking boots are actually worth the adjustment period, and how to build your dog’s paw toughness over time. Whether your dog is a trail veteran or just starting to join you on weekend adventures, this is the practical information you need.
What to Look For
Why Rocky Trails Are Hard on Dog Paws
Dog paw pads are tougher than they look, but they are not indestructible. On rocky trails – think granite slabs, loose shale, or jagged talus fields – pads take repeated impact and abrasion that soft dirt trails simply do not produce. The edges of rocks can cause small cuts or scrapes, and prolonged friction on rough surfaces wears the pad surface down faster than it can recover between hikes. Hot rock surfaces in summer add a thermal burn risk on top of the physical abrasion. Understanding why rocky terrain is specifically demanding helps you make smarter decisions about protection and pacing.
Some dogs are more vulnerable than others. Younger dogs and seniors have softer or less resilient pads. Dogs who mostly walk on pavement or grass have not built up the trail-specific callusing that regular hikers develop naturally. Breeds with thinner pads or dogs recovering from any paw-related issue will also need extra attention on technical terrain. Knowing your dog’s baseline fitness is the starting point for how to take care of your dog’s paws on rocky trails effectively.
How to Inspect Your Dog Paws Before and After a Hike
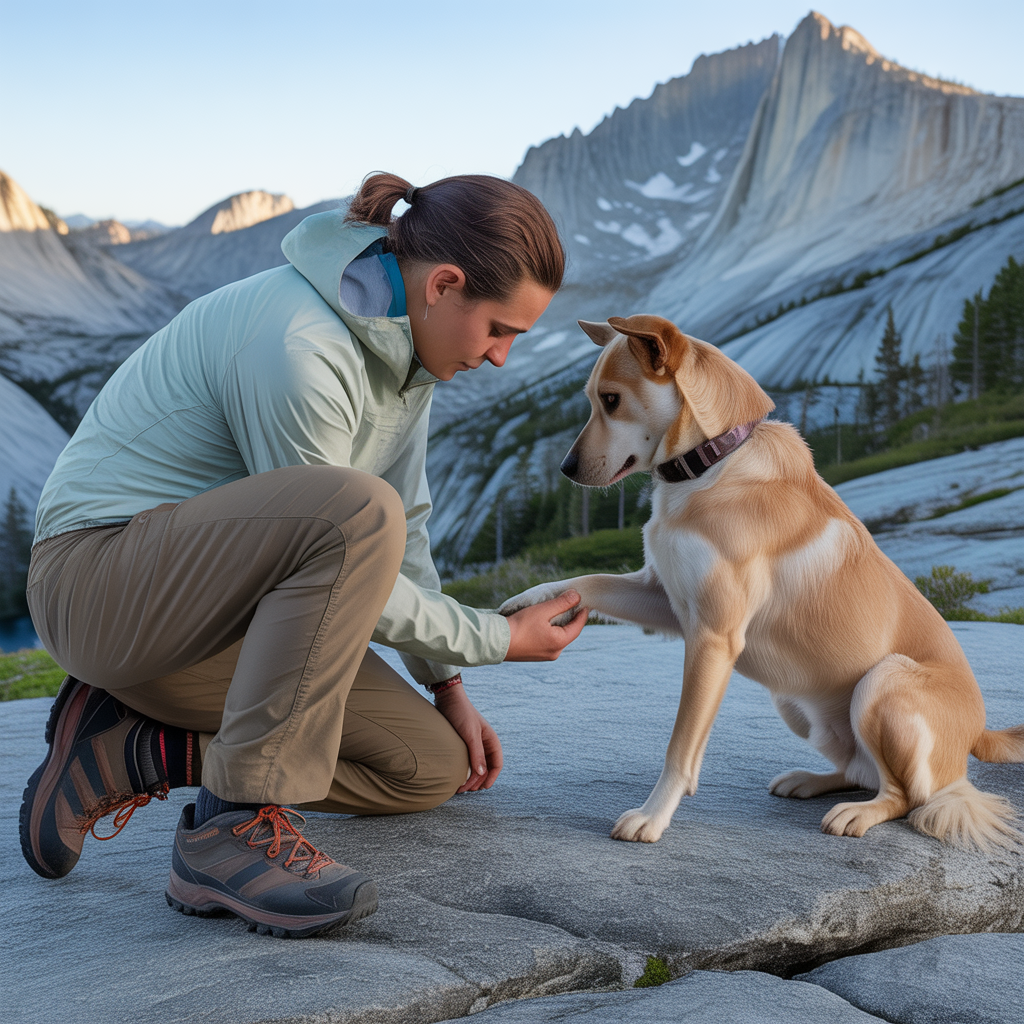
Pre-hike inspection takes about 60 seconds and can save you from a mid-trail problem. Hold each paw gently and check the pad surface for any existing cracks, cuts, or raw spots. Look between the toes for debris, burrs, or any irritation from a previous outing. Press lightly on each pad to check for tenderness – a dog that pulls away or vocalizes is telling you something needs attention before you head out.
Post-hike inspection is just as important and should happen before your dog settles in for a rest. Rinse or wipe paws to remove grit and debris first – this makes it much easier to see what is actually happening with the pad surface. Check for redness, swelling, torn pad edges, bleeding, or any limping that showed up on trail. Look between every toe for small embedded rocks or plant material. If your dog is licking a specific paw repeatedly after the hike, treat that as a signal to inspect more closely rather than ignore it.
When Paw Balm Helps and How to Use It
Paw balm is the right tool for prevention and for mild dryness or minor surface abrasion – it is not a treatment for open wounds or serious injuries. Applied before a hike, a quality dog paw balm creates a protective layer that reduces friction and helps the pad surface resist abrasion on rough rock. Applied after a hike, it helps rehydrate pads that have dried out or developed early surface cracking.
Apply balm to clean, dry pads. A thin, even layer across the entire pad surface is enough – you do not need to pack it on heavily. Let it absorb for a minute or two before you hit the trail so your dog is not slipping around on it. For regular hikers, applying balm after every rocky outing as part of your post-hike routine will help maintain pad condition over time. Balm works best as a consistent habit rather than an emergency fix.
When Dog Hiking Boots Are the Right Call
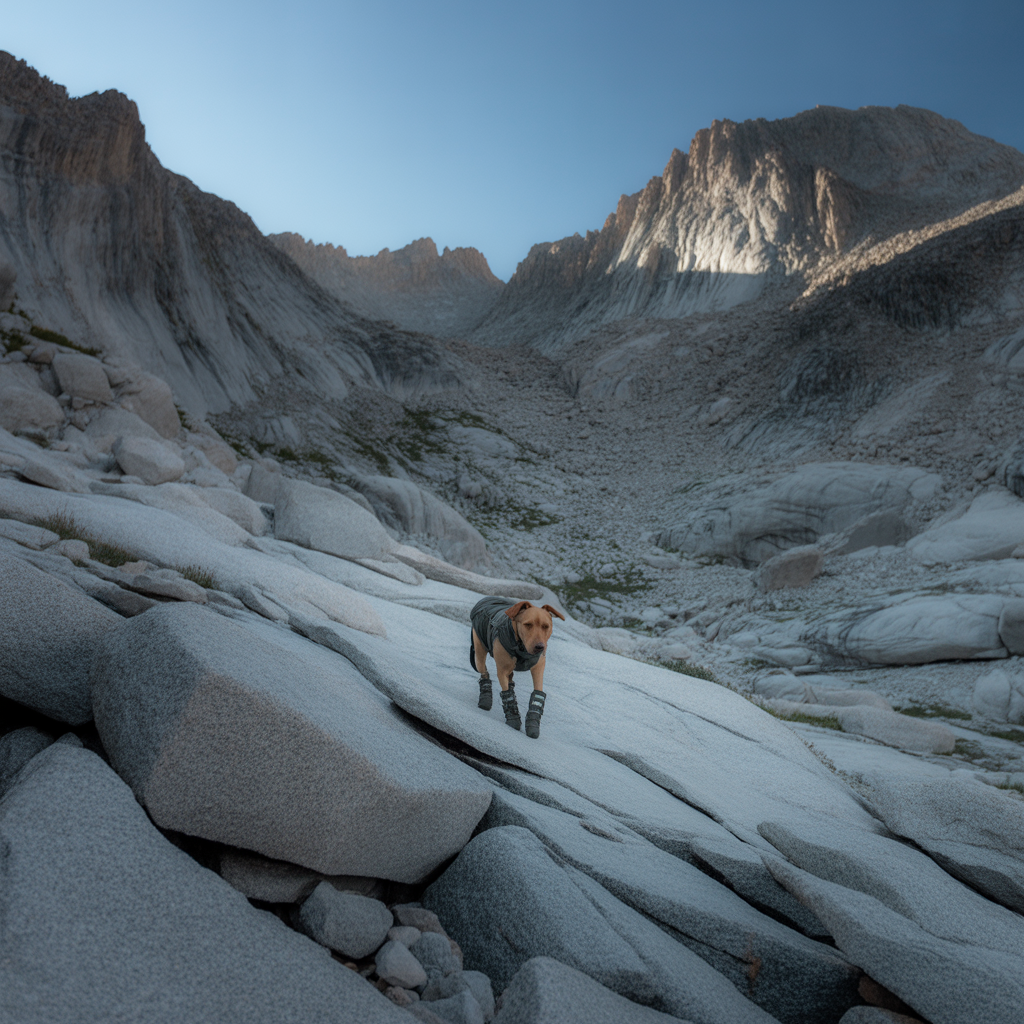
Boots are not overkill – they are the appropriate tool for specific situations. If your dog has a pad injury and your veterinarian has cleared short walks, boots provide a barrier between the healing pad and trail surfaces. On extremely technical terrain with sharp angular rocks or metal debris, boots provide a level of protection that balm simply cannot match. In hot weather when granite and exposed rock surfaces reach temperatures that can burn pads in minutes, boots are often the most practical solution.
The learning curve is real. Most dogs need a few sessions just getting comfortable wearing boots at home before the trail is a reasonable environment. Start with short indoor sessions, reward calmly, and build up gradually. Fit matters enormously – boots that are too loose will rub and cause their own problems. According to AKC’s guidance on dog boots, measuring the width of the widest point of each paw while the dog is standing is the most reliable way to size boots correctly. A well-fitted boot that your dog has been gradually introduced to will stay on far better than an expensive one put on for the first time at the trailhead.
Building Paw Toughness Over Time
The most sustainable approach to how to take care of your dog’s paws on rocky trails is gradual conditioning. Just like a new hiker builds foot strength and callusing over multiple outings, dogs develop tougher pad surfaces with consistent trail exposure. Start with shorter, less technical hikes and increase distance and terrain difficulty slowly over several weeks. This allows the pad surface to toughen up without taking damage that sets the process back.
Keep hikes to cooler parts of the day during warmer months to reduce thermal stress on pads. Carry enough water for your dog as well as yourself – a dog water bottle and a collapsible dog bowl make mid-trail hydration easy without weighing you down. Dehydrated dogs are also more prone to fatigue-related stumbling, which increases the chance of a paw scrape on technical ground. Hydration is part of paw care, not separate from it.
What to Do If Your Dog Is Injured on Trail
If you notice bleeding, a torn pad flap, or significant limping mid-hike, stop and assess. Do not force your dog to continue hiking on a damaged paw. Clean the wound with clean water if you have it, and use gauze or a clean cloth to apply gentle pressure to any bleeding. A dog first aid kit should always be in your pack for exactly this kind of situation – it will include wound dressings, self-adhesive bandage wrap, and antiseptic wipes that are safe for dogs. Wrap the paw to protect it for the walk back to the trailhead and get veterinary attention for anything beyond a superficial scrape. According to the American Veterinary Medical Association, pad injuries that expose deeper tissue or bleed heavily warrant prompt veterinary evaluation rather than home management.
Frequently Asked Questions
How do I know if my dog’s paws are too sore to continue hiking?
The clearest sign is limping or favoring one leg – if your dog is consistently putting less weight on a paw or refusing to walk, that is a signal to stop and check immediately. Other signs to watch for mid-hike include your dog slowing down significantly on terrain they were handling fine earlier, stopping and licking or biting at a paw repeatedly, or pulling toward the trail back to the car. Whimpering when a paw touches a specific surface can indicate a cut or bruise on that pad. Do not push through these signals or assume the problem is minor without inspection. Check the affected paw carefully, look for cuts or raw spots, and make a judgment call based on what you find. A minor scuff with no bleeding and no limping can often be managed by moving to softer trail sections if available. Significant limping, visible damage, or bleeding means the hike ends there and veterinary evaluation is warranted. Knowing your dog is one of the most important parts of how to take care of your dog’s paws on rocky trails.
Can I use human lotion or Vaseline on my dog’s paw pads?
Plain petroleum jelly is sometimes recommended as a short-term option and is generally considered safe if your dog licks a small amount, but it is not purpose-built for trail use and does not provide the same protective layer as a product designed specifically for dog pads. Many human lotions contain fragrances, preservatives, or ingredients like essential oils that can irritate dog pads or cause problems if ingested through licking. The safest approach is to use a product made specifically for dogs – formulated to be non-toxic if licked and designed to withstand the abrasion conditions dogs actually encounter on trail. A purpose-made product will also tend to absorb better and stay on longer under trail conditions than a general-purpose moisturizer. If you are ever in a situation where you have nothing else on hand, plain petroleum jelly in a small amount is a reasonable emergency option, but replace it with a proper product as soon as possible.
How long does it take for dog paw pads to toughen up for rocky trails?
Most dogs begin developing noticeably tougher pad surfaces within four to six weeks of consistent trail exposure, though the timeline depends on how often you are hiking, the terrain type, and your individual dog. Starting with two to three trail outings per week on moderate terrain – rather than one intense rocky hike per week – tends to produce better conditioning results because the pads get regular stimulus without enough trauma to cause setback injuries. Younger adult dogs often condition faster than seniors, and dogs who already walk regularly on varied surfaces have a head start. During the conditioning period, using paw balm after each hike helps maintain the pad surface while toughening is in progress. You will notice the difference when your dog stops showing any post-hike soreness on terrain that previously caused it. Patience with the conditioning process is a core part of how to take care of your dog’s paws on rocky trails for the long term.
Do dog hiking boots actually stay on during a hike?
Well-fitted boots with secure closures do stay on during most hikes, but fit and gradual introduction make the difference between boots that work and boots that come off every hundred yards. The most common reason boots fall off is incorrect sizing – if the boot is even slightly too wide for the paw, normal trail movement will work it loose within minutes. Measure each paw individually while your dog is standing, since size can vary between front and back paws. Look for boots with adjustable straps or hook-and-loop closures that can be tightened to the exact width of your dog. The other factor is your dog’s comfort level – a dog actively trying to kick boots off is going to lose them more often than a dog who has accepted them through gradual desensitization at home. A few sessions practicing indoors before hitting a real trail significantly improves how well boots perform and how confidently your dog moves in them.
The Bottom Line
Knowing how to take care of your dog’s paws on rocky trails comes down to three consistent habits: inspect before and after every outing, use the right protection for the conditions, and build terrain difficulty gradually so your dog’s pads can keep up with your ambitions. If your dog came home limping from a recent hike, do not write off rocky trails as something they cannot handle. More likely, the trail was a step up in difficulty that your dog was not quite conditioned for yet.
For most hikers, starting with a good paw balm routine and a post-hike inspection habit will handle the majority of rocky trail situations. Add a dog first aid kit to your pack so you are prepared if something does happen mid-trail. If you are planning more technical terrain – sharp granite, hot exposed ridges, or longer miles than your dog has done before – consider introducing a pair of dog boots on shorter practice hikes first. Take it at your dog’s pace, pay attention to what they are telling you, and the two of you will handle rocky trails together without either of you dreading the drive home.
Disclosure: As an Amazon Associate, we earn from qualifying purchases. This does not affect our editorial recommendations.