
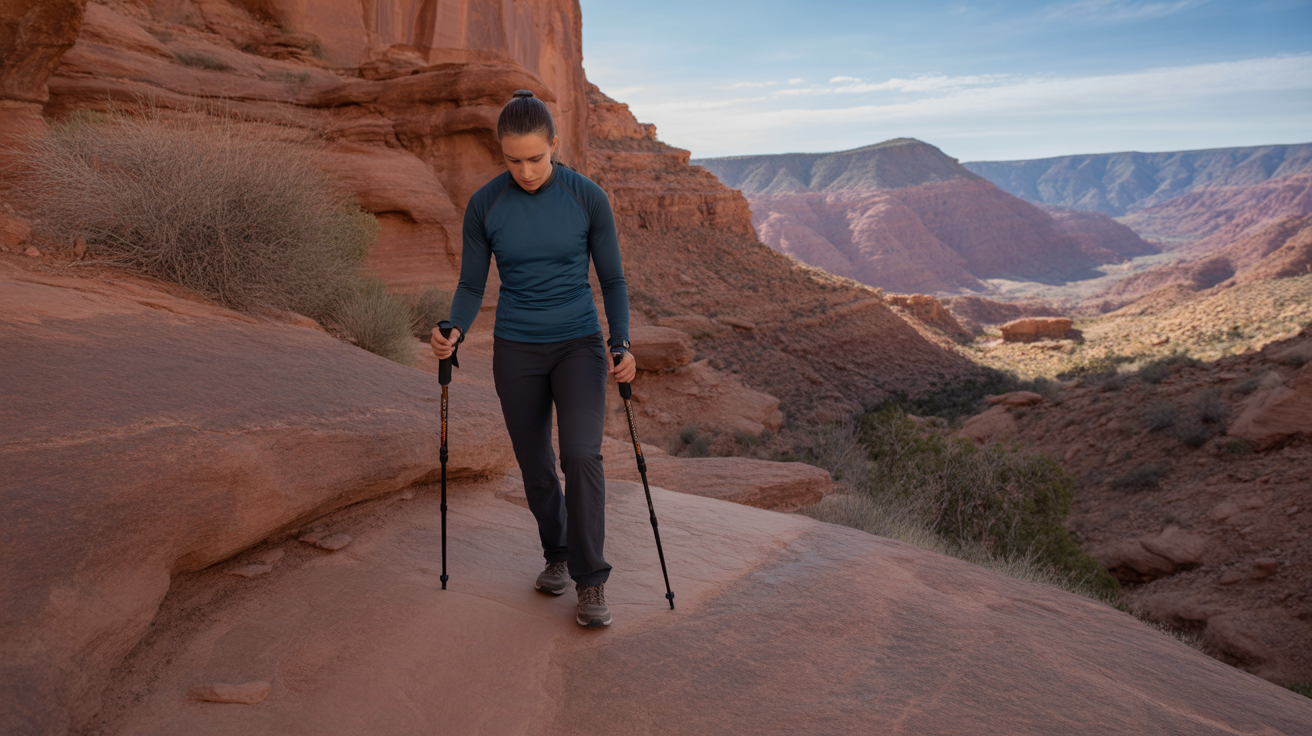
How to hike efficiently uphill (technique, gear, and pacing) is one of the most searched questions among hikers who feel strong on flat terrain but hit a wall the moment the trail tilts skyward. If you have ever found yourself stopping every few minutes on a climb, hands on knees, watching other hikers glide past, you are not alone. Uphill hiking is a skill, not just a matter of how hard you push.
The good news is that small adjustments to how you breathe, where you place your feet, and how you distribute your pack weight can transform a brutal slog into a manageable, even enjoyable climb. This guide breaks down how to hike efficiently uphill (technique, gear, and pacing) into clear, actionable steps you can apply on your very next trail. These are the practical mechanics that make uphills work.
What to Look For
The Body Mechanics of Efficient Uphill Hiking
The single biggest mistake hikers make on ascents is trying to move at the same pace they use on flat ground. Uphills demand a completely different gear system from your body. The first rule of how to hike efficiently uphill (technique, gear, and pacing) is to shorten your stride significantly. Long steps on a climb force your muscles to lift your entire body weight over a large range of motion repeatedly. Short, deliberate steps keep more of your momentum forward and reduce the energy cost per step.
Lean slightly into the hill from your ankles, not your waist. What this means in practice: imagine your body as a straight line from head to toe, then tilt that entire line forward a few degrees so the tilt pivots from your ankle joint rather than bending at your hips. Bending at the waist compresses your lungs and shifts weight onto your quads in a way that burns them out quickly. An ankle-pivot lean keeps your torso upright enough to breathe fully while your center of gravity stays over your feet. Keep your gaze about 10 to 15 feet ahead on the trail rather than straight down, which helps posture and lets you read the terrain in advance.
Foot placement matters more on steep terrain than most hikers realize. On moderate inclines, plant your entire foot flat when possible rather than leading with your heel or toe. A full foot plant distributes the load across your whole foot and engages your calf, quad, and glute together rather than isolating one muscle group. On very steep switchbacks, a slight duck-foot angle with toes pointed outward at about 20 to 30 degrees reduces ankle strain and improves grip.
Pacing and the Rest Step Technique
Pacing is the heart of how to hike efficiently uphill (technique, gear, and pacing). Most hikers go out too hard, spike their heart rate in the first quarter mile of a climb, and then either slow to a crawl or stop repeatedly for extended breaks. A sustainable uphill pace feels almost embarrassingly slow when you first try it. If you can hold a full conversation without gasping, you are at the right intensity.
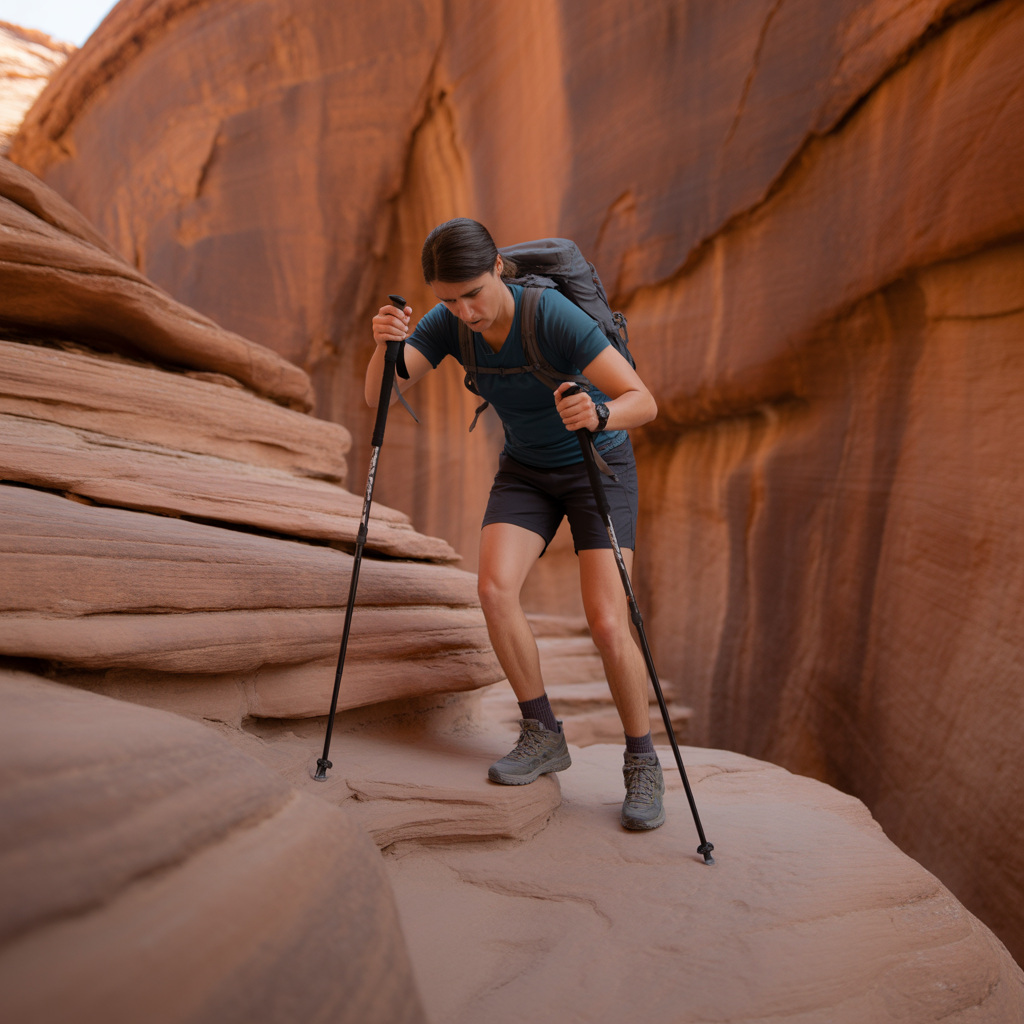
The rest step is a technique used by mountaineers on long, relentless climbs and it works just as well on day hikes. With each uphill step, pause for a fraction of a second with your back leg straight and your weight settled fully onto it before pushing forward. This brief lock-out position lets your skeletal structure bear the load instead of your muscles, giving them a micro-recovery between every single step. It sounds small but over a 1,000-foot climb the cumulative rest adds up to a meaningful reduction in fatigue.
For longer climbs, use planned micro-breaks rather than unplanned collapses. Stop for 30 to 60 seconds every 10 to 15 minutes at a natural landmark like a switchback corner or a boulder. Take three or four deep breaths, shake out your legs, and move on. These deliberate pauses prevent the kind of cardiovascular debt that forces long, demoralizing rest stops later.
Breathing Technique on Steep Terrain
Breathing is often the first system to fail on a climb and the most overlooked part of how to hike efficiently uphill. Many hikers unconsciously hold shallow, chest-only breaths when they are working hard. Switch to diaphragmatic breathing by deliberately expanding your belly outward on each inhale rather than just raising your chest. This increases your lung capacity per breath and delivers more oxygen per cycle.
A rhythm-matched breathing pattern helps on consistent grades. Try two steps per inhale and two steps per exhale on moderate slopes, then shorten to one step per breath on steep pitches. The rhythm keeps your breathing from becoming frantic and gives your cardiovascular system a predictable workload to manage. Exhale completely on each breath cycle. Incomplete exhalation is a common inefficiency that leaves stale, low-oxygen air sitting in your lungs.
At elevation above 8,000 feet, your body is receiving less oxygen per breath than it does at sea level. If you are hiking at altitude for the first time, slow your pace by an additional 20 to 30 percent and give yourself a full day of acclimatization before tackling steep climbs. According to the National Park Service, altitude-related fatigue and headaches are among the most common issues hikers face in high-elevation parks, and pacing is the primary preventive tool.
Gear That Supports Uphill Efficiency
The right gear does not replace technique but it meaningfully reduces the physical cost of a climb. Trekking poles are one of the most effective uphill tools available. Used correctly on an ascent, they engage your upper body and reduce the workload on your legs by 15 to 20 percent. On uphills, shorten your poles by 5 to 10 centimeters from your flat-ground length so they plant comfortably ahead of you without forcing you to reach too high.
Your pack fit has a direct impact on uphill efficiency. A hiking daypack that rides too low or sits loose away from your back forces your core to compensate for a shifting load on every step. Cinch the hip belt so it sits across the top of your hip bones, then tighten the shoulder straps until the pack feels snug against your back. The hip belt should be carrying 60 to 80 percent of the pack weight, not your shoulders.
Hydration directly affects your aerobic performance. Even mild dehydration of around 2 percent of body weight measurably reduces endurance output. Carry a hydration pack on longer climbs so you can sip without stopping to dig out a bottle. Sipping small amounts continuously is far more effective than drinking large amounts at infrequent rest stops.
Footwear with grippy outsoles reduces the muscular effort of maintaining traction on loose or steep terrain. Aftermarket insoles with firm arch support reduce foot fatigue on sustained climbs, particularly if your stock insoles are thin and flat. And do not overlook your socks. A quality pair of hiking compression socks improves circulation in your lower legs during sustained vertical effort, which reduces the heavy, burning sensation in your calves on long ascents.
Energy and Nutrition Strategies for Climbs
Your muscles run on glycogen, and uphill hiking depletes it faster than flat walking. Eat a small snack with a mix of carbohydrates and some protein 30 to 60 minutes before a significant climb rather than waiting until you are already depleted at the top. On climbs longer than 90 minutes, eat small amounts every 45 minutes to maintain blood sugar and avoid hitting the wall, that sudden onset of heavy fatigue and mental fogginess that comes when your glycogen runs low.
Electrolytes matter on hot or high-effort days. You lose sodium, potassium, and magnesium through sweat, and their depletion causes muscle cramps and early fatigue that no amount of willpower fixes. Add an electrolyte supplement to your water on full-day hikes or when the temperature is above 75 degrees. For detailed guidance on effort and exertion on uphills, REI’s hiking tips resource covers the physiological side of trail performance in practical terms.
Frequently Asked Questions
Why do I get so tired hiking uphill even when I am in decent shape?
Uphill hiking taxes your cardiovascular and muscular systems in a very specific way that general fitness does not always prepare you for. Running, cycling, and gym workouts build aerobic capacity, but the combination of steep grade, uneven footing, and a weighted pack creates a unique demand on your glutes, calves, and hip flexors simultaneously. If you are getting winded quickly, the most likely culprit is pace. Most hikers start climbs too fast, spike their heart rate above a sustainable zone within the first few minutes, and then spend the rest of the ascent in recovery mode. Slow down significantly at the start of any climb, even if it feels awkward. Your body will find a rhythm. Technique also plays a role, particularly stride length. Long strides on uphills are energy-expensive. Shorten them and you will notice an immediate reduction in how hard your cardiovascular system is working. Learning how to hike efficiently uphill with proper technique and pacing is the single most effective adjustment most hikers can make.
Should I use trekking poles when hiking uphill?
Yes, trekking poles are genuinely useful on uphills when used correctly. They distribute effort across your upper body and reduce the load on your legs over a sustained climb. The key is to adjust the length when the grade changes. Shorten your poles by about 5 to 10 centimeters compared to your flat-ground setting so you can plant them comfortably in front of you without having to raise your hands above shoulder height. Push down through the poles as you step, actively driving yourself forward rather than just planting them passively for balance. The arm drive adds propulsion and keeps your upper body engaged. On very steep terrain, some hikers hold both poles together in front of them and use them as a single anchor point to pull up. Well-fitted trekking pole grips make a real difference in control and comfort during longer ascents when your hands are sweating.
How do I control my breathing when hiking uphill?
The most effective breathing adjustment for uphill hiking is switching from shallow chest breathing to full diaphragmatic breathing. On your next climb, consciously push your belly outward as you inhale rather than just lifting your chest. This engages the lower lobes of your lungs and increases the amount of oxygen you pull in per breath. Pair this with a step rhythm if you can. On moderate grades, two steps per inhale and two steps per exhale creates a steady, manageable cadence. On steeper pitches, drop to one step per breath cycle. Also focus on fully exhaling. Many hikers under stress take incomplete exhales, which gradually builds up carbon dioxide in the lungs and creates a panicky, breathless feeling. A full exhale clears the stale air and makes room for a genuinely deep inhale on the next breath. Consistent practice of this breathing pattern over a few hikes will make it feel automatic and you will notice your uphills becoming noticeably more manageable.
What is the rest step technique in hiking?
The rest step is a mountaineering technique adapted for sustained uphill hiking. The idea is simple: with each step uphill, you briefly pause with your back leg fully straight and your weight settled onto that locked-out leg before pushing into the next step. When your knee is fully extended, your skeletal structure supports your body weight rather than your muscles, giving those muscles a fraction of a second of genuine rest on every single step. Over a 2,000-foot climb that can translate to thousands of micro-recovery moments that add up to significantly reduced muscle fatigue. It feels unnatural at first because most hikers are used to a continuous, fluid stride. Start practicing it on short sections of moderate grade until the pause becomes instinctive. The rest step is one of the core techniques in how to hike efficiently uphill (technique, gear, and pacing) that experienced mountain hikers use on every serious ascent.
The Bottom Line
Understanding how to hike efficiently uphill (technique, gear, and pacing) comes down to a few core principles that compound quickly once you start applying them together. Shorten your stride, lean from your ankles, breathe from your diaphragm, and pace yourself at a speed that feels almost too easy at the start of the climb. Add the rest step on sustained grades and you will reach the top with energy left rather than crawling in on empty.
If you are just getting started with hillier terrain, focus on pacing first. It delivers the fastest visible improvement and requires no equipment. Once pacing clicks, work on foot placement and breathing. These two adjustments will smooth out the remaining rough edges of your uphill game. If you are ready to invest in gear, a properly fitted pack and a set of trekking poles are the two items that deliver the most measurable uphill benefit for the widest range of hikers.
For hikers dealing with knee discomfort on descents after hard climbs, walking sticks designed for knee support can help on the way back down. The uphill is only half the equation. Come back to these techniques on your next climb and notice the difference a few simple adjustments make.
Disclosure: As an Amazon Associate, we earn from qualifying purchases. This does not affect our editorial recommendations.