
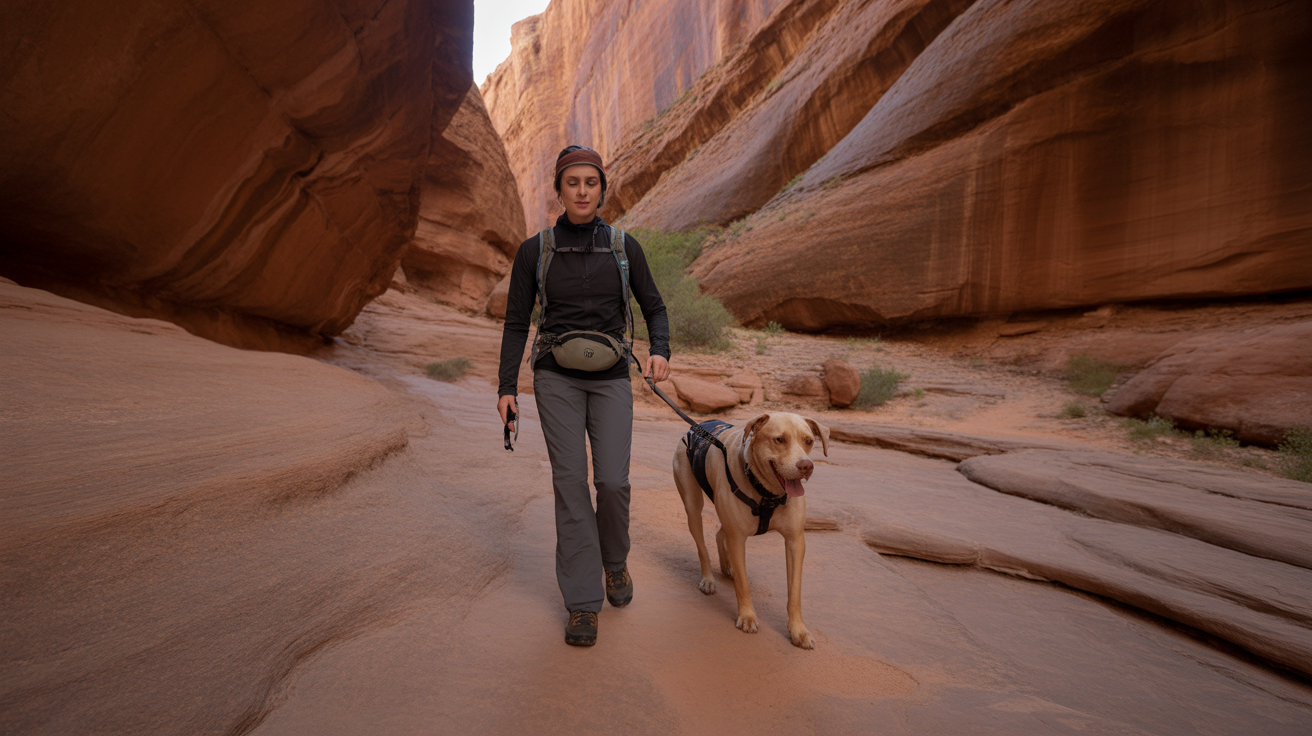
How to hike hands-free with a dog sounds simple until you are scrambling over a rocky switchback (a series of angled turns on a steep trail) with your arm yanked forward and your trekking poles swinging uselessly from your wrists. Holding a leash for four hours is exhausting, and it takes away the balance and freedom that make hiking enjoyable in the first place. The good news is that hands-free hiking with your dog is completely achievable with the right setup – and it does not require expensive gear or a perfectly trained dog to get started.
This guide covers every hands-free system that actually works on trail, how to match the setup to your dog’s size and personality, and what to do if your dog is a strong puller or reacts to other dogs and wildlife. Whether you hike with a mellow golden retriever or a reactive cattle mix who loses their mind at squirrels, there is a configuration here that will give you your hands back without putting either of you at risk. A good hands-free dog leash for hiking is the foundation of the whole system, so we will start there.
What to Look For
The Three Main Hands-Free Hiking Systems
There are three primary ways to hike hands-free with a dog, and each one suits a different type of hiker and dog. The first and most popular is the waist-belt leash system, where a bungee-style leash clips to a padded belt you wear around your hips or waist. This keeps the connection point low on your body, which improves your balance and distributes pulling force across your core rather than your shoulder. The second system is a vest or pack-mounted leash attachment, where the leash clips to a dedicated ring on your hiking daypack or a trail running vest. This works well on flat terrain with calm dogs but is not ideal for strong pullers because the attachment point sits high on your back and can throw off your balance on uneven ground. The third option is a chest-clip harness with a hands-free tether, which works similarly to a waist belt but connects across your sternum. This is less common but preferred by some trail runners and fast-paced hikers who appreciate the chest-level control point.
How to Choose the Right Setup for Your Dog
Your dog’s size, strength, and trail behavior should drive your gear decision more than anything else. For dogs under 30 pounds, almost any system works because the pulling force is manageable. For dogs between 30 and 65 pounds, a padded waist belt with a bungee leash is the standard recommendation because the bungee absorbs sudden lunges without jerking your spine. For dogs over 65 pounds or any dog that is classified as a strong puller, you need both a quality waist belt and a well-fitted dog hiking harness with a front-clip or dual-clip design. A front-clip harness has the leash attachment point on the chest rather than the shoulders, which redirects pulling energy sideways rather than forward and reduces the overall force you feel at the waist. A dual-clip harness has attachment points at both the chest and the back, giving you options depending on the situation. Never attach a hands-free leash to a standard flat collar on a strong puller – the leash-jerk from a sudden sprint can injure your dog’s trachea.
Hands-Free Hiking With a Reactive Dog
Hiking hands-free with a dog that is reactive to other dogs, people, or wildlife requires a bit more planning, but it is not out of reach. The key difference is control speed – when your dog is leashed to your hand, you can correct or redirect immediately. When the leash is clipped to your waist, you have a half-second delay before the tension reaches you. To compensate, you need to work on your spatial awareness on trail. Keep your eyes scanning 50 to 100 feet ahead, especially around blind corners and trailhead parking areas where encounters happen fast. Choose a bungee leash with a short maximum extension – around four to five feet – rather than a long retractable style. Shorter extension means you can step in front of your dog quickly when needed. According to the American Kennel Club, reactivity management on leash is significantly more effective when the handler maintains consistent distance from triggers before the dog reaches threshold. Practicing this hands-free before a big hike, starting in lower-distraction environments like quiet neighborhood trails, builds the muscle memory you both need.
Leash Length and Terrain Considerations
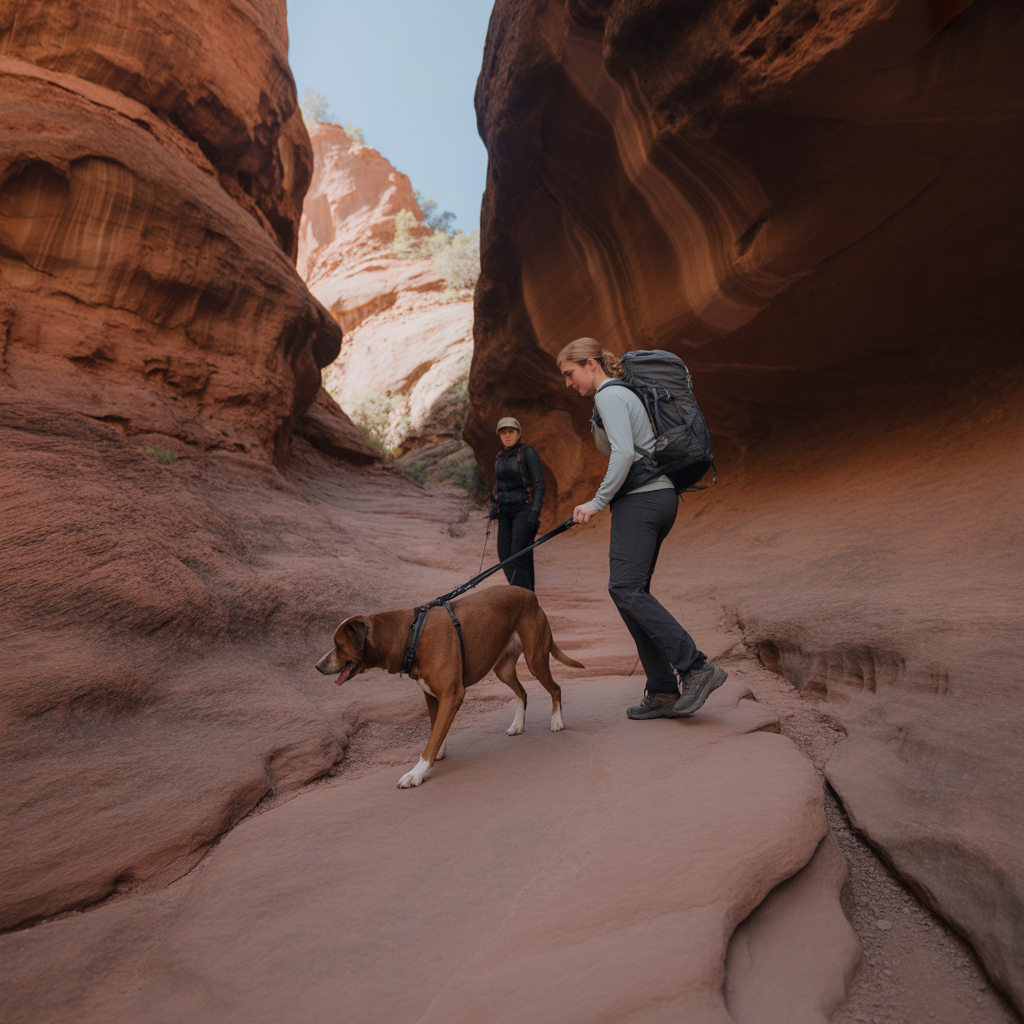
Leash length matters far more on trail than it does in a park. On wide, flat dirt paths, a five- or six-foot bungee gives your dog room to move and sniff without tangling your feet. On narrow singletrack (a trail only wide enough for one person), steep switchbacks, or sections with drop-offs, you want your dog closer – ideally within two to three feet of your body. Many hands-free leashes include a short traffic handle (a padded loop near the dog-end clip) that lets you grab control instantly in tight situations. Look for that feature when shopping. On technical terrain, consider shortening your effective leash length by holding the traffic handle rather than relying entirely on the waist attachment. This gives you the best of both worlds: hands-free on easy sections, direct control when things get technical.
What to Carry When Hiking With Your Dog
Going hands-free changes how you carry gear, and it is worth thinking through your dog’s supplies before you hit the trail. Water is the most critical – a dog water bottle for hiking with a built-in bowl or a collapsible dog bowl paired with your own water supply keeps both of you hydrated without stopping to unpack. A compact dog first aid kit for hiking should live in your pack on every outing – paw cuts, thorn punctures, and bee stings happen even on easy trails. If you hike in tick country, apply tick prevention before you leave the trailhead and carry a dog tick removal tool in your kit. Distributing some of this weight to your dog is also an option – a properly fitted dog backpack for hiking lets healthy adult dogs carry their own water and snacks, which reduces the load on you and gives high-energy dogs a job to focus on.
Trail Etiquette and Safety Rules for Hands-Free Dog Hiking
Hiking hands-free with a dog comes with a responsibility to other trail users. Even with a waist leash, your dog is still on leash – and most trails that allow dogs require them to be leashed at all times. Check the specific rules for your trail before you go, as many national park trails prohibit dogs entirely or require leashes no longer than six feet. When passing other hikers, step to the side, shorten your leash by using the traffic handle, and give your dog a moment to settle before moving on. If your dog is reactive, call out a friendly heads-up to approaching hikers: a simple “my dog needs space, thank you” is universally understood. Practicing Leave No Trace principles also applies to your dog – pack out all waste, keep your dog on trail to protect vegetation, and avoid letting them approach wildlife. Hands-free hiking gives you more freedom, but it does not reduce your responsibility for your dog’s behavior on trail.
Frequently Asked Questions
Is it safe to hike hands-free with a large or strong dog?
Yes, it is safe with the right equipment and a bit of preparation. The most important factor is the combination of a padded waist belt with a bungee-style leash and a front-clip or dual-clip dog harness for hiking trails. The bungee absorbs the shock of sudden lunges, and the front-clip harness (which attaches at the chest instead of the shoulders) redirects your dog sideways rather than allowing a full forward sprint. For dogs over 65 pounds, make sure the waist belt has a locking buckle rather than a simple snap closure so it cannot pop open during a hard pull. Practice the system on flat, low-distraction terrain first so both you and your dog get comfortable with the connection before taking it onto technical trail. Avoid attaching any hands-free system to a collar on a strong dog – harnesses distribute force safely across the chest and shoulders, while collars concentrate it on the neck and throat.
Can you use a hands-free leash with a dog that pulls on leash?
You can, and many people find that the waist-attachment system actually helps with pulling because the physics work differently than a hand-held leash. When a dog pulls against your hand, you either hold on or let go. When a dog pulls against your waist, your entire body weight acts as resistance, which many dogs find less rewarding than the sudden give of a hand grip. That said, a hands-free leash is not a substitute for leash training – it is a management tool. If your dog is a chronic puller, pairing the hands-free system with a front-clip harness significantly reduces the forward force you feel. Some hikers also use a dual-clip leash that attaches at both the front chest ring and the back of the harness simultaneously, which gives the most control for strong pullers on trail. Start on flat terrain and build up to more technical sections as your dog adjusts to the new connection point.
What kind of harness works best for hands-free dog hiking?
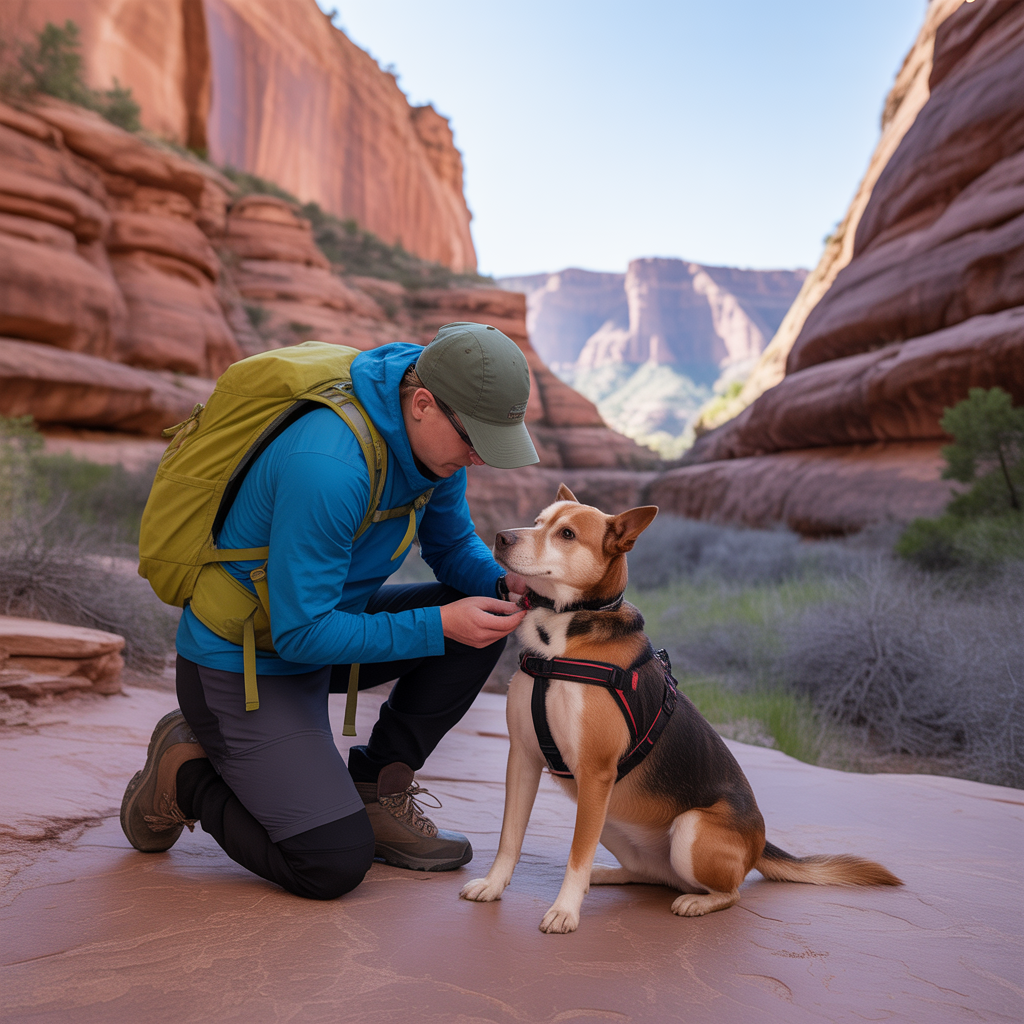
A well-padded, adjustable harness with at least one front-clip ring (at the chest) and one back-clip ring (between the shoulders) gives you the most flexibility for hands-free hiking. The back clip is used for the hands-free leash attachment during easy terrain where your dog is moving predictably. The front clip is used when you need more steering control on steep sections or in areas with heavy trail traffic, since clipping at the chest turns the dog toward you when they pull rather than letting them surge forward. Harnesses with a padded chest plate distribute pressure more evenly and are more comfortable for dogs who hike long distances. Avoid thin-strap or step-in harnesses for trail use – they can shift out of position on uneven terrain and cause chafing on long hikes. Fit is critical: you should be able to slip two fingers under every strap, and the harness should not ride up toward your dog’s neck or slip back toward their hindquarters during movement.
Do I need a special leash or will any leash work?
A standard leash will not work safely for hands-free hiking. You need a leash specifically designed for waist or body attachment, which means it has a secure waist belt or hip belt connection point and ideally a bungee section to absorb the shock of sudden movements. Running or biking-specific hands-free leashes can work on trail as well, since the design requirements are similar. The bungee component is non-negotiable for any dog over 20 pounds – without it, a sudden lunge transfers the full impact directly to your spine. Look for a leash with a traffic handle near the dog-end clip so you can quickly grab control in high-traffic or technical sections without having to unclip anything. Retractable leashes are not appropriate for hands-free hiking because they do not provide consistent tension control and the cords can snap under load.
The Bottom Line
Learning how to hike hands-free with a dog genuinely changes the experience for both of you. You move better, your balance improves on technical terrain, and your dog gets more consistent feedback through the leash rather than the erratic tension of a hand-held grip. The right system depends on your dog’s size and personality. If you have a calm small dog, a basic waist belt and bungee leash is all you need. If you have a large or reactive dog, invest in a quality padded waist belt, a front-clip harness, and spend a few sessions on quiet trails before taking the setup somewhere challenging. Build your kit around your dog’s needs as well as your own. Water, a collapsible bowl, basic first aid supplies, and tick prevention make a real difference on longer outings. Start simple, test everything close to the trailhead before committing to a full hike, and adjust as you learn what works for your specific dog. For more help choosing the right gear before your next outing, our guide to dog leashes for hiking covers the full range of options across different trail types and dog sizes. Get the setup right once, and every hike after that gets easier.
Disclosure: As an Amazon Associate, we earn from qualifying purchases. This does not affect our editorial recommendations.