
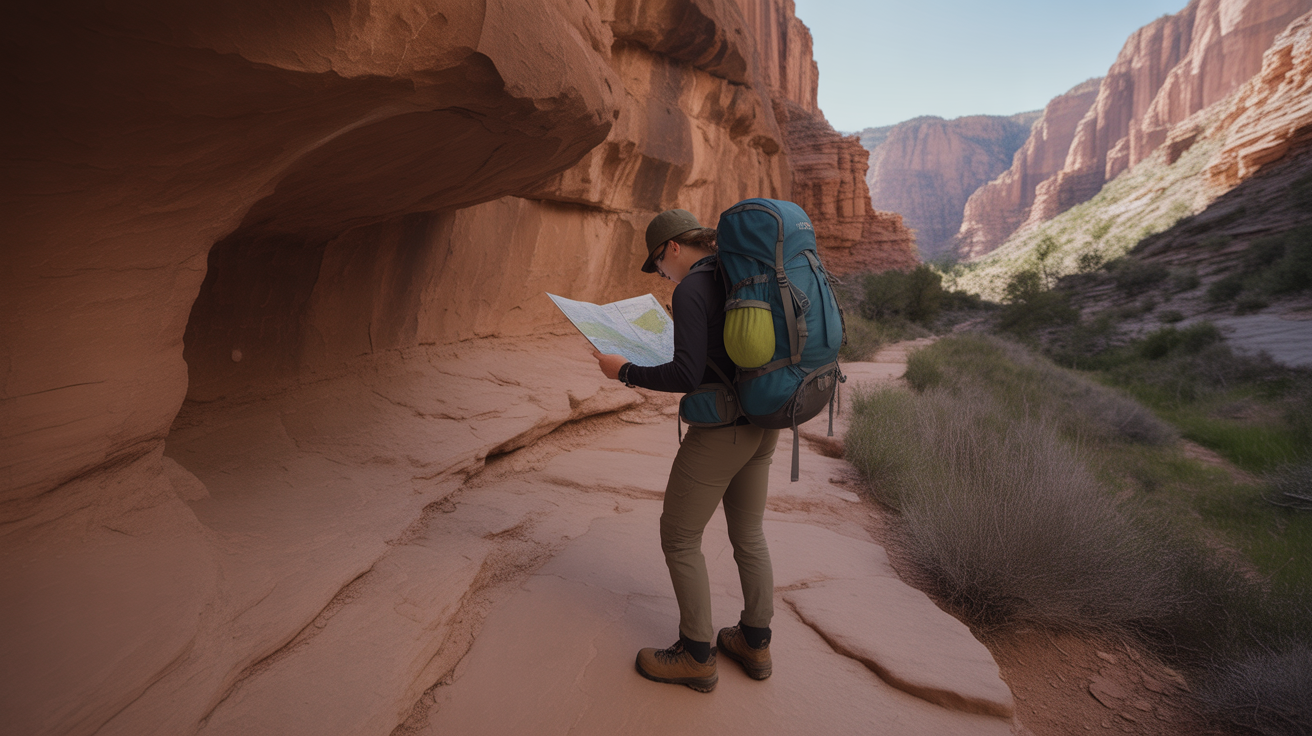
Knowing how to read a trail map and when to use a GPS watch is one of those skills that sounds technical until someone breaks it down clearly — and then it just makes sense. If you have been relying on your phone for directions on the trail, you are in good company. Most hikers start there. But phone-based trail finding has real limits outdoors, and understanding when it fails — and what to do about it — can make the difference between a confident hike and a stressful one.
This guide covers everything in plain language: how trail maps actually work, what all those lines and symbols mean, and whether a dedicated GPS watch for hiking is genuinely worth adding to your kit. Whether you are headed out on a well-marked day trail or starting to explore more remote terrain, the basics in this article will serve you on every hike you take from here on.
What to Look For
How to Read a Trail Map: The Basics
A trail map is a top-down drawing of the landscape, showing trails, elevation changes, water sources, and key landmarks. Most printed trail maps and digital maps like those on AllTrails use a standard set of symbols that are worth learning once and remembering forever. Trails are typically shown as solid or dashed lines — solid lines are maintained trails, dashed lines are often unmaintained or social paths. Trailheads (the starting point of a hike, where you park and begin walking) are usually marked with a symbol like a hiker icon or a parking sign.
The map scale tells you how distances on paper translate to real distances on the ground. A scale of 1:24,000 means one inch on the map equals 24,000 inches — about 2,000 feet — in real life. You do not need to memorize math; most maps include a scale bar you can hold a finger against to estimate distances visually. Always check the scale before assuming a trail looks short.
Understanding Topographic Lines
The most intimidating part of reading a trail map is usually the contour lines (those thin curving lines that loop across the map, each showing a specific elevation). Each contour line represents a consistent height above sea level. When lines are far apart, the terrain is relatively flat. When they are packed tightly together, the slope is steep. A series of concentric circles usually indicates a peak or summit.
The contour interval — listed in the map legend — tells you how much elevation change exists between each line. If the interval is 40 feet and you count five lines between your start and a ridge, you know you are climbing roughly 200 feet. This is how experienced hikers estimate how tough an uphill section will actually feel before they arrive at it. Knowing how to read a trail map this way helps you pace yourself and plan rest stops accurately.
Map Legend and Trail Markings Explained
Every printed trail map includes a legend — a small box, usually in the corner, that defines what every symbol and color means. Blue lines are almost always water: rivers, streams, or lakes. Green shading typically indicates forest or dense vegetation. Brown or gray contour lines show elevation. Trail difficulty ratings (easy, moderate, hard) are often color-coded, though the color system is not universal, so always check the specific legend for the map you are using.
Pay attention to trail blazes (painted marks on trees or rocks that confirm you are still on the right path) in the field too. Blazes are often rectangles, sometimes colored, and serve as visual confirmation that you have not wandered off route. A double blaze (two marks stacked) usually signals an upcoming turn. Learning to read blazes alongside your map is how to read a trail map in full practice, not just theory.
Why Your Phone Falls Short as a Trail Tool
Smartphone apps like AllTrails and Gaia GPS are genuinely excellent planning tools, and many hikers use them successfully on well-trafficked trails. The problem is that phones were not built for trail use. Battery drain in cold weather is significant — a phone at full charge in mild temperatures can drop to 20 percent within two hours in freezing conditions. Screens are hard to read in direct sunlight. Most critically, cellular apps depend on downloaded offline maps; if you forget to download them before you leave, you are finding your way blind the moment you lose signal.
According to the National Park Service, carrying a paper map and knowing how to use it remains one of the Ten Essentials for safe hiking — and that recommendation has not changed in the age of smartphones.
When a GPS Watch Actually Makes Sense
A dedicated GPS watch solves most of the problems a phone creates. It runs on its own battery — typically 15 to 40 hours in GPS mode depending on the model — independent of your phone. It sits on your wrist and updates your position continuously without you pulling anything out of your pack. It handles temperature extremes far better than a smartphone. And it works in airplane mode with no cell signal at all, because GPS satellites are always overhead regardless of your carrier.
The honest answer to whether a GPS watch is worth it depends on where and how you hike. For short, well-signed day hikes on popular trails, your phone with a downloaded offline map is probably fine. For longer outings, remote terrain, early morning starts in the dark, or any situation where getting turned around could be serious, a GPS watch earns its place quickly. Many hikers who make the switch say the wrist-level glanceability alone — checking your position without stopping and digging for a phone — changes how relaxed they feel on trail. You can find a full breakdown of current options in our guide to the best GPS watches for hiking.
Using Map and GPS Together: The Smart Approach
The most confident hikers do not choose between a map and a GPS watch — they use both. The map gives you the big picture: where the trail goes, what terrain to expect, where water sources are, and how to get back to the starting point if technology fails. The GPS watch gives you real-time position confirmation and metrics like pace and elevation gain. Together, they create a redundant system for finding your way, which is exactly what you want when the stakes of getting lost are higher than just inconvenience.
A practical habit: before every hike, study the paper or digital map for five minutes. Identify two or three landmarks — a creek crossing, a junction, a ridge — that will tell you where you are when you reach them. Then let the GPS confirm your position as you move. This is how to read a trail map and when to use a GPS watch working together in real practice, and it is a skill that builds confidence quickly with repetition.

Frequently Asked Questions
Can I use my phone instead of a GPS watch for trail navigation?
Yes, a phone with a downloaded offline map works well on many trails — but it has meaningful limitations worth understanding. Phones drain battery faster in cold weather and when the GPS radio is active continuously. The screen is difficult to read in bright sunlight. If you forget to download offline maps before leaving cell range, your app may not function at all. A dedicated GPS watch runs independently of your phone, holds charge for 15 to 40 hours in GPS mode, and updates your position from your wrist without interrupting your pace. For well-marked day hikes close to where you started, your phone is probably enough. For longer or more remote outings, pairing your phone with a GPS watch or a physical map gives you the redundancy that makes finding your way genuinely reliable. The key is having a backup plan that does not depend on cell signal.
What do the lines on a trail map mean?
The curving lines on a trail map are called contour lines, and each one represents a specific elevation above sea level. When contour lines are spaced far apart, the terrain between them is relatively flat. When they are packed tightly together, the slope is steep. Most maps list a contour interval in the legend — for example, 40 feet — which tells you how much elevation change each line represents. Straight or gently curving lines that are color-coded and labeled are the actual trails. Blue lines almost universally represent water features like rivers, streams, or lakes. Dashed lines often indicate unmaintained or informal paths. Understanding these symbols is central to knowing how to read a trail map and when to use a GPS watch effectively, because contour lines tell you what the GPS elevation readout will confirm when you are actually on the ground.
Do GPS watches work without cell service?
Yes — this is one of the primary reasons hikers choose a dedicated GPS watch over relying on a smartphone. GPS watches communicate directly with satellites orbiting overhead, not with cell towers or Wi-Fi networks. This means they work anywhere you have an open view of the sky, regardless of whether you have a single bar of cell signal. The watch calculates your exact position, elevation, and movement using satellite data alone. Some watches also allow you to download detailed topographic maps directly to the watch storage, so you can see your position overlaid on a map without any connection. This satellite-based positioning is a core part of understanding how to read a trail map and when to use a GPS watch — the watch confirms where you are on the map in real time, with no dependency on your carrier.
What should I look for on a trail map before starting a hike?
Before you take a single step, scan your trail map for five key things. First, locate the trailhead — the starting point — and confirm how the trail exits back to the same location or a different endpoint. Second, identify the total distance and the elevation gain shown by contour lines, so you know what to physically expect. Third, note any trail junctions where you could accidentally take a wrong branch — and memorize which direction you need to go at each one. Fourth, spot water sources like streams or lakes in case you need to refill; bringing the right water bottle for long trails with limited refill points can determine whether you stay hydrated on remote routes. Fifth, identify one or two obvious landmarks — a ridge, a creek crossing, a viewpoint — that will confirm your location when you reach them. Running through this five-point check before every hike is a foundational habit that makes everything about how to read a trail map and when to use a GPS watch click into place.
How accurate are GPS watches for hiking?
Most modern GPS watches are accurate to within 10 to 30 feet under open sky, which is more than precise enough for trail use. Accuracy can decrease slightly in deep canyon sections, dense tree canopy, or narrow slot canyons where the watch has a limited view of the sky — but even in those conditions, the position error is typically small enough to keep you on the correct trail. Higher-end GPS watches use multi-band satellite systems (combining GPS, GLONASS, and Galileo signals) for improved accuracy in challenging terrain. Battery life and map storage capacity vary more significantly between models than raw accuracy does. For most day hikers, any current GPS watch from a reputable brand will deliver positioning that is more reliable and more consistent than a smartphone, particularly over long outings or in areas without cell coverage.
The Bottom Line
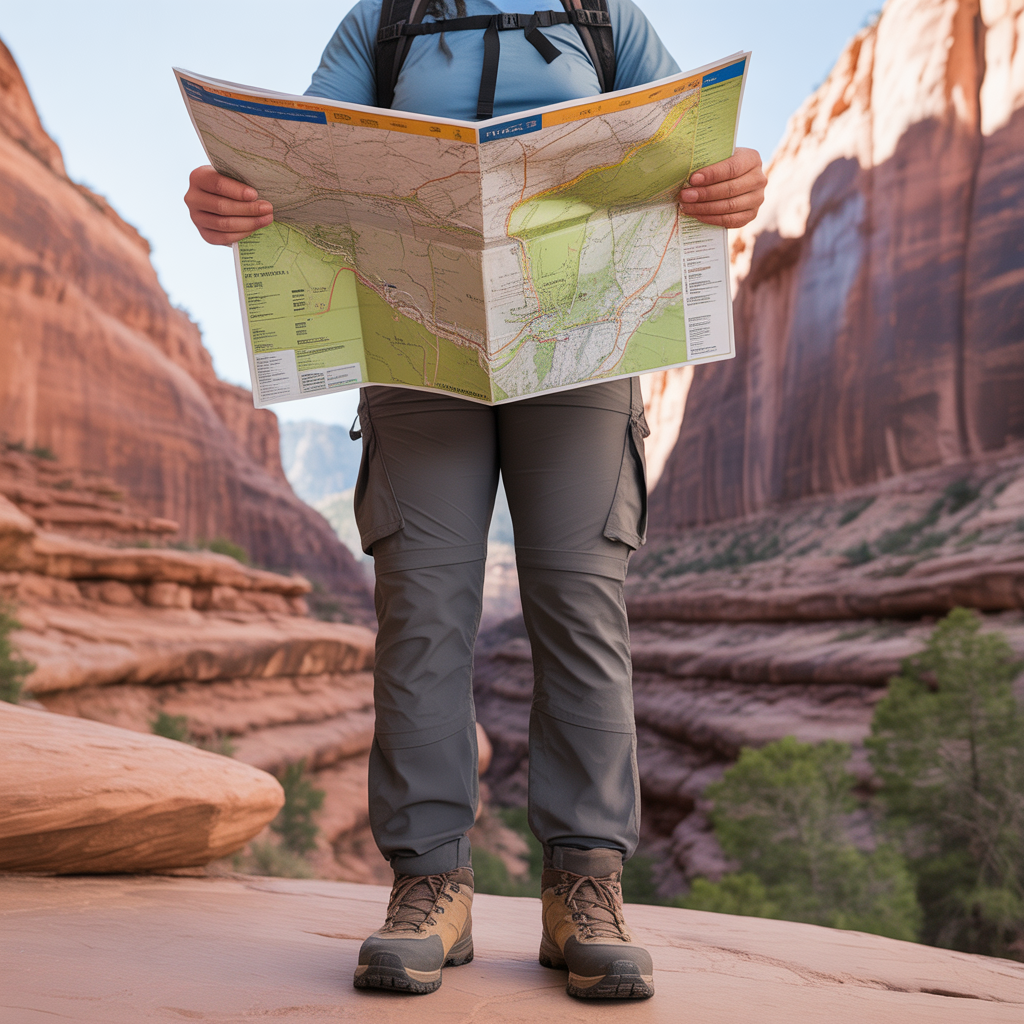
Learning how to read a trail map and when to use a GPS watch is not about becoming an expert overnight — it is about building enough confidence that you always know roughly where you are and how to get back. Start with the basics: understand contour lines, identify where you will start, and note key junctions before you set off. Then let your tools — whether that is a downloaded app, a paper map, or a GPS watch — confirm what your map reading already told you.
If you hike mostly on well-signed, popular trails, your phone with offline maps is a reasonable starting point. If you are pushing into longer days, less-traveled terrain, or anywhere that losing track of your route would be genuinely dangerous, a GPS watch is worth considering seriously — not as a replacement for map skills, but as a reliable layer on top of them. The two work best together. Check out our full guide to the best GPS watches for hiking to find a model that fits your budget and the kind of trails you are tackling. Proper footwear matters too; pairing solid map and GPS skills with beginner-friendly hiking boots ensures you stay comfortable and confident from trailhead to summit. The goal is simple: you should always feel oriented, prepared, and in control on the trail.
Disclosure: As an Amazon Associate, we earn from qualifying purchases. This does not affect our editorial recommendations.